If you are getting ready to roll out Edulink One to parents at your school, there are several things to consider during the rollout process.
Before Rolling Out
1. Consider when you would like to roll Edulink One out to your parents. All schools are different, some would like to roll out to parents immediately and some would like to roll out Edulink to staff for a couple of weeks before onboarding parents. This is to allow staff time to get used to the system, when you are ready to roll out to parents you can create and send them their accounts.

2. Be aware that if you have already set up notifications for parents they may be able to gain access to Edulink One if they receive a notification. It is best to ensure notifications for parents are OFF before rolling out so you can check the user interface.
Creating Parents Accounts
3. Create your parent accounts. As a school, you should decide how you would like parents to access Edulink One. Most schools choose to create manual accounts for their parents; this way they can reset their passwords if you have Communicator settings in place. The following article, How Do I Create Parent Logins (Manual Accounts)? outlines how to create these. Other schools may prefer to use LDAP, Google Classroom or Microsoft Teams accounts for their school. If your school is using Moodle, you can also link Edulink One to these accounts (this only works if you have Moodle through Overnet Data).
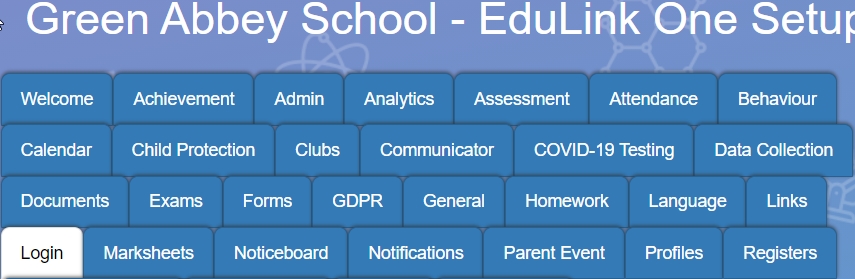
4. Log in to a parent account using the ‘Load User Accounts’ table to check that you are happy with the information and functionality that is visible to parents. To do this, click on the ‘Load User Accounts’ button at the bottom of the Login Tab.
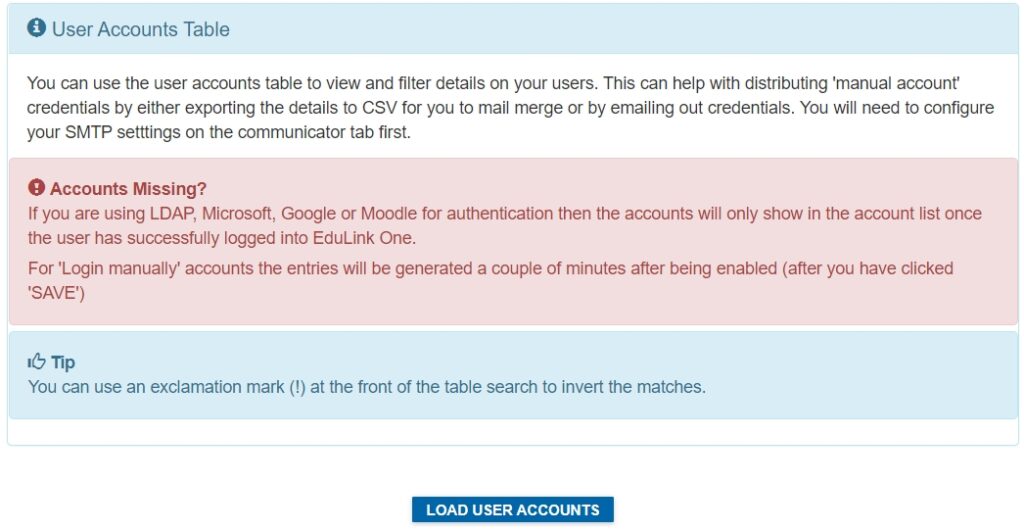
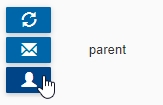
Next, narrow your search by typing ‘parent’ into the ‘User Type’ field. This will bring up a list of all parents if you are using manual accounts. If you are using a different account type for parents, they will not appear here until they have logged in to Edulink One using their existing credentials.
Click on the user icon to log in as a parent.
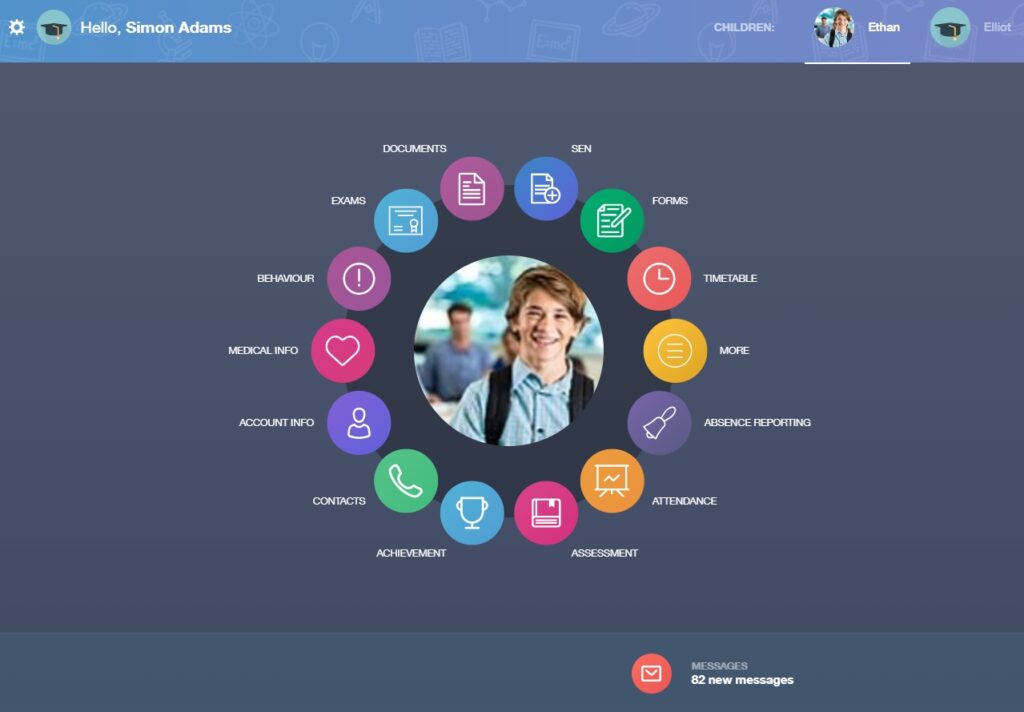
You will be taken to the parent’s user interface. Check to ensure that the visible icons are those you would like parents to have access to. If there are icons you would prefer parents not to access, go to the administration settings and change them as necessary, ensuring you save your settings if you modify them.
Review the Settings for Each Icon
5. Next click on each icon to ensure the fields visible to parents are correct; e.g. some schools don’t want parents to see behaviour comments, for instance, because it may result in a GDPR breach.
Some settings you should review are:
- Behaviour/ Detentions
- Achievement
- Treat as Parents in Login (carers, social workers etc…)
- Pronouns in Account Information
- Blocking Contacts in Data Collection
- Document types available
- Exams fields
- Settings available in the General Tab
- The language settings to change the icon names if you wish
- Available links
- Whether you are going to use the noticeboard
- Whether you will allow parents to reply and send emails in Communicator
- Adding sQuid or iPayimpact as your payment system for parents
Modify the settings in the administration area accordingly and save your setup.

Sending Out the Login Details (Manual Accounts Only)
6. After managing your user interface setup and having tested the elements you would like, send the login details to parents if they are using manual accounts.
To do this, go to the bottom of the ‘Load User Accounts’ table, and filter by ‘Parent’ in User Type and ‘Never’ in Last Login.

Then click on the ‘Email Login Details To’ icon. This will send login credentials to all parents that have a manual account.

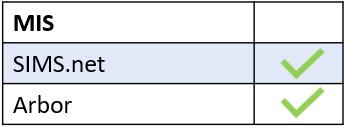
MIS Compatibility