Edulink One provides integration with sQuid so parents can pay for school expenses such as cashless catering, trip payments and other offer payments.
Enabling sQuid Payment Linking (Admins Only)
Edulink One administrators need to log in and go to the Payments tab in the administration settings to set up this functionality.

The administrator will need to turn ON ‘Enable sQuid account linking’ to allow Edulink One and sQuid to link.

They will need to input the sQuid Issuer ID and sQuid Issuer Secret into the fields for this to enable linking. sQuid provides both the ID and the Secret to the school.

At this point, you will need to contact sQuid again to ask that a member of their integration team enables the “Third Party linking” for your school.
sQuid Settings (parents)
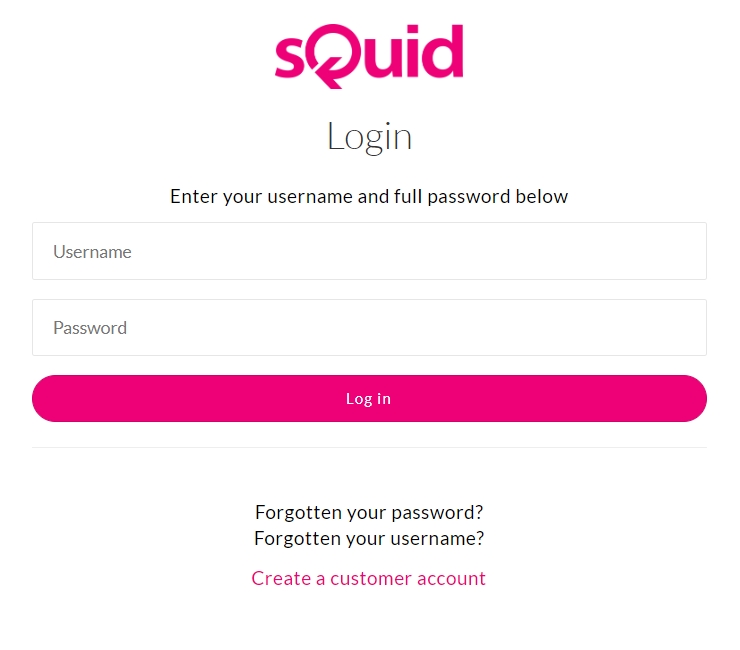
To link your Edulink One account to your school’s sQuid payments, log in to sQuid using your username and password. Jump to Linking Edulink One to sQuid if you have already set up your sQuid account.
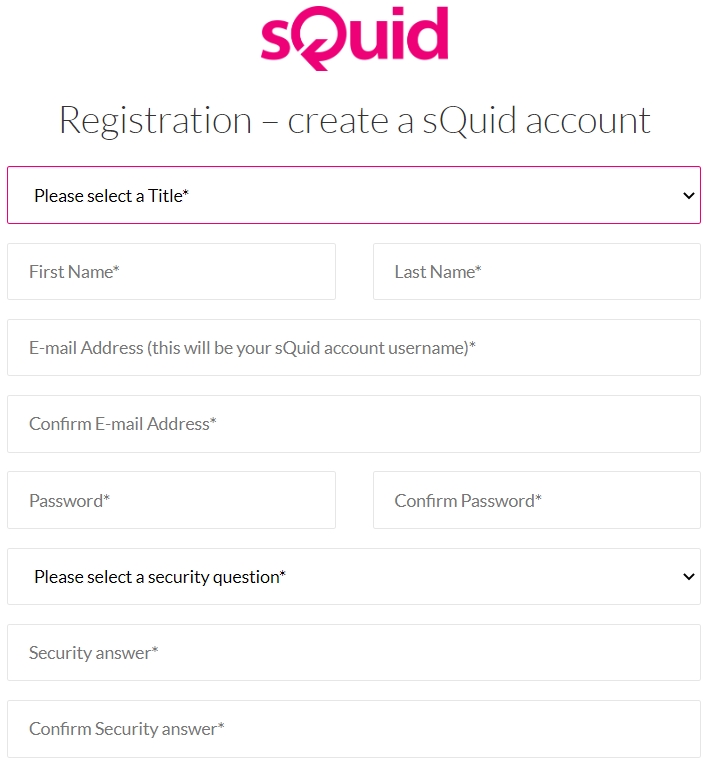
Not Registered with sQuid Yet?
If you have not registered with sQuid before, fill in your details, contact permission and read through the terms and conditions before clicking ‘Register’.
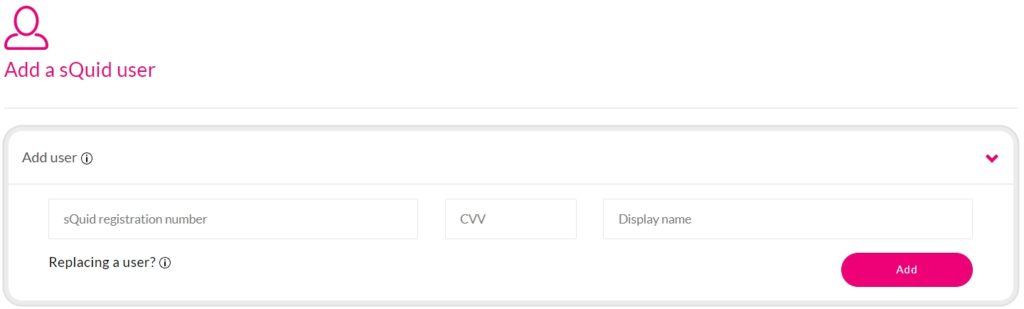
Once you have registered with sQuid and logged in, you will enter the sQuid dashboard. You must create a user in the Users area if you have not already done so and this is your first time logging in.
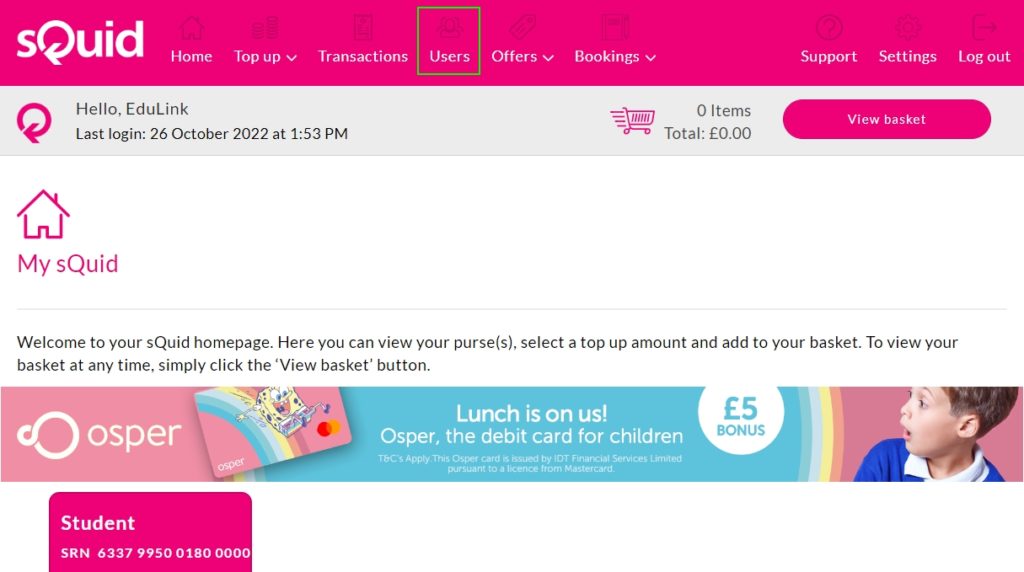
Your school will have provided you with a 16-digit sQuid registration number (srn) and a CVV. Enter these details if you have not created a user account for sQuid or if this is your first time using it. Then create a display name to identify each user (student) you have on sQuid payments and click ‘Add’.
To add a payment card, go to the Top Up section and add how much you would like to the basket. After filling in the details click ‘store for future use’.
Linking Edulink One to sQuid
To link Edulink One to sQuid, go to the ‘Settings’ area.

Scroll down to ‘Third Party Linking’. Scroll down to ‘Third Party Linking’. To link your Edulink One account to your sQuid account, you need to enter your Edulink One credentials and then the accounts should be linked.

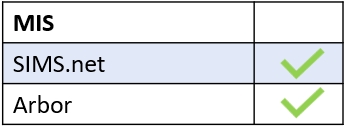
MIS Compatibility