To create login accounts for users, you (or an authorised employee) need to log in to your Edulink One Setup area. Please see the following article about the initial setup and configuration.
Once you have accessed the Administration area, locate the Login tab to configure the logins for your users.
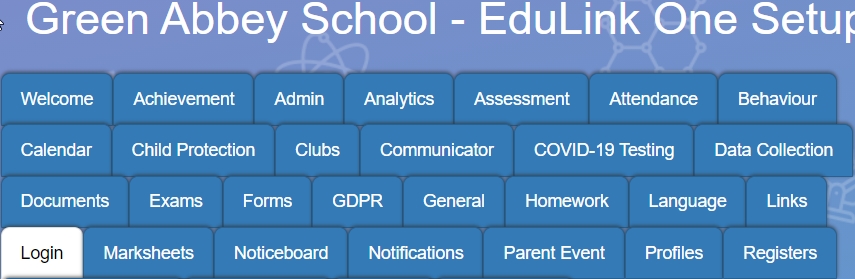
Login Tab Screen
The login tab allows you to configure how you authenticate and manage your user accounts. You can find out more about each setting by hovering over the feature.
Using Google or Microsoft Logins
You can choose to log in to Edulink One using your existing credentials in Microsoft Online and Google. Click on the Microsoft or Google button in Edulink One to take you to your provider’s sign-on screen. Once logged in, it will take the user back to Edulink One.
The email addresses in LDAP must be matched to the usernames for your Microsoft 365 accounts or Google accounts for this to work.
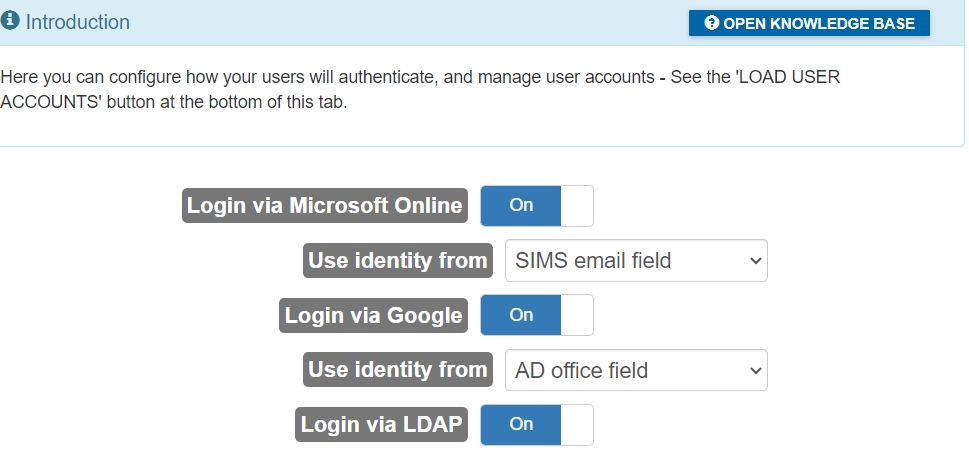
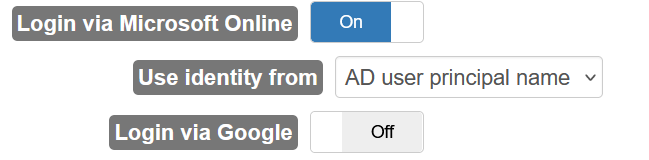
Login via Microsoft Online: Allows users to log in using Microsoft Online credentials. Edulink One has to match the users in your AD. If you would like to use this feature, switch to ON.
Use Identity From: Select the location where the Microsoft Online username is stored (AD user principal name, AD email field or SIMS email field). This is used to match accounts at login.

Login via Google: Allows users to log in using Google credentials. Edulink One has to match the users in your AD. If you would like to use this feature, switch to ON.
Login via LDAP
If you have configured LDAP authentication in the Edulink SIMS Agent, this setting enables LDAP as the authentication source for your logins. To enable the logins via LDAP, select ON. It is recommended that you use LDAP for your logins as it will use the same credentials used to access school computers.
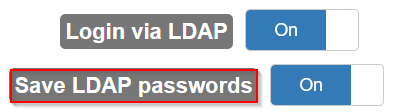
Save LDAP passwords: This feature saves a hashed copy of your users’ passwords. This allows users to log in to Edulink One by verifying their saved password when the Edulink SIMS Agent is disconnected or if we have trouble accessing your Active Directory. This will only be used if the LDAP server is unavailable. We recommend that this is turned ON.
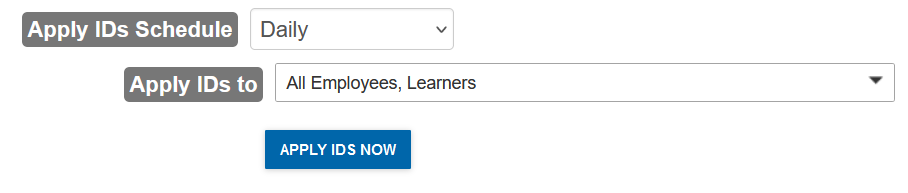
Apply IDs Schedule: Edulink One can attempt to populate Active Directory user accounts with the chosen unique IDs on a scheduled basis. This means there is no need for any manual configuration when new users join the school. By default, this is usually set to daily, but you can select how often you would like to run the schedule.
Apply IDs to: You can select the user types (employees, learners, parents) that are configured for LDAP authentication in this feature.
Apply IDs Now: You can run the schedule manually using the Apply IDS Now button, which allows you to see the output. Select Live Run to force a run of the IDs you have chosen from the Apply IDs menu and then click Apply IDs. You can choose to Abort a Live Run during the process if required.
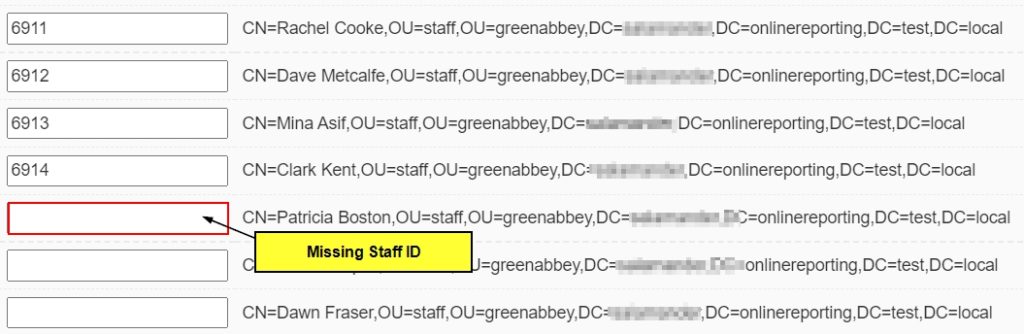
If the run is successful, you should see your IDs in green text— red text would indicate that there is an issue accessing your LDAP connection.
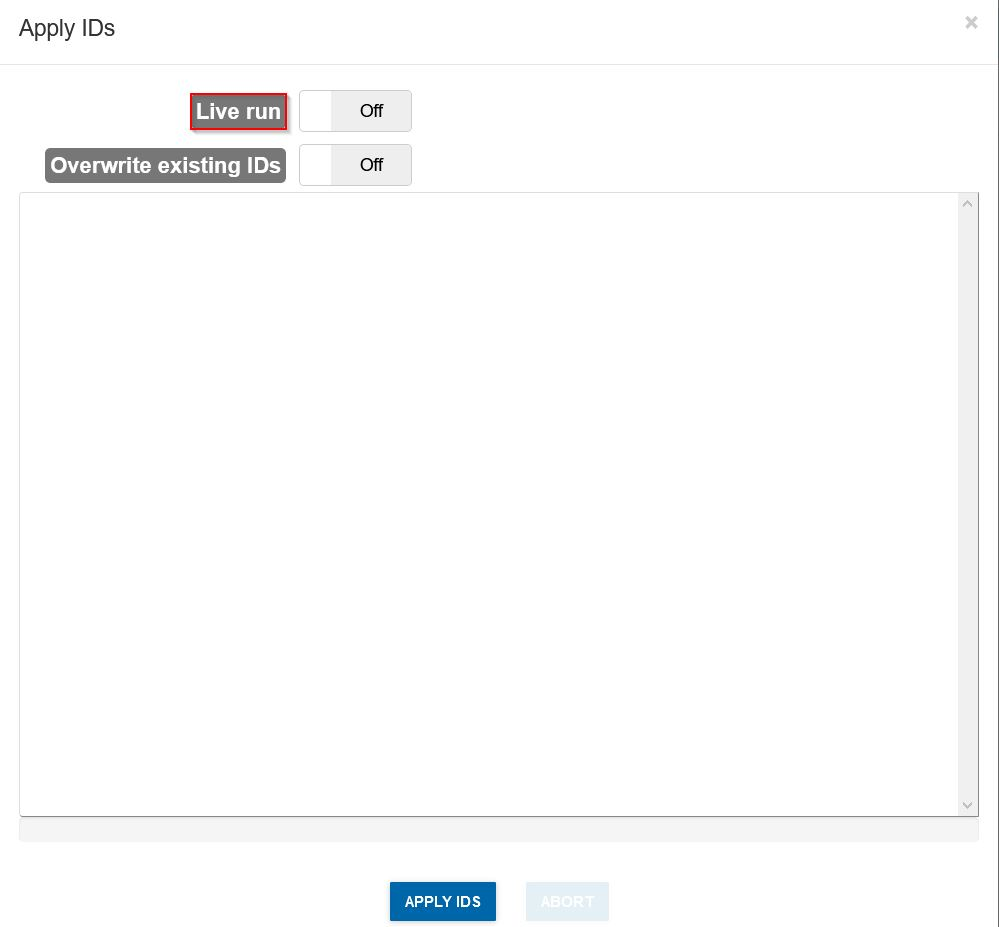

The grey writing in the live run indicates a match has been made; however, the orange writing in the live run highlights missing accounts. These accounts may be leavers in SIMS, users without LDAP accounts, or LDAP accounts where the user’s name is spelt differently. You can try and match missing accounts using the Show LDAP button.
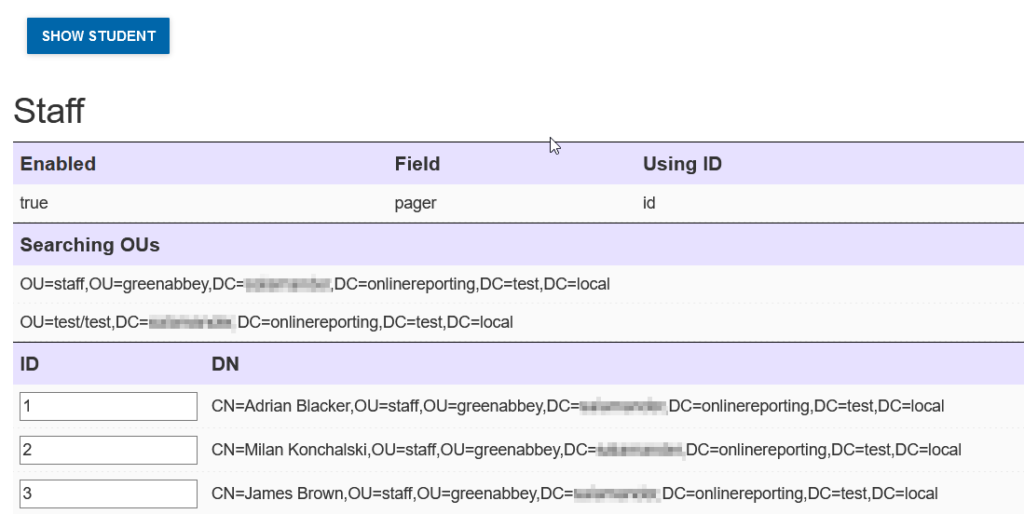
Show LDAP: The show LDAP button provides a list of user IDs that have been configured using the Edulink SIMS Agent. The default list is visible once Staff is clicked. If you would like to view the student list, click on the Student button in the top left-hand corner to switch lists.

The ID section of the table pulls the staff or student ID numbers directly from SIMS. If an ID number is assigned to a staff member, it indicates that a match has been made in your LDAP. Staff or students that don’t have an ID number populated in this section may not have a SIMS account or their forename/surname is spelled differently from their SIMS account.
The Field section of the table indicates which AD field is set in the LDAP Settings of the Agent.
The Searching OUs section details the OUs that Edulink One is trying to match to accounts in your AD. There can be multiple OUs, e.g. Teachers, School support, ICT.

Login via Edulink for Moodle
If we supply your school with our Moodle/SIMS solution, this feature allows you to use Moodle as an authentication source. This gives non-LDAP users (parents usually), the same login credentials for both systems. This also enables SSO so users can go from Edulink One to Moodle without having to log back in. Switch the box to ON to enable this feature.

Two fields will appear that you need to populate with your school’s information.
Moodle URL: You must copy and paste your school’s Moodle URL into this field.
API Key: This is a unique key that Overnet Data (OND) will have provided you with for your Moodle server. You must be using Edulink Integrator for this to work.

SSL verification: The SSL verification is ON by default. If you have issues connecting to Edulink One via Moodle because of your SSL certificate, try turning the SSL verification to OFF.
Login Manually
The Login Manually section of the Login tab allows you to create accounts for user types when either Moodle or LDAP authentication is not available as an authentication source. Set to ON if you want to use manually generated credentials.
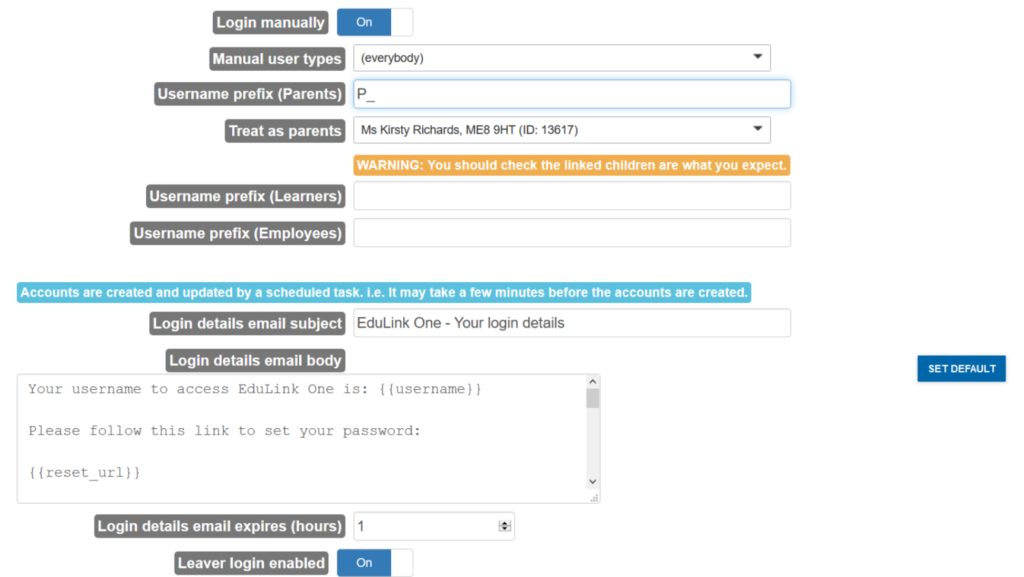
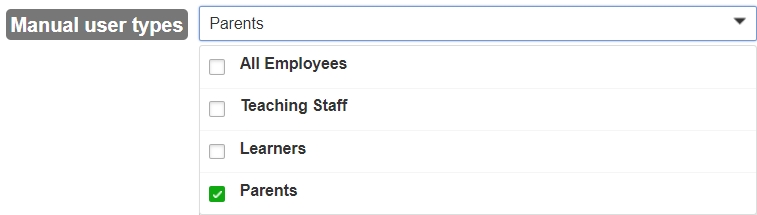
Manual user types: This controls which user types are given manual accounts. Select which users you would like to enter manually from the menu.
Username prefix (Parents): This feature allows you to manually set the prefix for enabling your parent accounts. In the example above, we have used P_.


Username prefix (Learners): This feature allows you to set the prefix for enabling your learner accounts manually.
Username prefix (Employees): This feature allows you to manually set the prefix for enabling your employee accounts.
Accounts are created and updated by a scheduled task. i.e. It may take a few minutes before the accounts are created.
Login details email subject: This is the subject of the email regarding your login details.

Login details email body: The body of the email regarding login details for Edulink One.

Scroll through the default message to set your school ID. The school ID will have been sent to you by Overnet Data in the second email you received after the installation of the Agent.
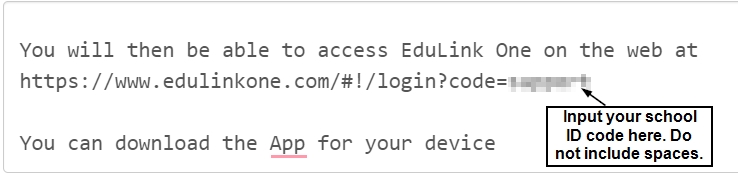
At the bottom of the message, you will also need to input your school ID for the app.

Set Default Button: You can return the email subject and body to default by pressing on Set Default. You will be asked to confirm this action, click Yes or No accordingly.
Login details email expires (hours): This allows you to choose the number of hours before the login details email expires.

Leaver login enabled: This enables student and parent access after the student has left your school.

Days after leaving date: This allows you to set the number of days the user account remains active after the student has left your school.

Use Email Addresses from LDAP
Employees – use email addresses from LDAP: This setting allows you to choose which email address is used for employees who are authenticated by LDAP. If Enabled, Edulink One will pull the email address stored in Active Directory. If Disabled, it will use the email address in SIMS.
Learners – use email addresses from LDAP: This setting allows you to choose which email address is used for learners who are authenticated by LDAP. If Enabled, Edulink One will pull the email address stored in Active Directory. If Disabled, it will use the email address in SIMS.
Parents – use email addresses from LDAP: This setting allows you to choose which email address is used for parents who are authenticated by LDAP. If Enabled, Edulink One will pull the email address stored in Active Directory. If Disabled, it will use the email address in SIMS
Installation Notes
The Installation Notes feature allows you to take notes during the process of creating your logins or anything else you feel is useful. OND also uses this area to make installation notes regarding your school’s account; e.g. cloud vs. onsite box.
Once you complete your notes, you can save them by pressing Save at the bottom of the Login tab. You can update your notes at any time by typing and saving them.
If you would like to revert to the default setting notes, select the Set Default button to erase your current notes and reset them.
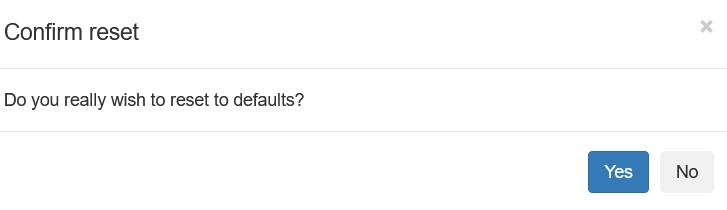
Once you click the set default button, a popup appears and asks you to confirm whether you want to reset your installation notes. Press Yes to confirm you want to revert to the default notes and No to keep your notes.
Load User Accounts
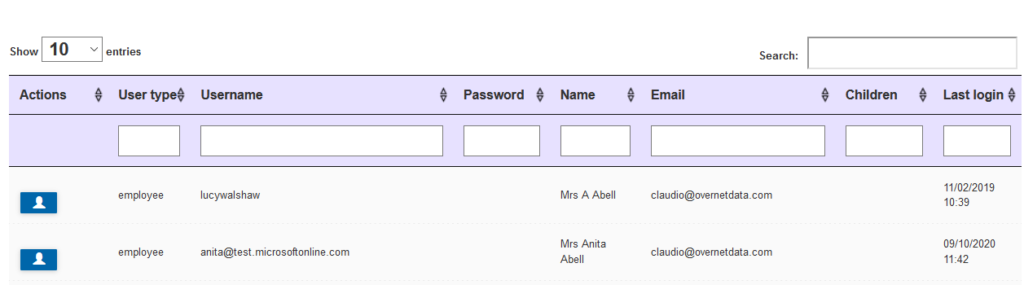
You can use the User Accounts Table to view and filter details on your users. Click on the Load User Accounts button to view the user accounts table.
The accounts table can help with distributing ‘manual account’ credentials by either exporting the details to .csv for you to mail merge or by emailing out credentials to your users. You will need to configure your SMTP settings on the Communicator tab first. To do this, see Configuring the Communicator Tab.
The default number of entries is set to 10; however, you can modify this number upwards. There is also a search bar at the top of the table.
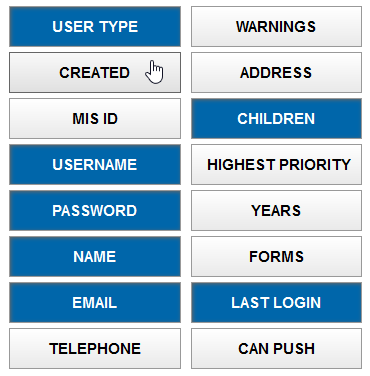
By default, the filters in the table are set to User type (employee, learner, parent), Username, Password, Name, Email, Children or Last login. You can either type what you would like to filter or use the arrows on the filters to move up or down the list.
Other filters are included in Column Visibility at the bottom of the table. You can choose to filter by Created (the date on which the user account was created in SIMS), MIS ID, Telephone, Warnings, Address, Highest Priority, Years, Forms and Can Push (which parents have allowed push notifications).
Actions: Under the Actions column on the table, you can press three different buttons to action different tasks.
- Reset Password: Allows you to reset user passwords— you need to confirm this action by selecting Yes or No.
- Email Login Details: This allows you to email the user their login credentials (username and password). You need to configure Email and SMS in the Communicator tab.
- Login As: Allows you to log in as the user. This is helpful when you would like a parent, student or employee view.

Exporting:
You can choose to export the table into .csv and .xls formats.

Under the [Please Select] menu, select whether you want to export all or just the filtered aspects. Select which format you would like your export and then click the EXPORT button.
Email login details: You can also send bulk emails to users with their login details using the email button located at the bottom of the table. This applies to filtered details only.
Column Visibility: This allows you to select which columns in the table are visible.
Select your next page or your previous page at the bottom of the table.
Saving
Once you are satisfied with the configuration, you must select the Save button to preserve the settings that you have configured.
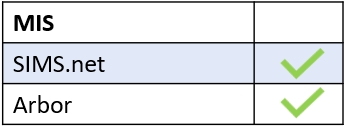
MIS Compatibility