Many schools choose to create parent logins for users using the manual accounts option in your Login tab. To create parent accounts, you must log in to your Edulink One Setup area by clicking on Administration in the cog in the top left corner of your screen.
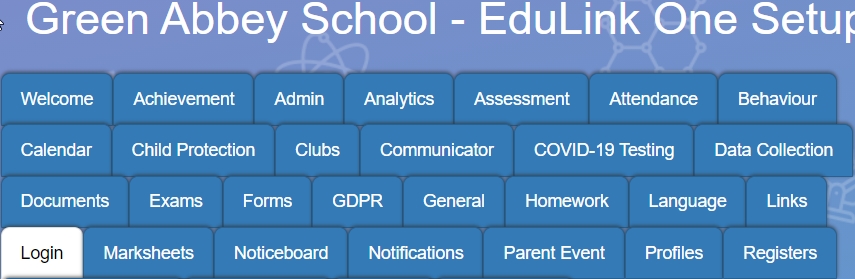
Once you have accessed the Administration area, locate the Login tab to configure the manual logins for your parents.
Creating Manual Logins
The Login Manually section of the Login tab allows you to create accounts for parents unless you are either Moodle or LDAP authentication. Set to ON if you want to use manually generated credentials.

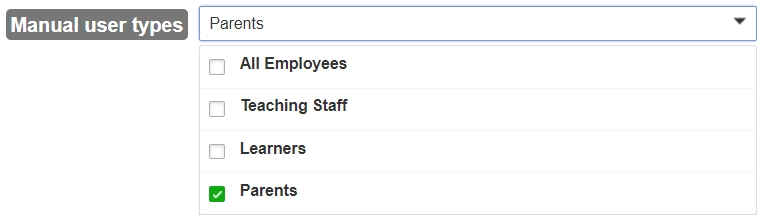
Manual user types: This controls which user types are given manual accounts. Select which users you would like to enter manually from the menu (in the case of parent-only manual accounts, just tick the Parents box).
Username prefix (Parents): This feature allows you to manually set the prefix for enabling your parent accounts. In the example above, we have used P_.

Accounts are created and updated by a scheduled task. i.e. It may take a few minutes before the manual accounts are created.
Emailing Logins
To email logins to your parent users, you must configure your Communicator tab. Even if you are not planning on using the Communicator function, you must turn it on to set up your SMTP settings, allowing you to email the logins to your parents. For more on Communicator, see the following article on setting up Communicator. You can find instructions on setting up SMTP (Email) here. Edulink One will not automatically email your parents, you must press an email button in the Load User Accounts table when you are ready to send out login details.
Login details email subject: This is the subject of the email regarding your login details.

Login details email body: The body of the email regarding login details for Edulink One. For a list of variables see the following article.

Scroll through the default message to set your school ID. The school ID will have been sent to you by Overnet Data in the second email you received after the installation of the Agent.
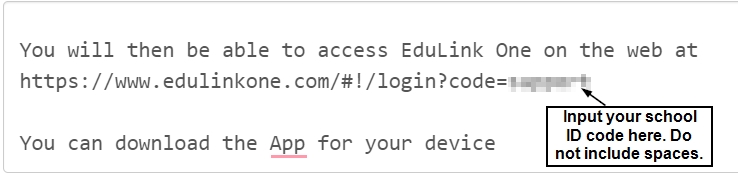
At the bottom of the message, you will also need to input your school ID for the app.

Set Default Button: You can return the email subject and body to default by pressing on Set Default. You will be asked to confirm this action, click Yes or No accordingly.
Login details email expires (hours): This allows you to choose the number of hours before the login details email expires.

Saving
At this point, if you are only using manual accounts, scroll to the bottom of the Login tab and press Save. Once, you have saved these settings, your accounts will be enabled after a short period.

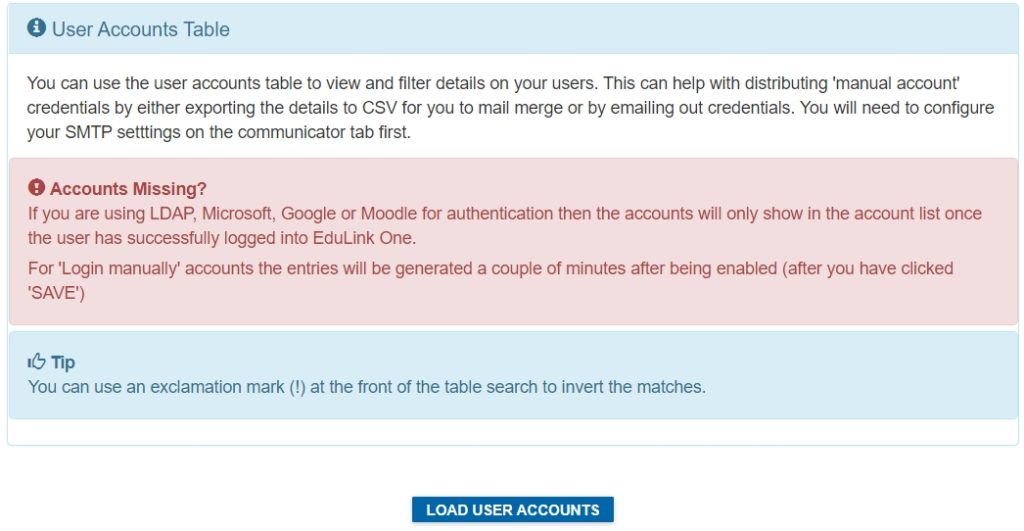
Accounts Table
All manual user types appear in the load user accounts table. You can see these accounts, whether they have logged in or not when you press the Load user accounts button.
Note: This is not the case for schools using LDAP, Google, Microsoft Online or Moodle credentials. If you are using ANY of the methods above, your users must log in using their existing credentials first BEFORE they appear in the load user accounts table.
From the Load User Accounts table, you have the option to export a list of parents if you intend on using a mail merge to send out the parent login details. You can use the RegEx par in the User Type field to generate a list of parent users never in the Last Login field to generate a list of all manual accounts that you need to send login details to.
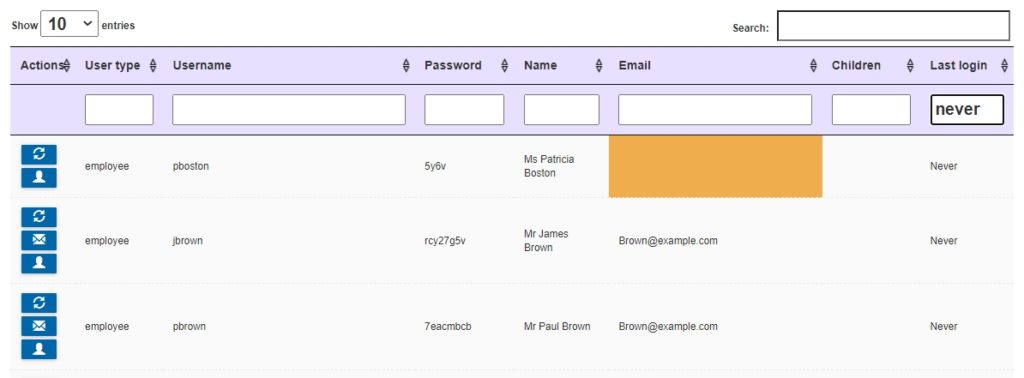
Scroll to the bottom of the table and click on the envelope icon to send out all of the parent logins (you need to configure your SMTP settings in Communicator).

Alternatively, you can export a .csv or .xls file to your computer so you can create a mail merge. Simply select your file type and click the Export button.

Has your user’s login details expired? You can resend login credentials easily in the load user accounts table.
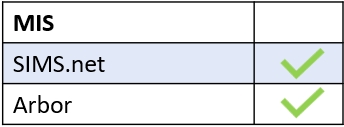
MIS Compatibility