The Links tab in Edulink One’s administration settings relates to the links (web addresses) your school uses frequently to access different systems, i.e. Bitesize, regularly.
To configure the Links tab, log in to Edulink One and locate the administration settings in the cog at the top of your screen.
Click on the Links tab to enable links in your Edulink One user interface.
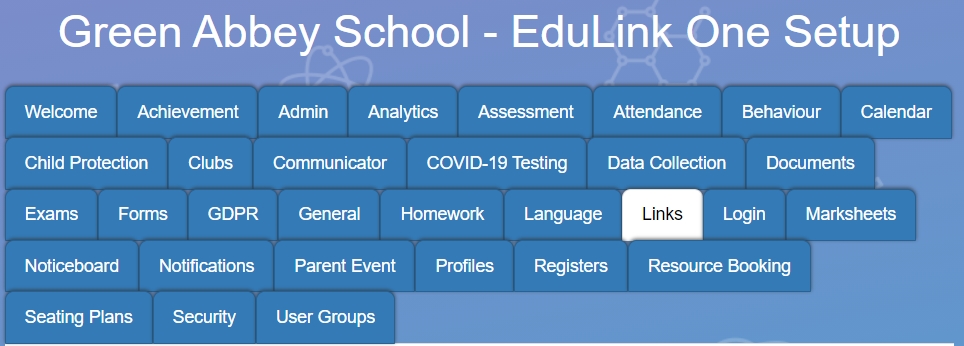
Select the groups you intend to Enable links screen for which include, all employees, teaching staff, parents and learners. You can also add links for fixed user groups, which can be set up in the User Groups tab.

After selecting the user groups, you would like to allow access to Links, you need to add the links into the table below the Enable Links screen for field.
In this example, the school has subscribed to Moodle with Overnet Data as well. The table includes the Icon, where you can drag and drop an image file into the table to represent the link, the Name of the link, e.g. Moodle, the URL, SSO (single sign-on), Access (user groups access), Pos. (position in the table) and Actions.
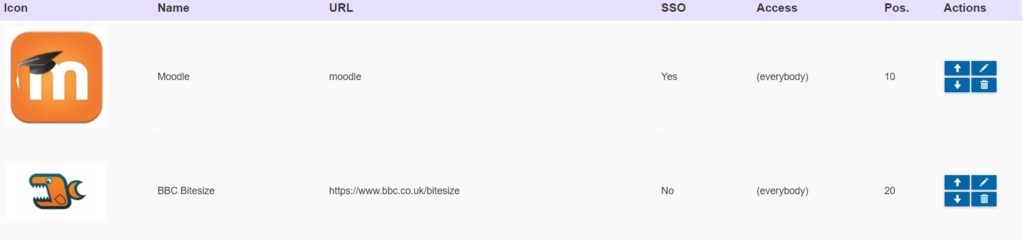
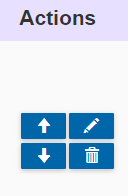
Within Actions, you can edit the links and the arrows allow you to move the position of the links in the list, as indicated by Pos. You can also delete a link using the bin icon.
To confirm an upload, click the check box. This is also the same if you are editing a link.
Once finished adding your links, press the Save button at the bottom of the screen.

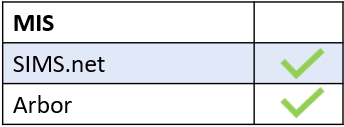
MIS Compatibility