You can create absence reported notifications in Edulink One’s Notifications tab. This is located in the administration settings. Log in to Edulink One and click on the cog in the top left corner to access Administration.

Click on the + Create New Notification Rule button to create a new notification. If absence reported notifications already exist but you need to edit them, click on the pen icon under the Actions column.

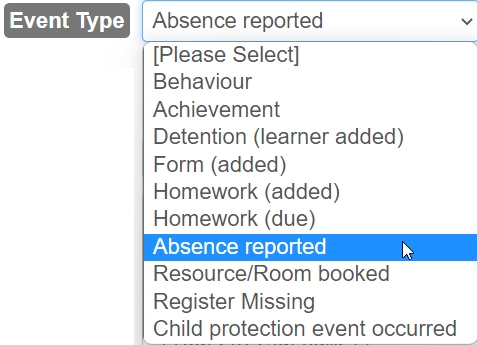
Select the absence reported event type from the dropdown menu.

You can add a rule name or short description (up to 100 characters) if you create multiple notifications of the same type.

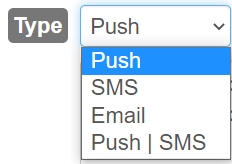
Then, select the message type. You can select Push (notifications), SMS, Email and Push | SMS type notifications, which send the two types of notifications.

The response below is the template response; however, you can choose to amend this to suit your school’s needs. For a list of Edulink One variables, see the following article.

If you select an email notification, you can change the template subject field if you choose.

Select the users you would like to receive the notification. This will also use ‘supervisors’ if this is enabled in your pastoral structure and Communicator.

Then, save your notification by clicking the ‘Save Rule’ button.

Lastly, click the ‘Save’ button to save your notification.

If you would like to learn more about notifications, see our tutorial.
MIS Compatibility

