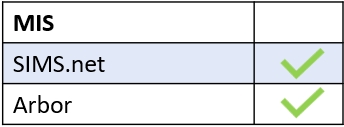
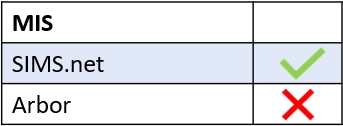
Notifications are created in Edulink One’s administration settings using the Notifications tab. You can customise a variety of notifications for employees and parents, selecting SMS (text messaging), Push (push notifications), Push | SMS and Email to deliver your notification to the user.
Log in to Edulink One and enter the administration settings, located in the cog at the top of your screen.
Once in the Edulink One Setup, find the Notifications tab and click it to enter.

Notifications Table
Inside the Notifications tab, there is a large table outlining the notifications.
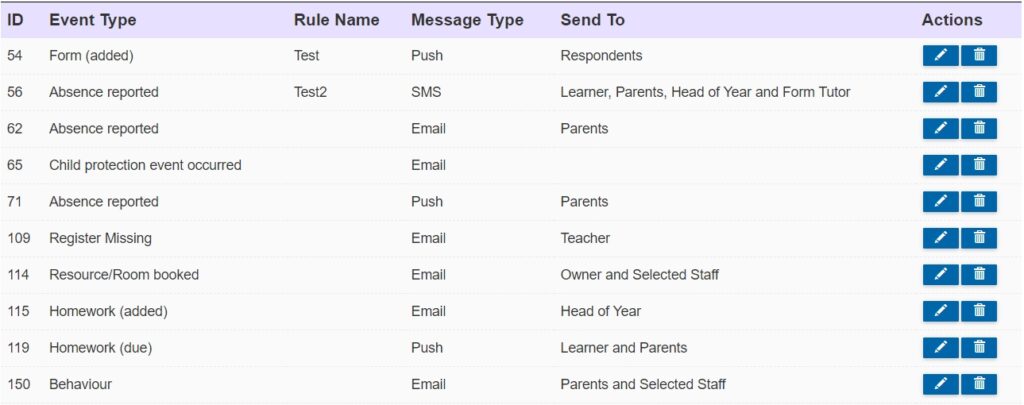
Event Type: The title/purpose of the form, e.g. Absence reported.

Rule Name: A short name or description given to the notification you are creating, e.g. Behaviour Incident B1. The names or descriptions must be unique.
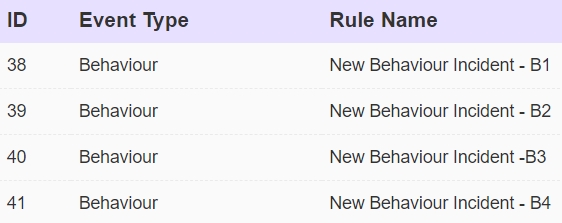
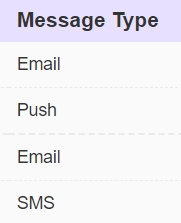
Message Type: Details the type of message you are sending. The options are SMS, Push, Push | SMS and Email.
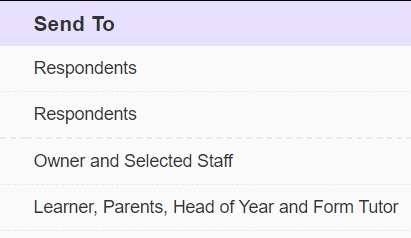
Send To: The user type you wish to send your notification to.
Actions: You can edit a notification using the pen icon and delete a notification using the bin icon.

To create a new notification, scroll to the bottom of the notifications table and click the + Create New Notification Rule button.

Event Type
Select the Event Type from the list provided; there are several notification options available, including Absence reported, Behaviour, Homework, Resource/Room Booked etc… You can also choose to include a rule name for your notification, to help distinguish between multiple notifications of the same type, e.g. behaviour notifications for different behaviour types.


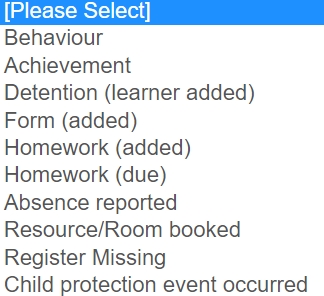
Different event types will have unique settings. Some will only display the message to be sent with variables; however, other event types require further customisation.
For example, in the event of a missing register, Edulink One can send the teacher a notification to remind them that it needs to be completed. You can set the number of minutes to send the notification after a register is due.

In the case of a behaviour notification, for instance, the notification requires you to choose an incident type and incident location. If none are selected, then the notification will match all behaviour types

Each type of event will require a certain amount of customisation on the part of the administrator.
Message
After selecting the event type, you need to create the message you would like to send to your recipients. Some notification types have more respondents such as Heads of Year, if this is the case and your school has selected ‘supervisors’ in Communicator, then supervisors will also receive the notification.
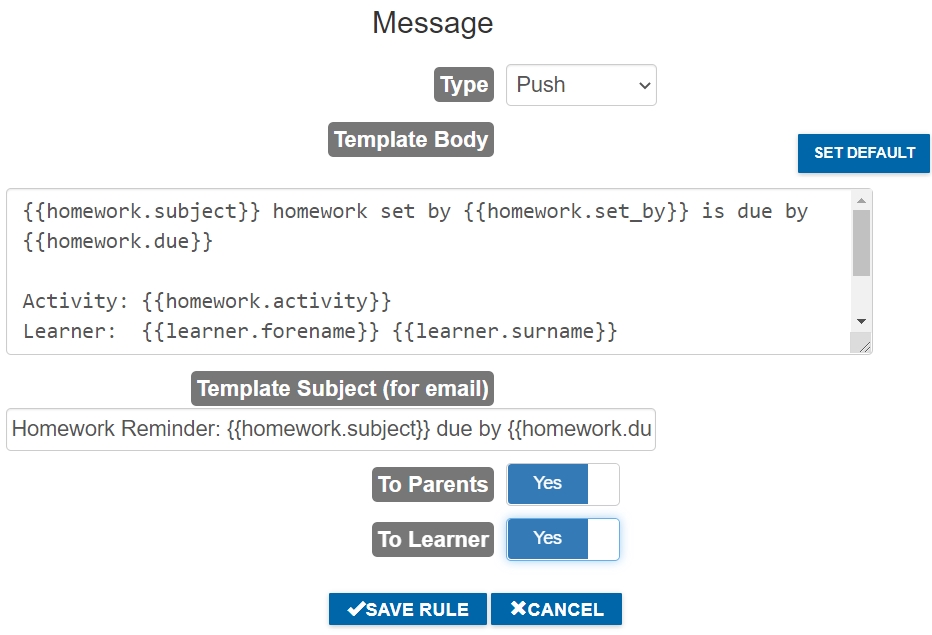
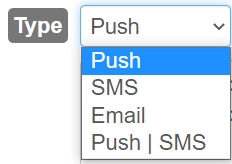
Choose the type of notification from a list that includes Push, SMS, Email and Push | SMS.
The template body states the message that you intend to send to your recipients. Furthermore, the template subject provides variables for the event type, in this case, the example above is a ‘homework due’ notification. Therefore, the variables relate specifically to the fact that the homework is due in a particular subject {{homework.subject}} for a particular learner {{learner.forename}} {{learner.surname}}.

You can change the message for your school. However, if you want to revert the message to default, click the Set Default button. You will be asked to confirm this action by clicking Yes or No. Otherwise, the variables from the template body and template subject remain the same, unless you have customised them further.

The Template Subject (for email) allows you to customise the subject of the message, including variables.
You can also select the intended recipients. In the circumstance of a homework due notification, you have the option to notify parents and learners of the due date. However, it is important to note that the recipients will be different for every event type.

To save your rule, click the Save Rule button and to cancel the rule, select the Cancel button. Your notification will appear in the notification table.

Press Save at the bottom of the table to save your rule.

Creating Notifications Video
MIS Compatibility
