Create achievement notifications in the Notifications tab. This is located in the administration settings and can be set up by your school’s Edulink One administrator.

If an achievement notification has not been set up in notifications, you need to scroll to the bottom of the table and press the + Create New Notification Rule button. However, if an achievement notification exists, you can edit the message by clicking the pen icon under the Actions column.
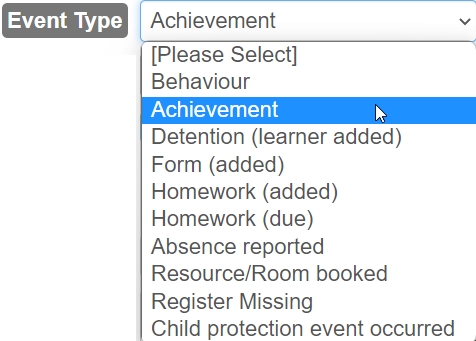
Select the ‘achievement’ Event Type.
You can write a notification name rule to distinguish between notifications of the same type, e.g. Achievement- A1. They must be unique and limited to 100 characters.

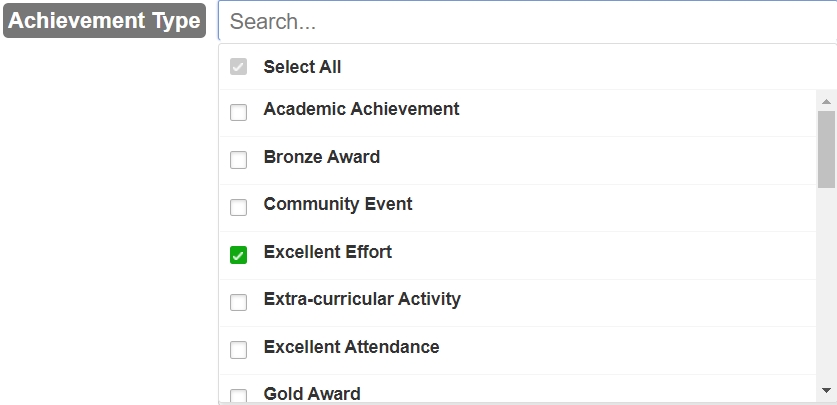
Then select the achievement type from the list. If you leave this field blank, it applies the notification to all achievement types.
Message
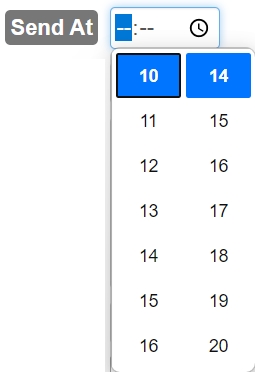
Set the time you would like to send your message. This means that all achievements compiled throughout the day will be sent at the same time daily. Any achievements acquired outside of the time set will be queued to send the next day. For instance, if you have set the achievement notification to send on Tuesday at 15:00 and a behaviour incident is added at 16:00, the message will not be sent until Wednesday at 15:00.
This is not a summary of achievement points. Every achievement given will still be sent in individual messages, but they will all be sent at the time set.
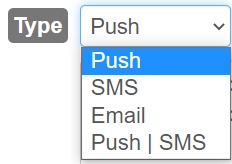
Select the message type you wish to send. You can choose to send Push Notifications, SMS, Email and Push | SMS type messages, which means you send both a push notification and an SMS message to your recipient.
Compose the message you would like the recipients to see. Below is a default template, but this can be changed to reflect your school’s requirements. If you would like to reset your message to default, press the ‘set default’ button.

The variables for achievement notifications are as follows:
| {{achievement.activity}} {{achievement.type}} {{achievement.points}} {{achievement.comments}} | {{achievement.recorded}} {{achievement.date}} {{achievement.employee}} |
Next, change the subject template if you would like (only applicable to email messages).

Lastly, select the recipients receiving the achievement notifications. This can be more than one user type. For staff, select the individual staff members that must be notified of an achievement. Otherwise, simply turn the other user type fields from ‘No’ to ‘Yes’. This will also use ‘supervisors’ if this is enabled in your pastoral structure and Communicator.

Click ‘Save Rule’ to save the notification. The notifications table updates to reflect the new notification.

Lastly, click the ‘Save’ button at the bottom of your screen.

If you would like to learn more about notifications, see our video tutorial.
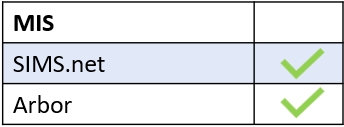
MIS Compatibility
