To enable the Attendance feature in Edulink One, you must configure the Attendance tab in the Administration area.
Firstly, log in to Edulink One and click on the Administration settings, located in the cog at the top left of your screen.
Click on the Attendance tab to begin configuring the settings.

Enable Attendance screen for: Select which users have access to the attendance screen. You have the choice of All Employees, Teaching Staff, Learners and Parents. Tick the ones that are appropriate for your school.

Show Lesson Attendance data to: Controls which user types can view the lesson attendance tabs within the Attendance icon in Edulink One.

Enable Lesson Attendance Embargo: Prevents showing lesson attendance to a user type(s) for the specified number of days. The rest of the Lesson Attendance Embargo settings are configured directly below this.

Lesson Attendance Embargo User Types: The types of users that you intend to embargo lesson attendance data for, e.g. parents.

Lesson Attendance Embargo (days): The number of days the lesson attendance data is embargoed.

Statutory Attendance Settings

Show today’s attendance to: Select which user types to allow access to today’s attendance data. You can see this in the ‘Show today’s attendance’ tab in the Attendance icon in the Edulink One user interface for learners and parents.
Additionally, you have the option to select fixed user groups only, which are configured in the User Groups tab.

Show Statutory Attendance data to: Select the user types you want to allow access to the statutory attendance data.

Enable Statutory Attendance Embargo: If turned ON, the statutory attendance will be subject to an embargo. Then, select the user types that you would like to embargo in the Statutory Attendance Embargo User Types setting and set the Statutory Attendance Embargo (days), for the number of days you would like the Statutory Attendance to be embargoed for.
If you do not want to use this setting, leave it off.

Include Late Marks in Present figures: This allows you to include the late marks for learners in the present figures of your school’s attendance. This prevents you from seeing late marks in a separate graph in the Attendance feature.

Absence Settings
Merge Absence Types: If turned ON, this will allow you to merge absences and unauthorised absences in the attendance graphs within Edulink One. Both figures will now be displayed as one combined absence figure.

Enable Parent Absence Reporting: This is a parent-only menu feature which allows parents to report their child’s absence from school, using Edulink One. Parents can complete a short form which will then be emailed to a specified person/email address with the information entered.

Parent Absence Reports to: The employee(s) that are ticked in the section will receive email notifications of reported absences by parents.

Parent Absence Reports Email: This setting allows you to enter an email address, in addition to the employees listed in the Parent Absence Reports to, to send all absence notifications. This is useful if you have a particular distribution list or non-employee mailbox to which these notifications must be sent. Oftentimes, schools input a specific employee’s email into this area, such as an Attendance Officer.

Absence Report Subject: The subject of the absence report email. In the default, this includes variables which will be replaced by the learner’s forename and surname.

Absence Report Body: The body of the absence report email, including variables to populate specific values. Both the subject and body can be amended for your school; however, you can revert to the default at any point using the Set Default button. You will need to confirm this action.

Restrict Days Ahead: If enabled, this allows you to restrict the number of days absences are allowed to be reported in advance. You can prescribe the number of days ahead allowed in the Days Ahead Allowed setting.

Enable Absence Management: This setting enables the absences section to help attendance officers identify and contact parents of students who have been marked with an unauthorised absence mark (e.g. “N”) on a register.

Available to these employees: Select the employee(s) who are authorised to have access to the absence management screen.

Email Subject: The subject of the email sent to parents regarding the unauthorised absence. This includes variables for specific fields.

Email Body: The body of the email regarding an unauthorised absence to parents. This contains variables to populate specific values in the email body. You can change this back to default using the Set Default button. You will be asked to confirm this action.

SMS Body: The body of the SMS message to be sent to parents regarding an unauthorised absence. This contains variables which are populated to represent specific values. This must be set up in the Notifications tab before use.

Record in SIMS Communication log: If turned on, Edulink One writes any attendance communication to your school’s SIMS Communication Log. Edulink One only writes to this Communication Log, it does not allow you to read what is in the SIMS Communication Log within Edulink One. Certain employees can read the SIMS Communication Log in the SIMS application if they have been authorised within SIMS.

Lastly, click Save at the bottom of the page to save your Attendance tab settings.

Notifications for Absence Reporting
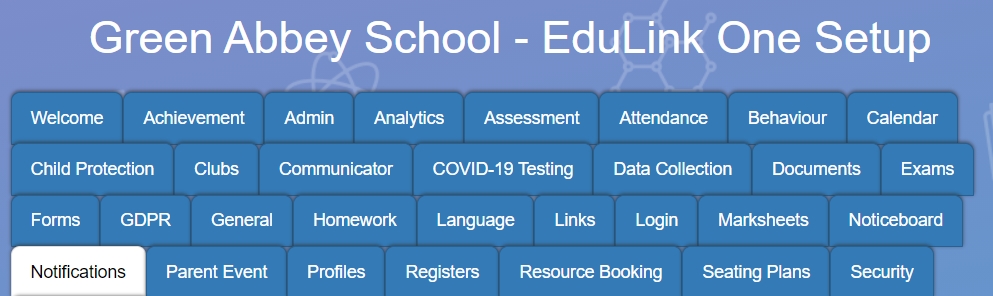
To create a notification for absence reporting within the parent’s Absence Reporting function, log in to Edulink One, access the administration settings and then open the Notifications tab.
To create a notification for reported absences, go to the +Create New Notification Rule button at the bottom of the Notifications table.

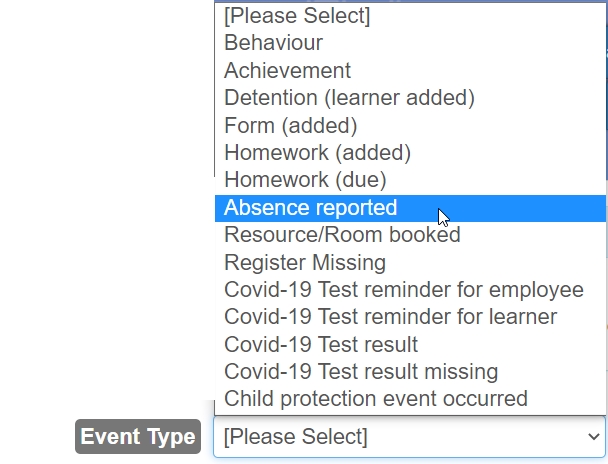
Then, you must select the Event Type from the menu. In this instance, you must select the ‘Absence reported‘ event type to access the notification message settings for this particular event.
Template Body: The body of the message is customisable to your school. The default message includes variables which will populate specific values within the message. If you would like to return the message to default at any point, simply click the Set Default button and confirm your reset.

Template Subject (for email): For email notifications (recommended), the template includes the subject for the message with variables.

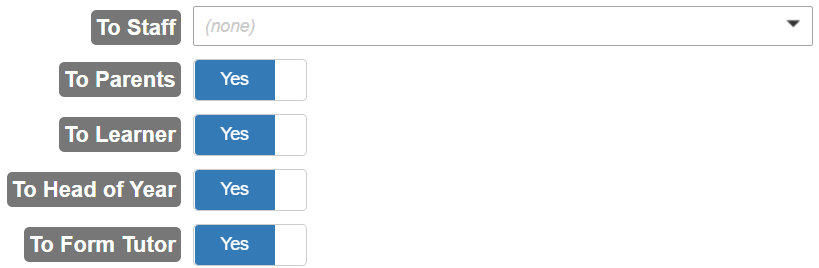
To (user group): There are many types of user groups you can send a notification to. You can choose to enable more than one group of users, though, in the instance of absence reporting, you will likely want to inform Parents. In this case, turn the ‘To Parents‘ toggle to ‘Yes‘.
Once your configuration is complete, save the rule by selecting the Save Rule button. You will return to the main Notifications table, and here you must press Save at the bottom of the screen to save your new rule.

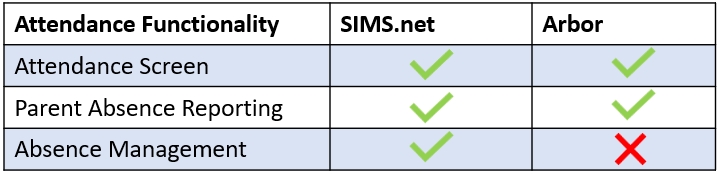
MIS Compatibility