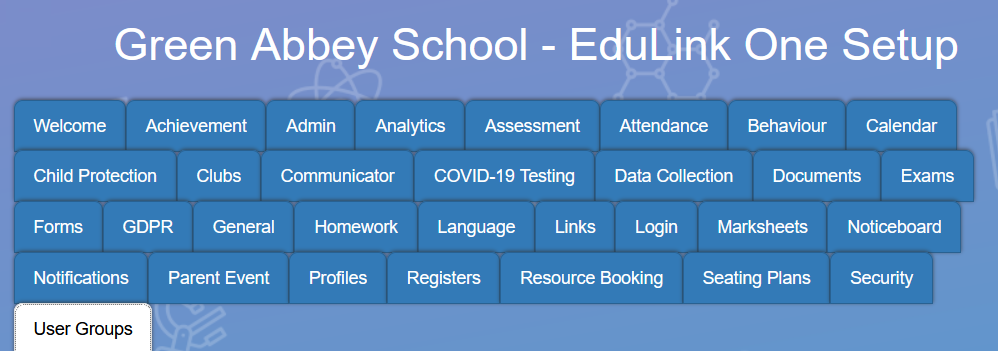
To create a fixed user group for your school with Edulink One’s administration settings, you need to log in to your Edulink One account and select Administration from the cog at the top of the homepage. Fixed user groups are helpful because they can ensure that only a select group of employees, learners or parents can view specific content. Then, locate the User Groups tab in the Edulink One Setup area and click on it.
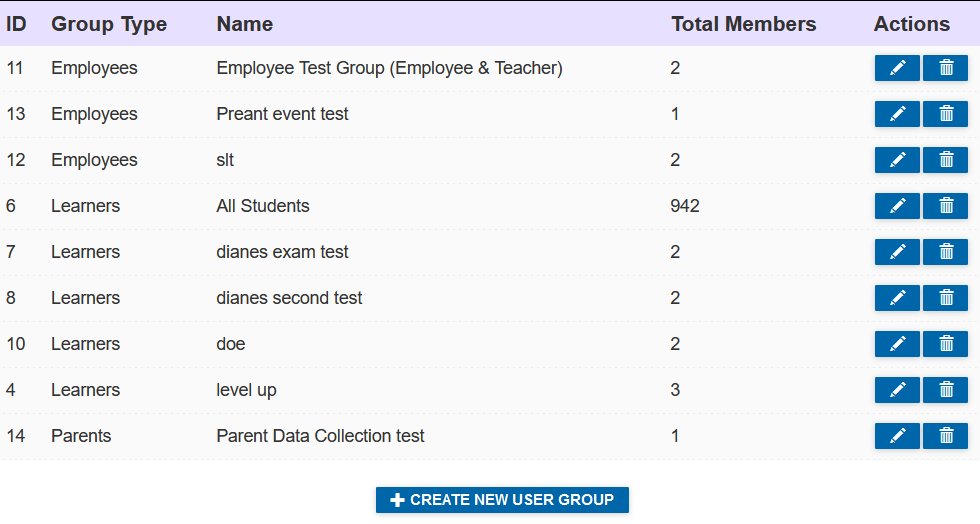
You can create a group based on three types: Employees, Learners and Parents. The total members of your group are located in the table, in addition to the pen icon for editing your group and the bin for deleting your group.
To create a new user group, click + Create New User Group.
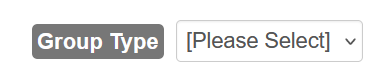
Select the Group Type you would like to create from the dropdown menu.
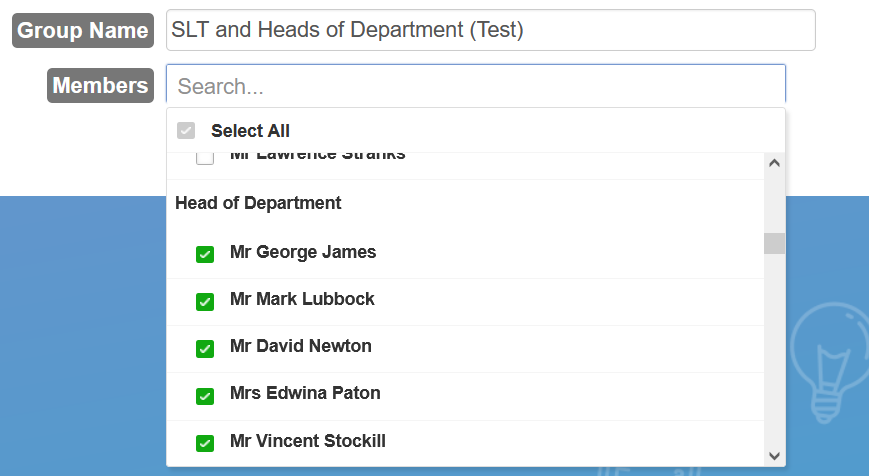
Once you have selected the group type, Employee, Learner or Parent, Name your group and select the Members.
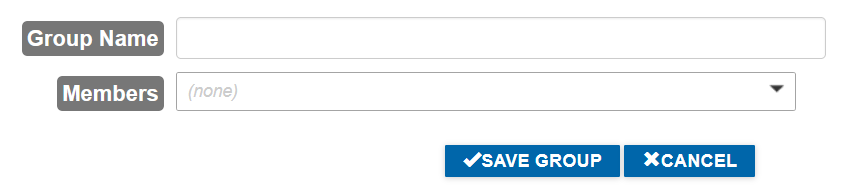
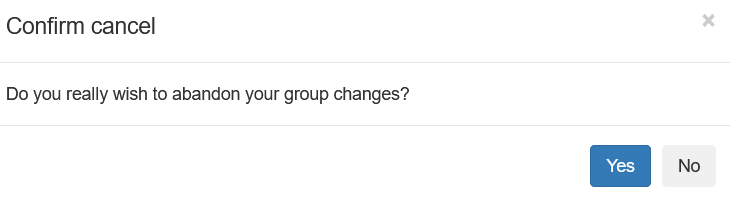
Click Save Group to save your new group or click Cancel to abandon your group changes and return to the User Groups tab.

If you intend to cancel your group creation, a confirmation message will appear, prompting you to confirm that you wish to abandon the group changes.
Where Can I Use Custom User Groups?
You can use custom user groups in the following settings:
| Administration tab | Setting |
| Analytics | All user settings |
| Attendance | Show today’s attendance to Statutory attendance data to Statutory attendance embargo user types |
| Behaviour | All user settings |
| Calendar | Enable calendar screen for |
| Class Dashboard | Enable class dashboard screen for |
| Clubs | Enable clubs |
| Communicator | Employees allowed to bulk message |
| Data collection | Enable data collection |
| Exams | All user settings |
| General | Hide learner photos for Enable account info screen for Enable learners screen for Enable assessment screen for Enable cashless catering screen for Enable contacts screen for Enable medical screen for Show medical events to Enable SEN screen for Enable SEN events to Show SEN documents to Enable SEN strategies for |
| Homework | Enable Homework screen for |
| Links | Enable links screen for |
| Parent Event | Enable parent event for |
| Payments | Enable iPayimpact payments for |
| Seating plans | View all plans for a learner |
| Security | All user settings |
Click the Save button at the bottom of the User Groups tab to save your group. You can then use the new group in the administration settings as required.
Custom Communicator Group (Employee Group Type)
If you select the Employee group type, you can create a group which will be available to use as a recipient type when you create new messages.
Write the name of your group, e.g. SEND Team, and select the members of the group. Groups can have as little as one member (e.g. SEND Coordinator) or as many as you require.

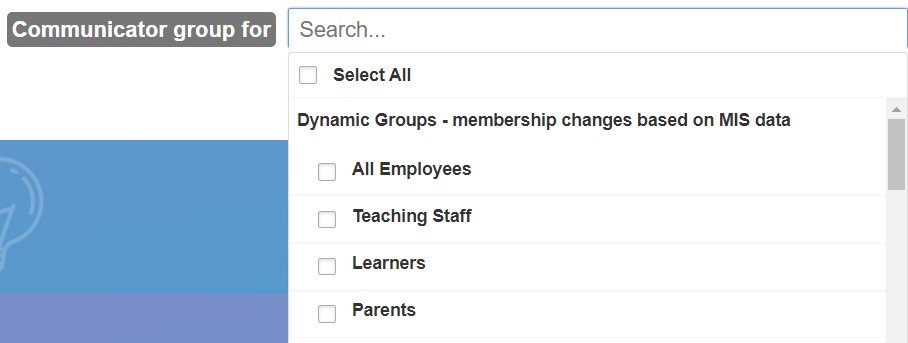
In the ‘Communicator group for’ field, select which groups of users can see the group as a recipient in ‘New Message’. You can select multiple groups like Parents, Learners or Employees, and you can also choose to have the group only visible to another fixed group, like SLT.
Save your group.

You can follow the next steps when adding recipients to a message here.
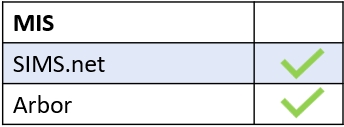
MIS Compatibility