The Absence Management function in Edulink One provides authorised employees with details of unauthorised absences on registers. Learners whose parents have not contacted the school to provide details regarding an absence can be contacted via email or SMS within the Absences (absence management) icon.
To configure Absence Management for your school’s Edulink One, log in to Edulink One’s administration settings and set up the Attendance tab.
Once the Attendance tab has been configured, any authorised employees (likely attendance officers) will have access to the Absences icon. They must log in to Edulink One and click on the Absences icon to open the window.
Within the absences window, there are two tabs: Absences, detailing the unauthorised absences recorded by teachers in lessons; and Registers, outlining the registers that are overdue. Once these registers are populated by the teacher, any ‘N’ markings (unauthorised/ unexplained absence) for learners are included in the Absences tab.
Absences Tab
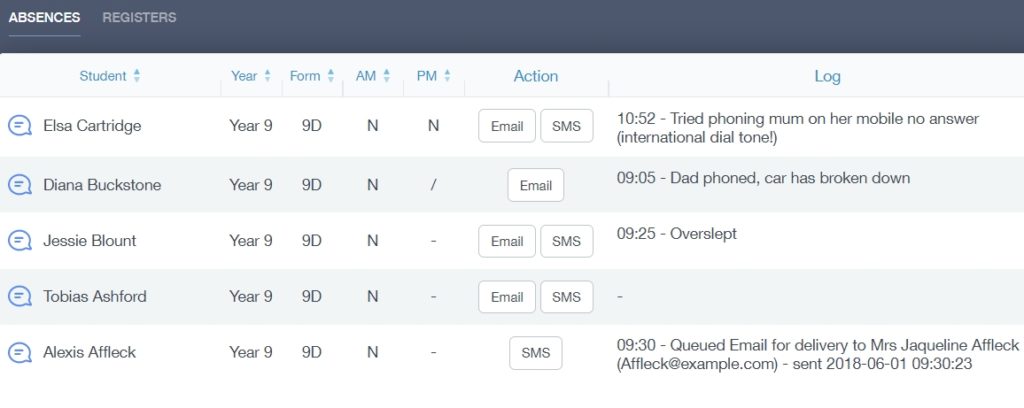
The Absences tab is the first tab. It outlines all the learners without a registered absence reported to the school by their parents. The absences tab contains a table that outlines pertinent information, so authorised employees to contact parents in the event of an unauthorised or unexplained absence.
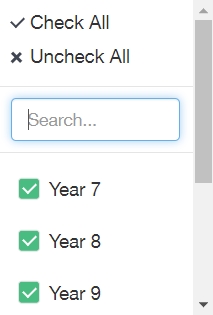
Filtering by Year Group: You can filter your absences tab by Year Group, located at the bottom of the table. This feature allows you to restrict the absences you are looking at to one year group only.
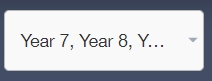
You can check or uncheck the boxes of the Year Groups you would like to filter. You can also type in the Year Group you are searching for and check or uncheck them that way.
Features of the Absences Tab
The Absences tab consists of a table that divides the information into columns. The columns visible are as follows:
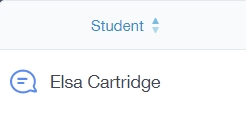
Student: Under the student portion of the table, it provides the forename and surname of the learner who is not present in school.
Parent/Carer Contact information and Priority
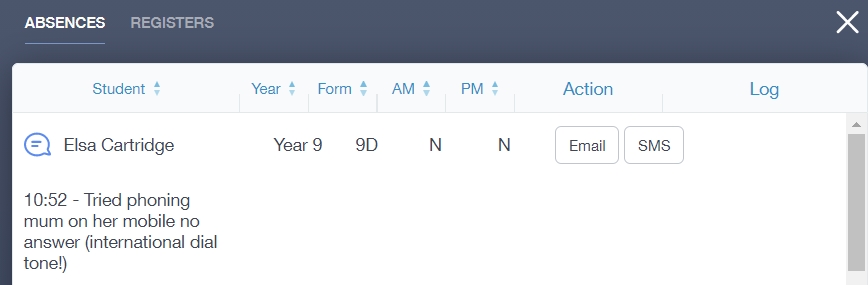
If you hover over a student’s name in the Absences table, you will see a small phone icon indicating contact information related to the child.
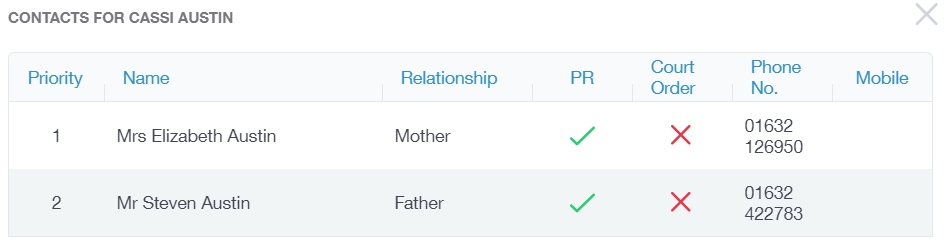
Click on the student’s name to view the contact information for parents or carers. You will see the name and contact priority of the parent, the relationship to the child, whether there is a court order attached to the parent and phone/ mobile details.
Student Information
Year: The Year Group of the absent learner, e.g. Year 9.

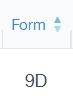
Form: The Form Group of the absent learner, e.g. 9A.
Statutory Attendance
AM/PM: The AM and PM columns highlight the statutory attendance times and whether a learner has been marked absent with ‘N’ during these statutory attendance periods.

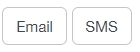
SMS/Email
Action: The two buttons located in the Action column are SMS and Email. Authorised employees can select one of the two methods to contact parents regarding their child’s absence from school. The action button emails or sends an SMS message to each learner’s parents individually and not in bulk. If you filter Year groups on your screen, any communication to parents will be sent to those filtered on the screen.
Log Details
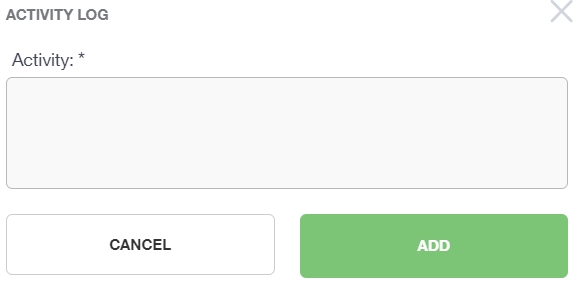
Log: The log details comments related to the absence of the learner. Comments can be made in the Activity Log icon, next to the students’ names.

To add a new activity log, click on the activity log icon, write the details of the absence of the details of attempted contact and press the Add button.
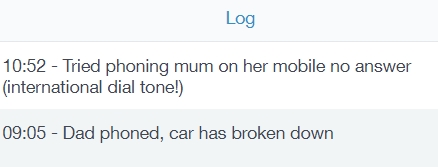
The comment will appear in the Log portion of the Absences table. In the example below, a member of the attendance team recorded the time and commented on the actions taken to track the absence.
Bulk Messaging
In addition to sending out individual emails or SMS messages to absent learners, you can also send out bulk emails or SMS messages to all learners on the list. This must be configured in the Notifications tab before use. To create notifications, the SMTP and SMS must be configured in the Communicator tab. See the following section about creating a notification for absences.
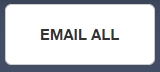
Click on the Email All button to email all parents of learners on the absences list, or click SMS All, to send a text message to all parents of absent learners on the absences list. A green ‘Success’ message appears if the email or SMS has been sent.
There is also an option to Refresh the list as more registers are completed (as seen in the Registers tab in Absences). This will ensure your list of absences is up-to-date.

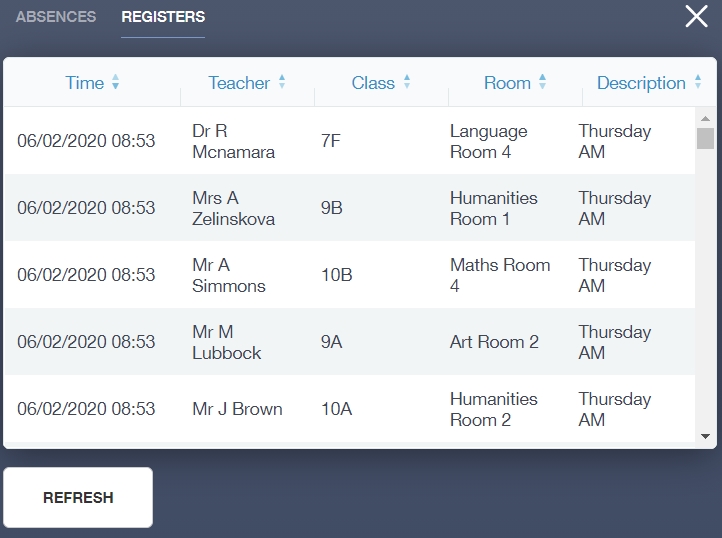
Registers Tab
The Registers tab within Absences tells the authorised employee that specific registers are overdue. Once the registers are completed by the teacher, the data for the unauthorised/ unexpectedly absent learner is generated in the Absences tab in the Absences icon.
You can refresh the registers at any point to see updates of the registers completed, click on the Refresh button.
Refreshing the overdue registers will also allow you to narrow down the list of learners in the Absences tab to contact due to unauthorised absences (‘N’ code).
You can also create notifications in the Notifications tab to let teachers know their register is overdue, prompting them to complete it.
When you have finished managing your school’s absences, click the back arrow on the Absences icon.
‘How Do I Manage Absences?’ Video
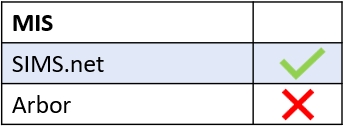
MIS Compatibility