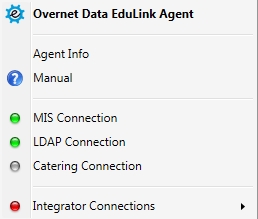
To set up Edulink One to work with your VeriCool Catering supplier, you need to click on the Edulink SIMS Agent at the bottom of your screen.

Once you click on the Agent, a new window opens with different options. Select Catering Connection.
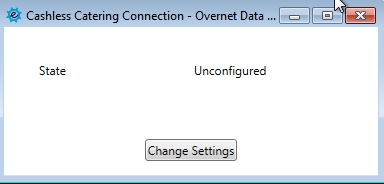
Next, click Change Settings to configure your Cashless Catering.
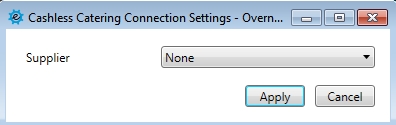
Select VeriCool from the list of suppliers in the dropdown list.
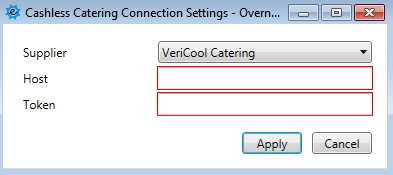
You need to put the Server IP or Name in the Host and you will need an API token from Vericool to input into the Token field. Click Apply and logout of the server.
Lastly, to configure the Catering settings in Edulink One, go to the General tab in the administration settings and select which users you would like to have access to Catering in the UI.