To enable catering in Edulink One, the administrator needs to enable the cashless catering function in the General Tab.
Enabling Cashless Catering Screen
Log in to Edulink One and access the administration settings to find the General tab. In the General tab, you must scroll to find the Enable Cashless Catering Screen for function. To set up the Catering screen, select the user groups (all employees, teaching staff, learners, parents) you would like the screen enabled for. Additionally, you have the option to select fixed groups. To create a fixed user group use the User Groups tab.

You need to save your settings before using Catering in the user interface. Press the Save button at the bottom of the screen.

Viewing Catering Screen
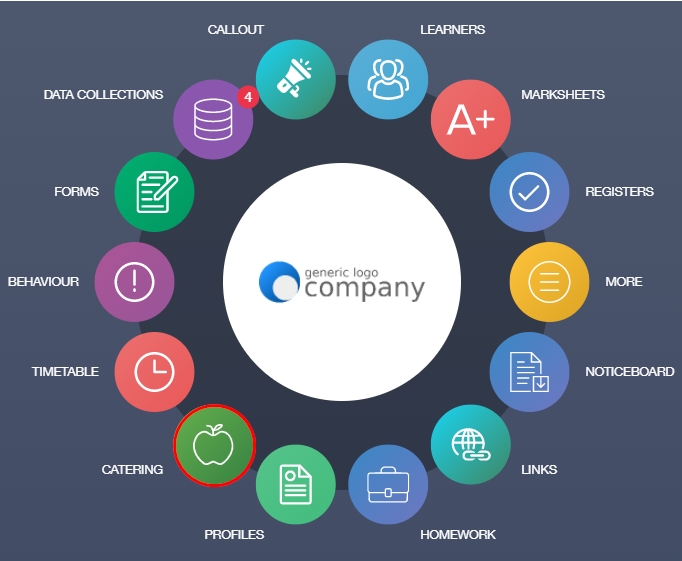
To view the Catering icon, users must log in to Edulink One and click to view the catering screen.

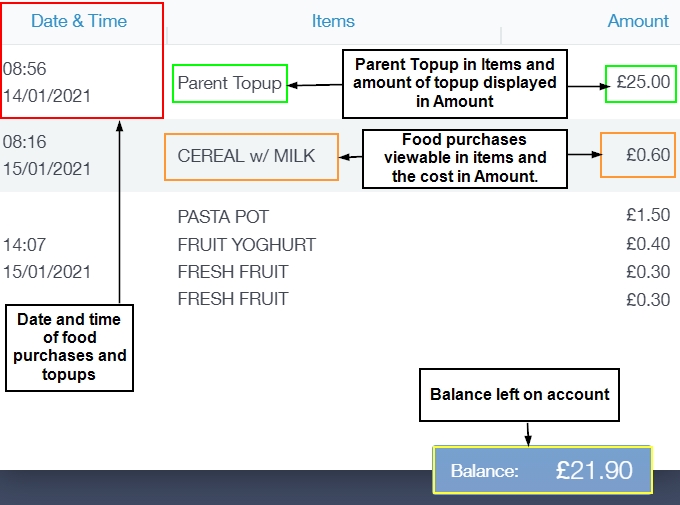
The catering screen consists of a table that details the Date and Time of purchase or top-up, the Item purchased or top up and the Amount the food or top-up cost.
The balance is visible at the bottom of the catering screen.

Parent and Learner View of Catering
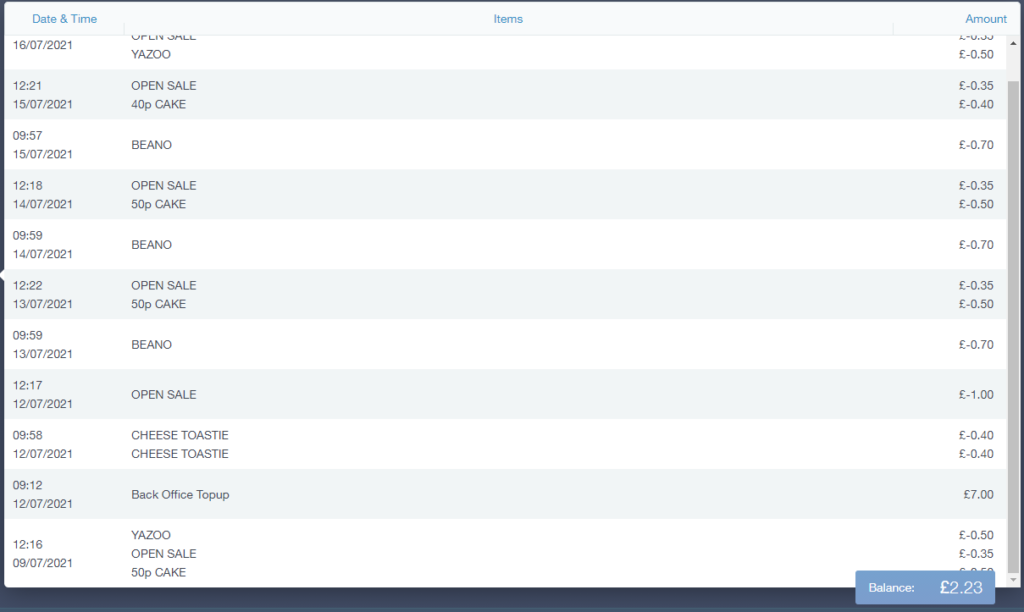
Parents and learners view of catering is the same. They can see the date and time of their child’s food purchase, the item of food purchased and the cost of the food. Parents and learners can also see when parent top-ups have been made, for instance, in the example below the top-up appears as ‘Back Office Top Up’. This allows the parent to view if the top-up has been entered into the learner’s account. It also allows the learner to see if their parent has topped up their account.
The balance is always provided in the blue square at the bottom, indicating how much the learner can spend on food purchases.

To return to the main menu, users must click on the back arrow on the Catering icon.

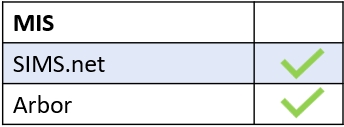
MIS Compatibility

