For catering, once NRS (Civica) Trust-e has been set up on the web service, click on the Edulink SIMS Agent at the bottom of your screen.

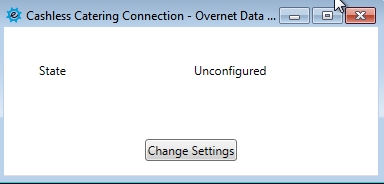
Select Catering Connection to configure your cashless catering.

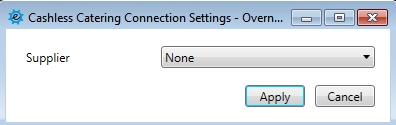
Next, click Change Settings to view the list of suppliers.
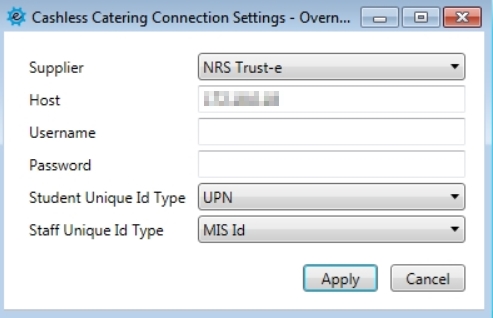
Locate NRS Trust-e (Civica) supplier in the dropdown list.
Enter the IP address of their web server in Host. Then, select the type of Unique ID being used for staff and students.
Click Apply, the state should change to “OK”. Logout of the server.
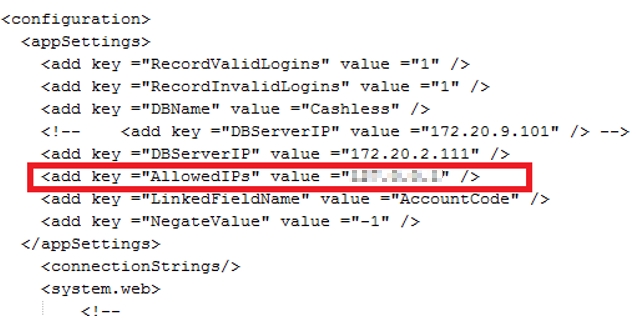
Additionally, on the NRS (Civica) web service server you will also need to modify the ‘web.config’ in the folder: C:\inetpub\wwwroot\trusteWS\
There is a line in that config file where you need to add the Edulink SIMS Agent server’s IP address comma separated.
Finally, you will then need to go to the Edulink One administration settings and select the General tab to configure Catering for the UI.