Create and edit a template in Edulink One through your Messages function at the bottom of your screen.
Click on Messages and then New Message to create or edit a template.
Next, select the user group you would like to send the message to, either Learners, Employees, Admissions or Leavers. If you intend to message learners’ parents, then select Learners here. You can also select specific individuals or groups here.
Click Next Step.
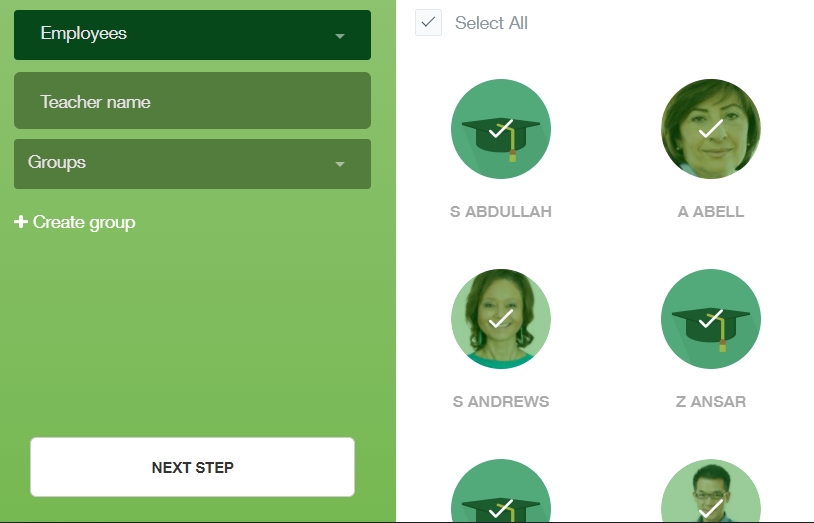
Then, select your recipients. You can exclude any recipients here by clicking on their image or by unticking the box by the Recipient Name column and retick any images of individuals you would like to email. If you find that the recipient’s email is missing, you can export an undeliverable list and contact the recipient in another way.

Once you have selected the intended recipients, you need to click Next Step.
Create a Template
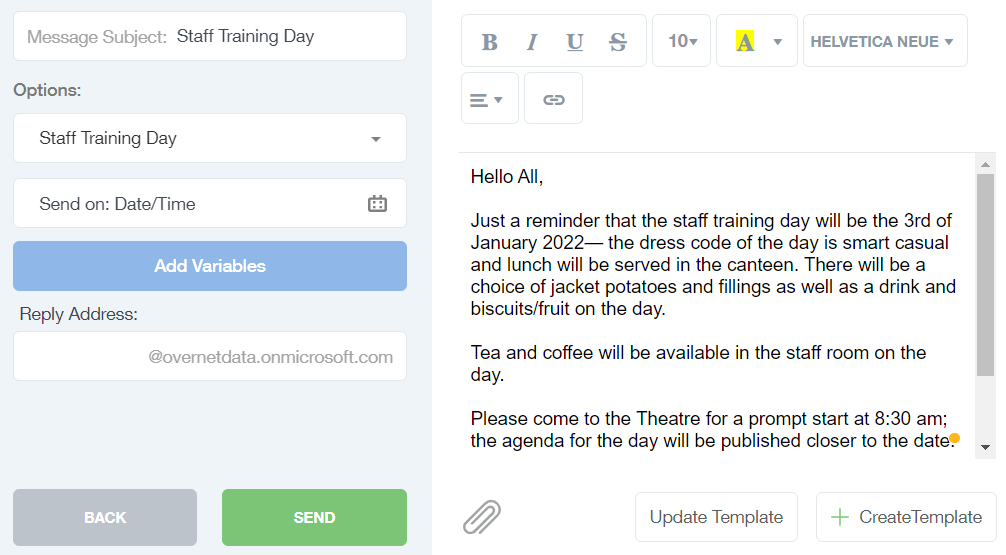
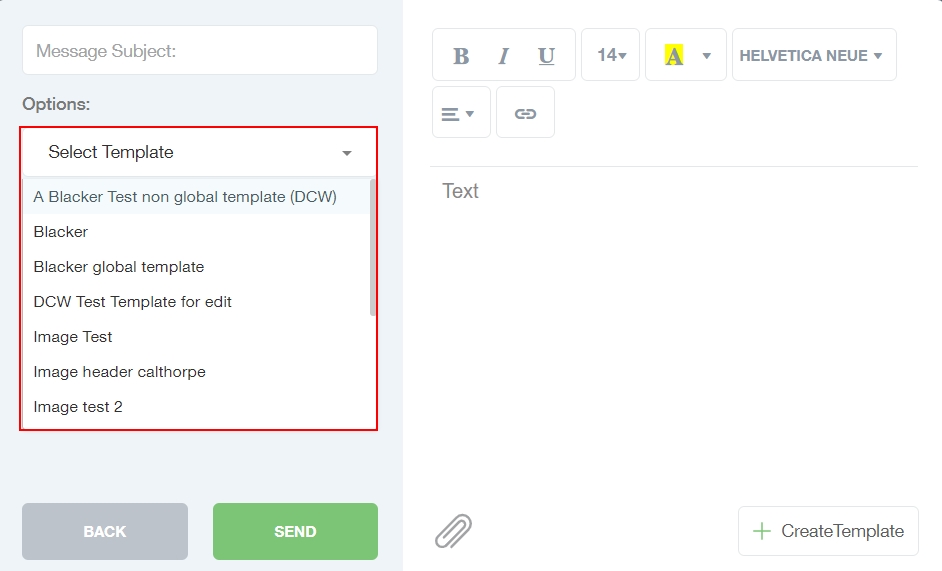
To create a template, you must write a message subject and your message before creating it. Then click on the +CreateTemplate button to open the Create Template window.
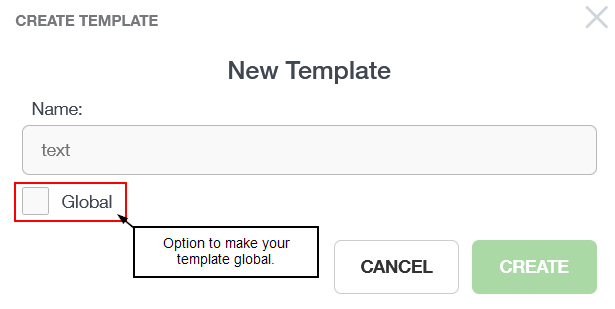
You can select a global template that is available to all staff here, a template previously created or you can create a new template if you will be sending out the message frequently.
If you choose to create a new template, name your template and select if you would like the template to be Global, meaning all staff would have access to this template.
Edit a Template
Once you have created your new template, you can edit the template. First, select the template from the Select Template dropdown menu and edit the template details.
Then, press Update Template once you are ready to save your template. The signature that has been configured in the Communicator tab will be at the bottom of your messages.
Toolbar: You can customise your templates by using the toolbar to select font size and family, bold, italic, underline, strikethrough, background and foreground colour, alignment and links (hyperlink).

Attachments: Select the Attachments button at the bottom of the message pane to attach documents, images etc., to your message.
Select the document you wish to upload and press Open to attach.

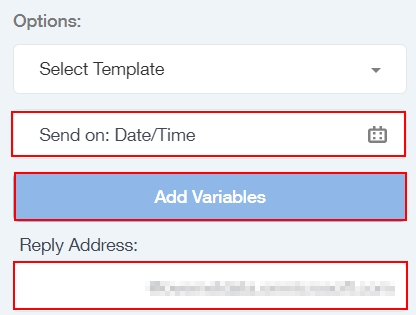
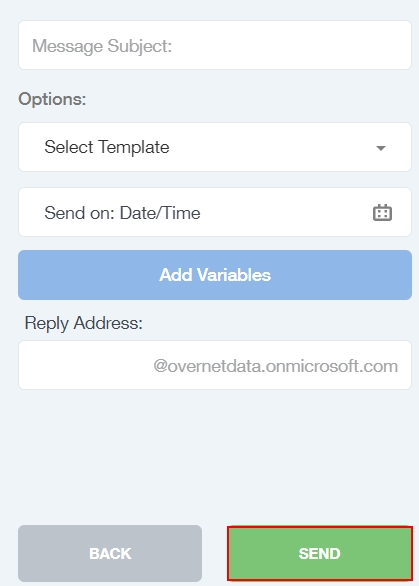
Select the send date and time, add in any variables and include a reply address before sending your message.
Lastly, click Send to send your message.
For more on templates, see the following article on how to manage a template.
MIS Compatibility
