Create forms to Make School Life Easier for Learners and Parents…
To create a form in Edulink One, an employee must log in to Edulink One and locate the Forms icon. Most employees will have the same level of access, but managers configured in the Forms tab can modify and clone the forms of other employees.
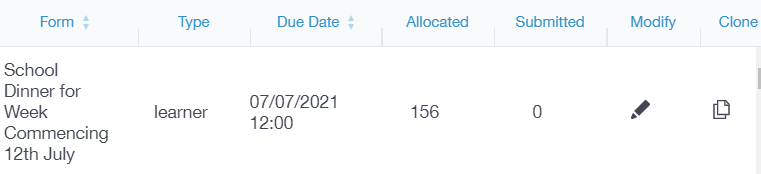
Select the Forms icon to access forms. Next, the forms window opens and a list of forms that the employee has created is visible. If the employee has never created a form, this section will be blank.

Forms have three different tabs: Active, Archived and Personal. The Active tab displays all active forms, the Archived tab contains all archived forms and the Personal tab contains forms that pertain to the individual employee and that they must fill out.

Create a New Form
To create a new form, employees must click the New button at the top left of the Forms window.

Form Name: Employees must give their form a name related to the form’s subject, e.g. Year 9 Science Trip.
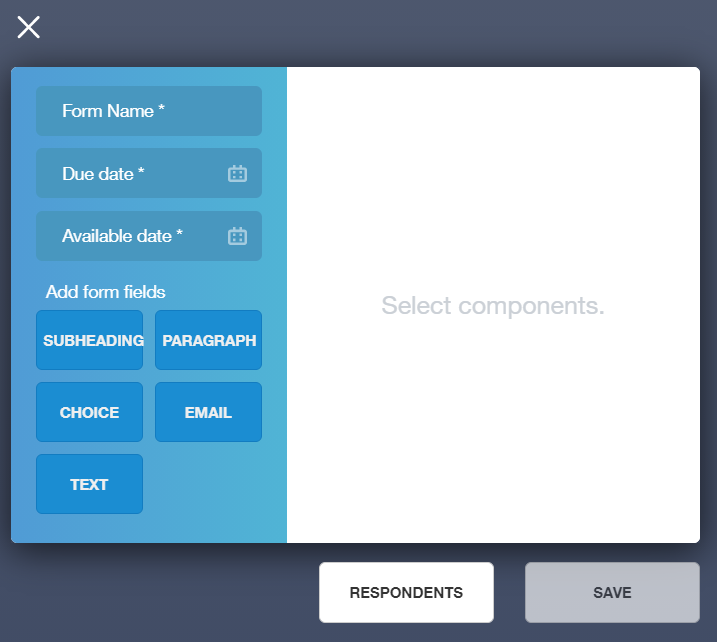
Due Date: The date the form is due for submission.
Available Date: The date the form is available for parents to view and fill in.

Form Fields
Employees can create forms with various fields to help give parents more information regarding the subject of the form.

Subheading: Provide parents with further information about the form using the subheading field.

Paragraph: You must use the paragraph field to write the details they would like to include on their form. You can customise the font, font size, background and foreground colour, and alignment. You can also use bold, italic, underline and strikethrough. Employees can also add internet hyperlinks to their forms if required.

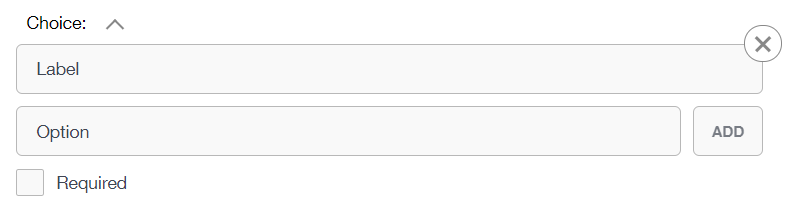
Choice: Employees can customise the fields they would like the parents or learners to respond to. The options have to take the form of ‘yes’ or ‘no’ type responses or ‘select one of the following’ responses.
The label is a required field and must include a sentence regarding the options you are providing, e.g. Please select ONE of the following meal options.
Then, employees must fill in the options they would like the parents or learners to select. This could be yes or no, in the event of gaining permission, or it could be a ‘select one of the following type’ response. Concerning the above example of school meals, for instance, the options could include a Hot School Dinner, Vegetarian Option, Pasta Pot, Pizza Slice or Salad Bar, but learners or parents can only select ONE answer. Furthermore, employees must tick the Required box if they require the choice field for the form.
Email: Employees can select whether they would like the respondents to include their email by selecting the email field. For the label, employees should indicate that an email is a required field for their form, e.g. Please fill in your email below. The required box should be ticked if this is a required field.

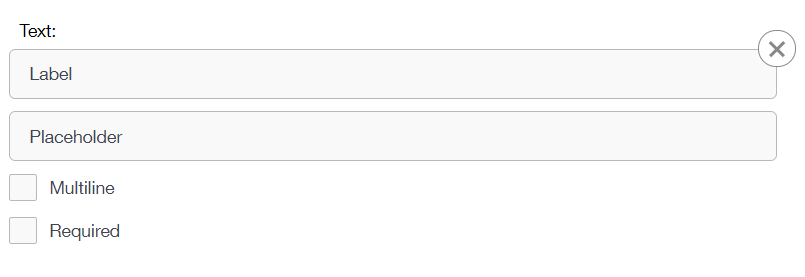
Text: Employees can consider whether they would like the respondent to be able to write a free-form text response to the form’s subject. They should include the label for the text, e.g. Write any dietary requirements below, and include a placeholder, which appears in the text box, to provide an example response, e.g. Write allergies or intolerances here.
Respondent
To select respondents for a form, click the Respondents button after the necessary fields have been filled in and the form has been created.
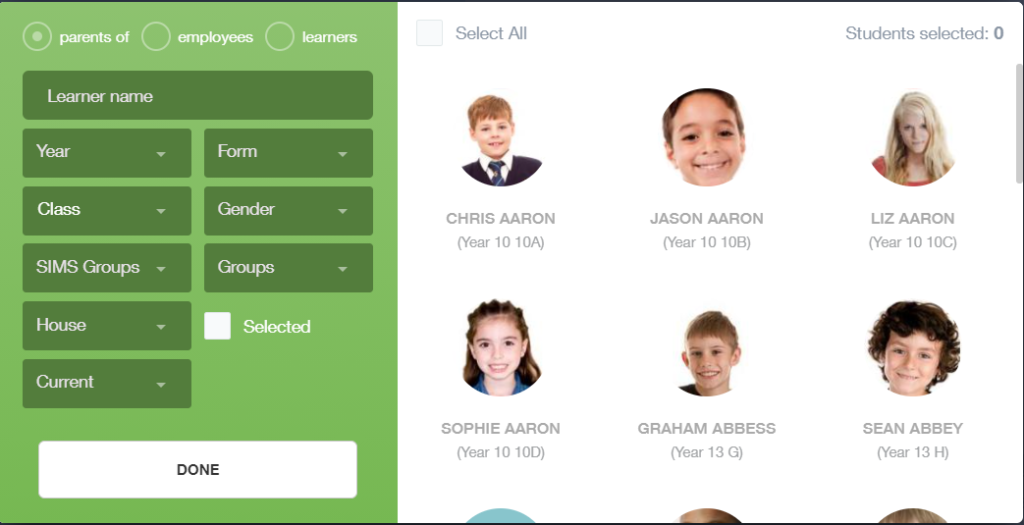
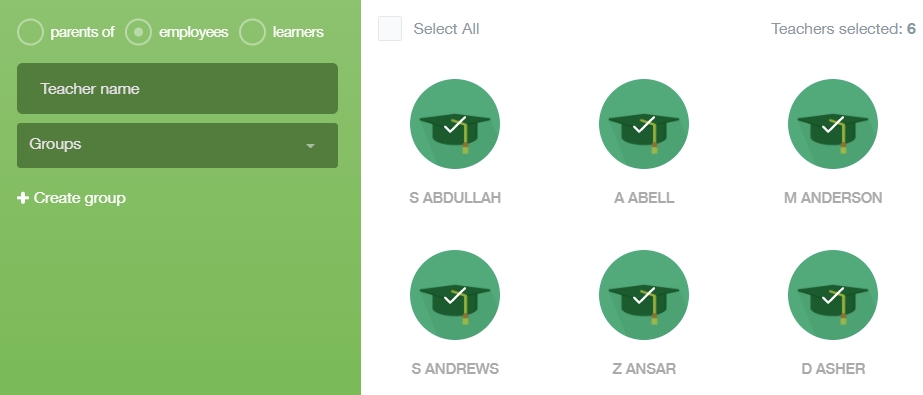
To begin, employees can filter by parents of, employees and learners. To select a respondent type, they must tick the required circle at the top of the left pane.

If a form has been composed for one child only, employees can search by learner name or by image in the right pane. However, if a form is required for an entire group of students, employees can search by Year, Form, Class, Gender (e.g. in the event of HPV jabs), MIS Groups, Groups, House and Current/ Applicant learners.

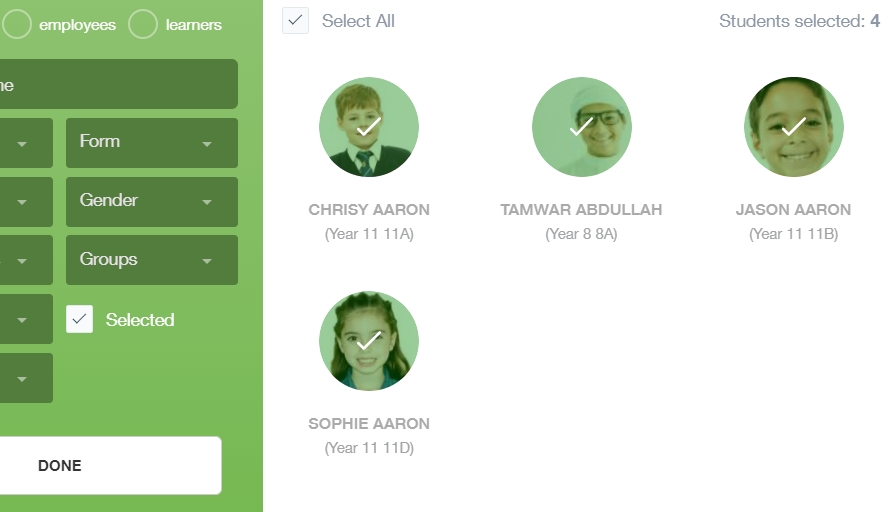
To select a small group of learners, use the filters and click on the images of the learners. Next, tick the Selected box, the students’ images will appear in green with a checkmark over the top, and then click Done to return to the New window.
To select an entire group of students, use the filters to choose the group needed and tick the Select All box.
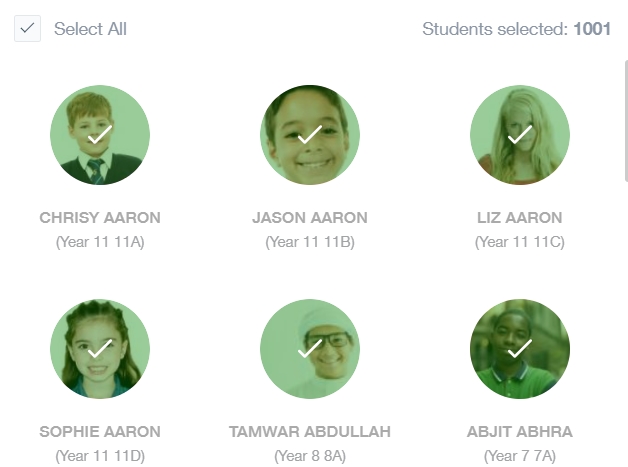
All of the students’ images will appear in green with a checkmark over the top. Click the Done button to return to the New window.

Respondent: Employee Groups (New Feature)
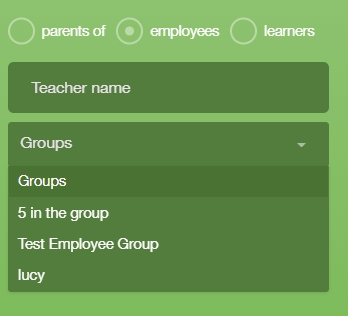
If you are creating employee forms, you now have the option to select employee groups from a dropdown list or create a new group entirely.
To add a new group, simply click on the images of the employees you would like to add and click the + Create Group button.
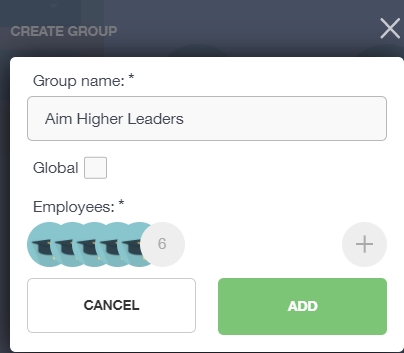
A new window will appear where you must name your group, select whether it is a global group and add additional employees if desired. Finally, to create the group you must click the Add button.
Save
Lastly, press the Save button to send the form.
By saving the form, all respondents are sent the form and it appears in the Active tab in the Forms window.
How Do I Create Forms? Video
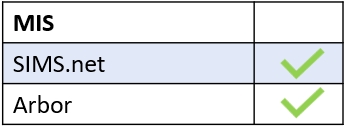
MIS Compatibility