Clone a form quickly using Edulink One’s Forms function. The clone option can save you a lot of time because you won’t need to create a whole new form for a subject or an event that occurs frequently or even annually. All employees can clone forms and modify them for their use.
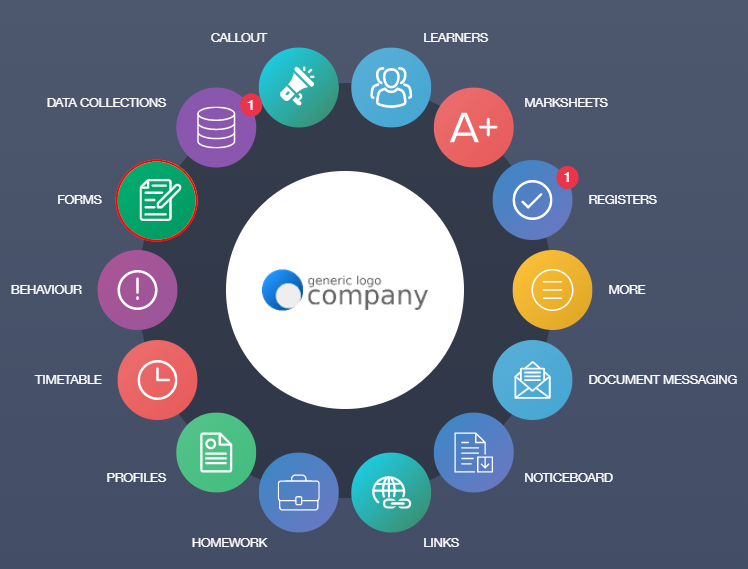
First, you must log in to Edulink One and locate the Forms icon. If this is the first time you are logging on to Edulink One, you can find out how to log in here.
Click on the Forms icon to access the forms window. The window contains the Active tab, Archive tab and Personal tab, which are dedicated to different functions within forms.
To clone a form, click the Clone icon in the Active tab or, if the form is historic, select the Archived tab and click the clone icon there.

The original form appears and, to clone it, you must click the Clone button at the bottom right of the window. You need to ensure that the dates reflect the new due date and availability date before you clone.
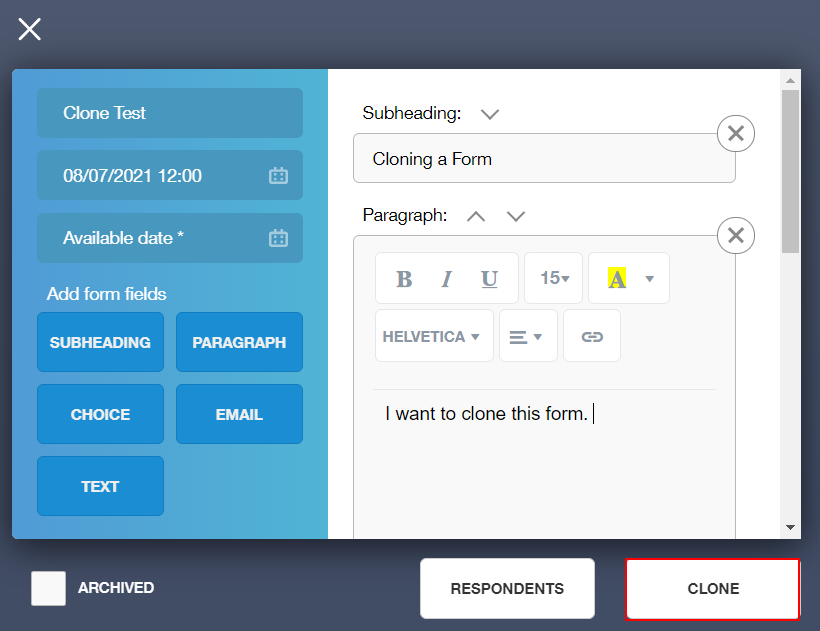
Click the Clone button to clone the form. A green message appears stating ‘Form successfully cloned’.
Modifying a Cloned Form
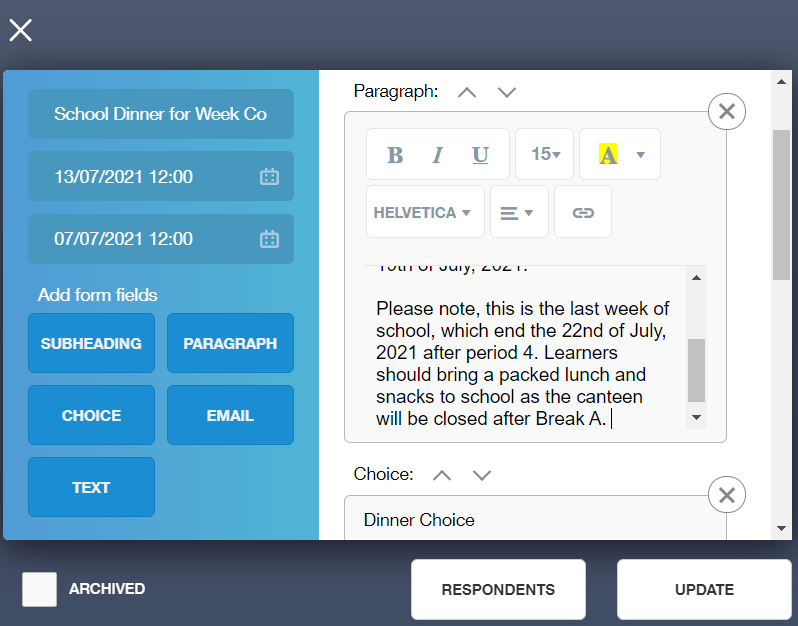
The cloned form will appear in the Active tab. Then, you must click the Modify icon to make changes to the form.

Next, change all existing fields in the form to match your specifications. You can change the form name, dates and times and all form fields such as subheading, paragraph, choice, email and text.
Within the paragraph field, employees can also make changes to the appearance of the form by selecting different fonts and font sizes, background and foreground colours, paragraph alignment, bold, italic and underline functions, as well as hyperlink to include internet links in the form.
Once you finish making changes, modify the respondents by selecting the Respondents button.
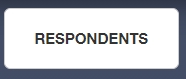
Modifying Respondents on a Cloned Form
Firstly, click the Respondents button and select the respondent type from the three choices at the top of the window: parents of, employees and learners.
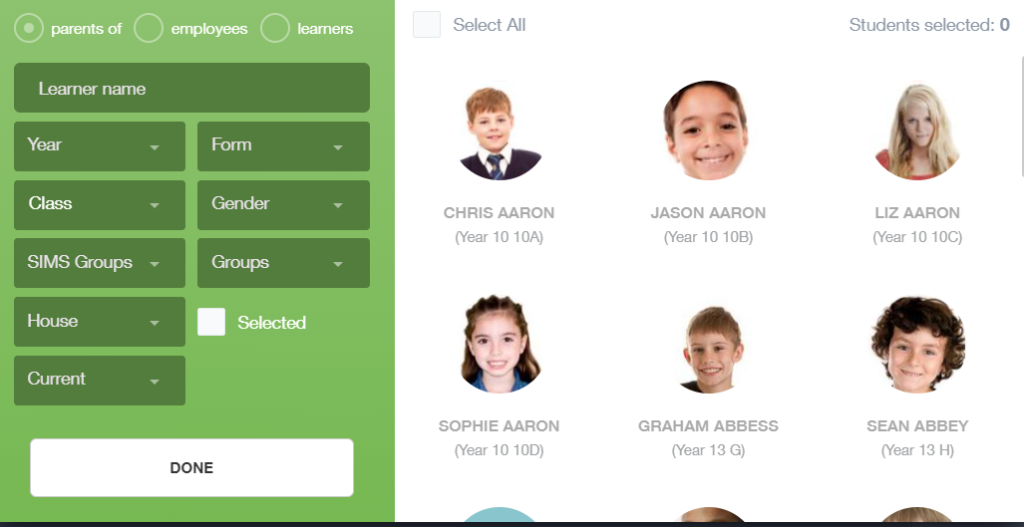
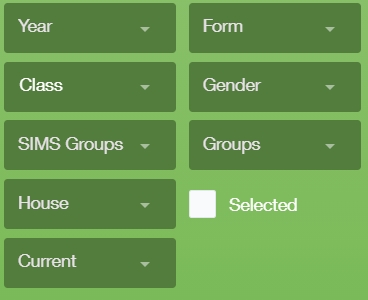
To select one learner, simply click on their image or type in their name into the Learner Name field. Likewise, when selecting more than one learner, you can click on the images of several learners and tick the selected box to send a form to a select group. You can narrow your search down by filtering the fields to a particular Year, Form, Class, Gender, SIMS Groups, Groups, House and Current or Applicant learners.

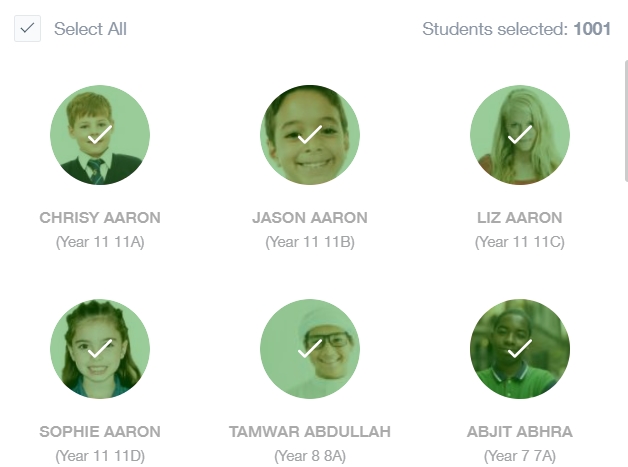
To select all learners in the whole school, tick the select all box above the images in the right pane. Alternatively, you can filter by field and select all pupils in a given category, e.g. Year 7s only.
Click Done to save your respondent choices and to return to the modify window in the cloned form.

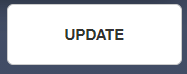
Lastly, click Update to save all changes to the cloned form. A green message appears saying ‘Form successfully updated’.
Your form is now ready. To return to the main menu, press the back button on the Forms icon.