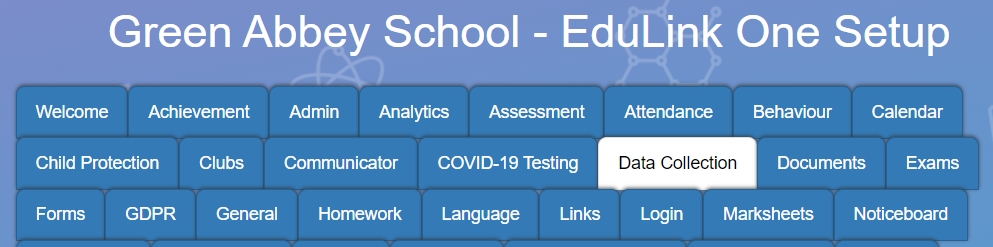
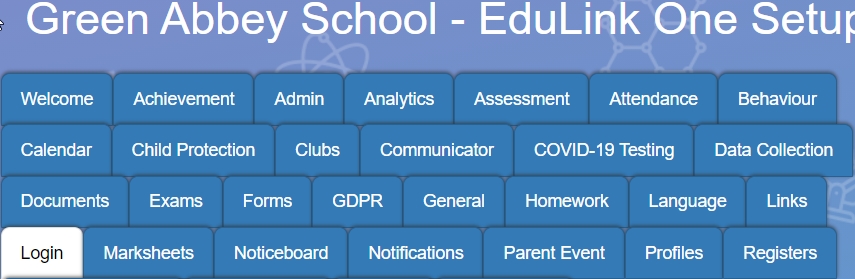
To move addresses for all cohabitants of one household to a new address, e.g. dad and two kids, you need to log in to Edulink One and ensure that the settings are enabled in the Data Collection tab. This is located in the Administration area.
Scroll and find the ‘Enable address move cohabitees‘ setting and turn it ON. This setting will give administrators, parents and employees the option to move all members of their household to a new address in the user interface.

Click Save at the bottom of the page to save your settings. Once you have finished, return to your Edulink One homepage.
Moving Cohabitants in the User Interface
Parents and employees can move the address of all cohabitants themselves in the Update Information functionality.
To do this, click on the Update Information icon and scroll to the Address section. Click the Move button to begin.

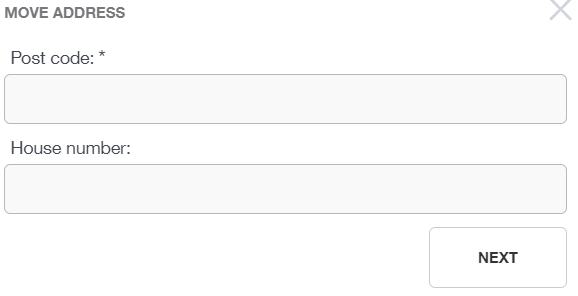
Type the new postcode and house number and click Next.
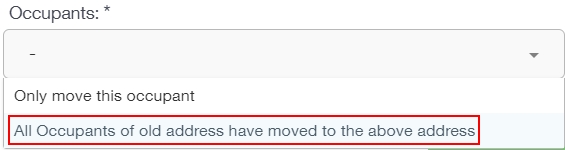
Fill in the details of the new address in the next window. At the bottom of the window, there is the Occupants field. This is a mandatory field that needs to be filled in. To move all occupants to the new address, select ‘All Occupants of old address have moved to the above address‘. Otherwise, if it is only one individual moving select ‘Only move this occupant’.
Click the Done button to change the address.

Data Collection administrators need to accept or reject the data collection change before it will update in the MIS. This is done in the Data Collection functionality.
Moving Address of all Cohabitants as an Admin
Administrators can move cohabitants by logging in as a specific parent or employee. This is useful when parents or employees need help moving their addresses.
Go to the Login tab in the Administration settings, scroll to the ‘Load User Accounts‘ button and click on it.
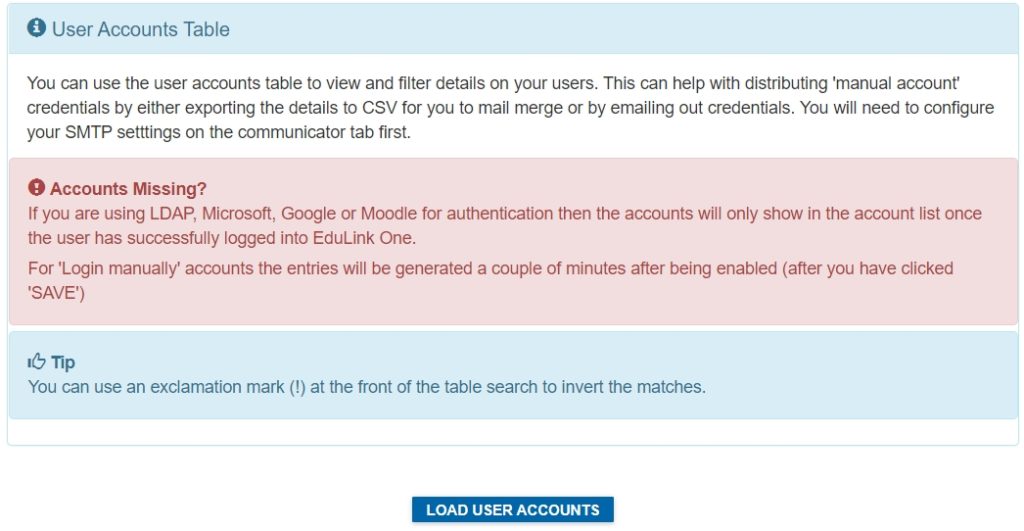
Once the table has loaded, filter the fields to find the person you are looking for. You can type ‘parent’ or ’employee’ in the User Type field to narrow down your search. You can also search using the Username, Name and Children fields. There are other field options available in Column Visibility at the bottom of the table.

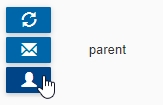
Once you have located the user, click on the Login As button to the far left of the screen.
At this point, the user’s screen will open and you need to proceed in the same way that a parent or employee would. Go to the Update Information icon and click the Move button in Addresses.
Then fill in the address, select the ‘All Occupants of old address have moved to the above address‘ option and press Done.

Review the data in Data Collection and accept (or reject it if there is an error). This will be updated live in the MIS.
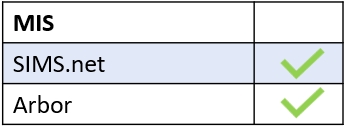
MIS Compatibility