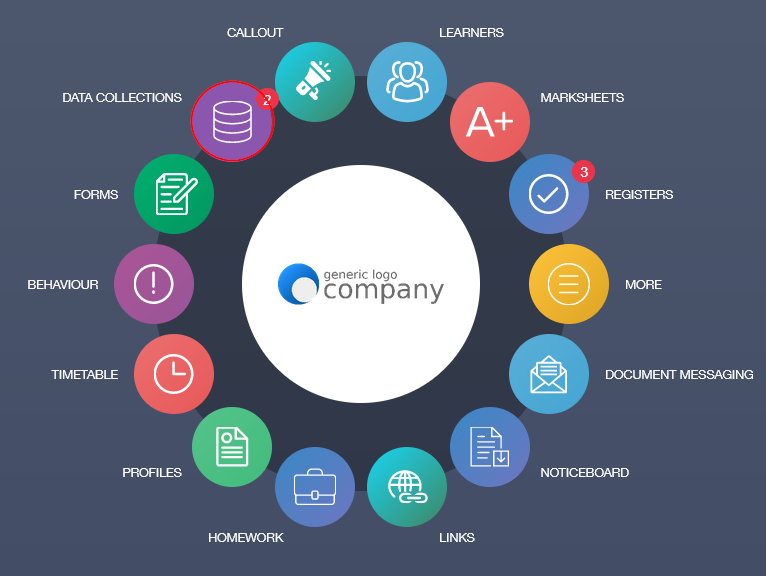
Authorised employees within the Data Collection Tab have a Data Collection Icon enabled on their Edulink One homepage. These employees will often be admin staff or data managers, for instance, who handle parent, student and employee data. It is recommended that you have separate managers for employee data and parent/student data.
Before this step, you need to set up data collection and Data Managers for your school. Follow the steps in the Data Collection Tab Settings article to do this.
First, Data Managers need to log in to Edulink One to view data collections, using the app or website. The Data Collections icon will highlight new data collections in a red circle with the number of new data submissions. Click on the Data Collections icon to view the new data.
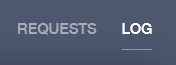
Requests
There are two tabs at the top of the window named Requests and Log. You can view new data submissions in the Request tab and view previous data changes (and authorising employees) in the Log tab.
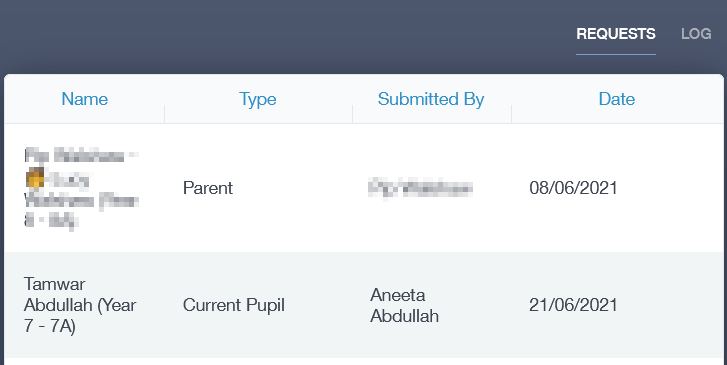
Click on the data submission you would like to review. After reviewing the information change(s), you can accept the change to update the data in the MIS or reject the change. Rejecting a change will not update your school’s MIS.
To accept a change, click the green checkmark. Similarly, to reject a change click on the red X.
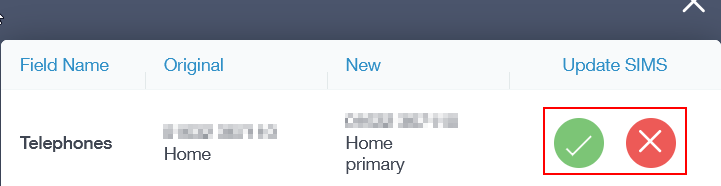
If successful, a green box stating ‘success’ will appear. The data will then be updated in the MIS.
Logs
To view logs, click on the Logs tab at the top of the window.
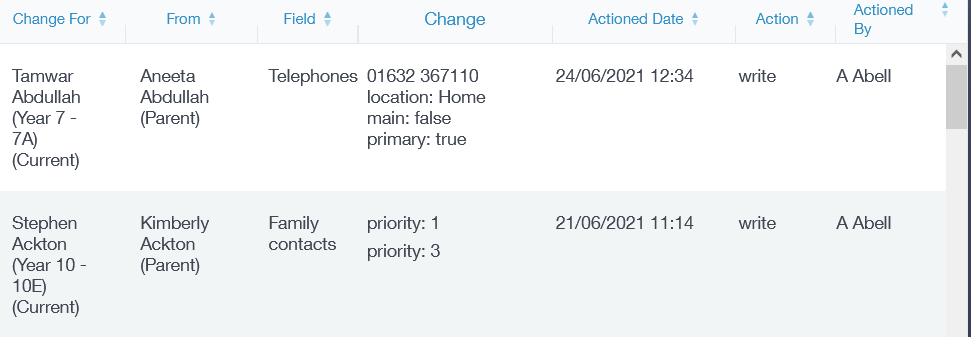
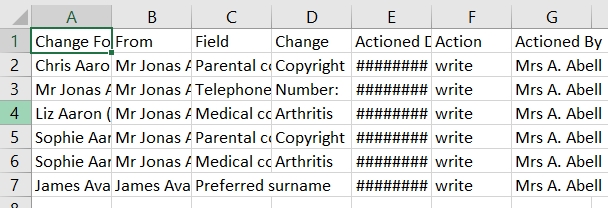
The log opens to show the data that has been approved or rejected.
You can use the arrows to select the information you would like to view in those fields.

The fields you can filter by are as follows:
Change For: The learner, parent or employee the change of information is for.
From: Who is requesting the change.
Field: What information category is changing.
Change: The actual change in the information requested.
Actioned Date: The date the data request was accepted or rejected.
Action: Whether the data has been approved or rejected. If approved, it will be written to the MIS.
Actioned By: Who actioned the changes to the learner, parent or employee data.
Exporting Data Collections
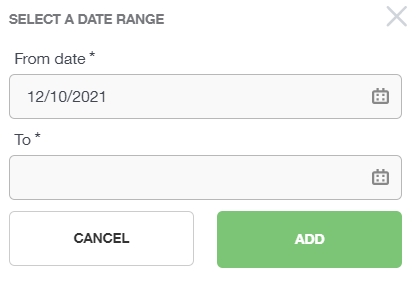
Now you can export your Data Collection Log and select a date range to view and export your log.

To select a date range, click on the calendar to set the From date and To date. Click Add to update the date range.
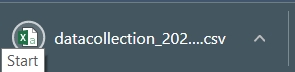
To export your log, click on the export button to download a . CSV file of your log.
When complete, the Data Manager can press the back arrow to return to the main menu.

Data Collections Video
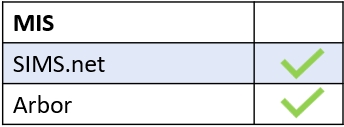
MIS Compatibility