To configure Document Messaging for your school, for example when you need to send out reports, you must first have your Communicator tab set up in the administration settings. This is an important first step, otherwise, you will be unable to send documents to the parents’ or learners’ email addresses.
To set up your Communicator tab, see the following article Configuring the Communicator Tab.
However, if your school already has Communicator configured, your Edulink One administrator must log in to their Edulink One account and access the Administration settings in the cog at the top left corner of the homepage.
Next, select the Documents tab to configure the Document Messaging function in the user interface.

Importantly, the Documents tab allows you to configure two functions in the user interface: Document Messaging, which allows you to send documents, for instance, reports to parents and learners, and Documents which displays SIMS linked documents in a PDF format.
Configuring Document Messaging
The Document Messaging settings are the five fields in the Documents tab.
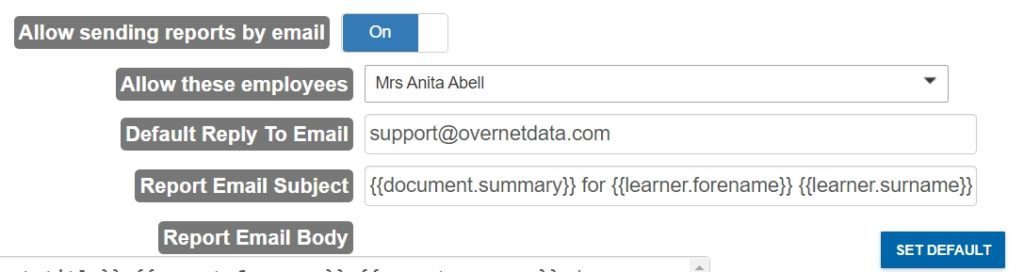
To begin, if your school plans to send reports to parents and students by email, you must have the Allow sending reports by email setting turned ON. Once enabled, the message subject and body will appear along with a field requesting you to select authorised employees who can send messages.

Allow these employees: Select authorised employees who can send documents, such as progress reports, to parents and learners. This might be a member of the admin team, a data manager, or a member of SLT who has responsibility for school documents.

Default Reply To Email: This sets the default ‘reply to’ email address within the messages sent out to parents.

Report Email Subject: The subject line of the email detailing the content of the report and which child it is for. The default email subject includes variables, but this can be customised by schools.

Report Email Body: The message that will be sent to parents regarding their child’s report. The default message includes variables, including the parent’s title, forename and surname, as well as the document file name, learner’s forename and surname and a summary of the document. This can be customised to reflect your school’s needs.

Resetting Your Email Changes and Saving
To return to default settings after changes have been made to the email subject and body, select the Set Default button.

Next, a confirmation message appears asking you if you would like to return to the default setting.
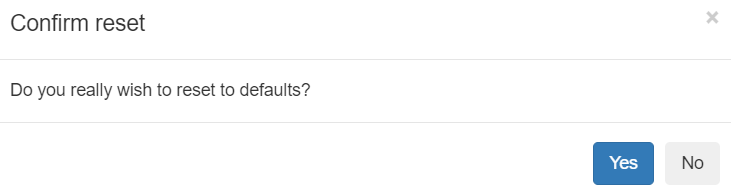
Lastly, Press Yes to continue resetting the email subject and body to default, or No to cancel.

To finish setting up Document Messaging, press the Save button at the bottom of the Documents tab.
Run a Cache for Document Messaging
You can run a cache to send a document quickly, for example, a student medical note. To do this, you must first go to the administration settings.
On the main welcome page of the administration settings, there is an option to run a cache refresh for a full sync (SIMS and Arbor) or documents only, students +applicants, contacts + student relationships, Employees and LDAP (SIMS only).

Firstly, select a cache refresh for Sync Documents Only.


If a cache is currently running and you need quick access to documents, you can click the ‘Sync Documents Only’ button and then click ‘Yes’ when the confirmation message appears. It should take 5-10 minutes to force this cache, depending on the number of documents.

This gives you access to the documents needed for document messaging faster than a traditional cache.
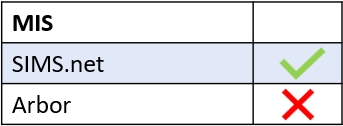
MIS Compatibility