You can add new Admin Users to your account with the Admin Tab. Log in to the Edulink One website using the credentials supplied to you and click on the cog at the top left of the screen. Then, select Administration to access the Edulink One settings. Locate the Admin tab in the Edulink One administration settings to configure your users.
Adding Admin Users
Admin users: Employees selected in this setting will be able to log in to the Edulink One Setup area and will be able to configure settings. You can add admin users in the Admin tab by selecting employees from the dropdown menu. Tick all the employees you wish to have access to the Setup area.
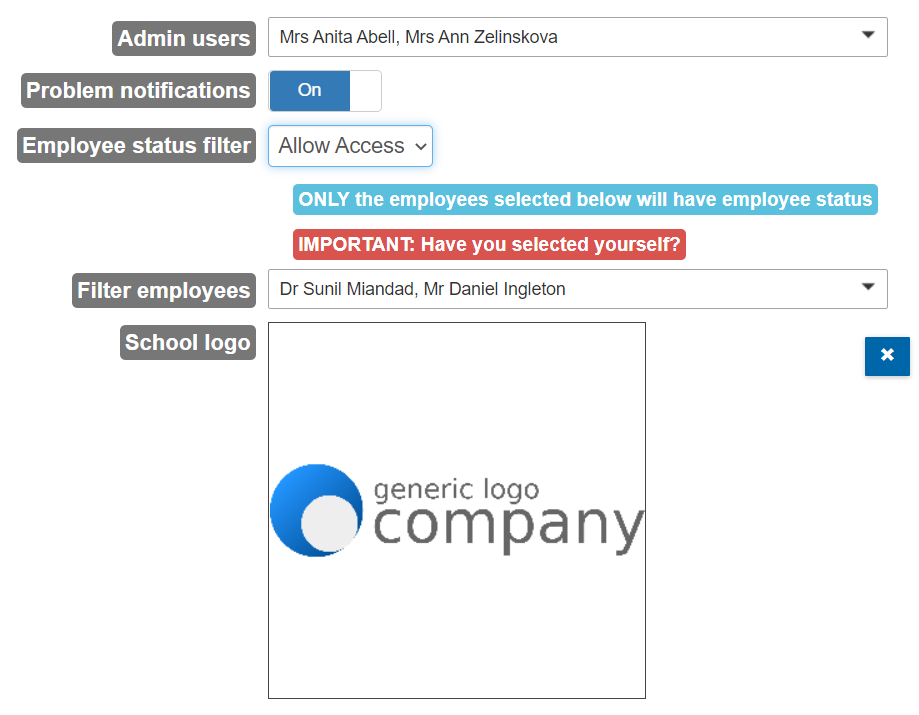
Problem notifications: The enabled admin users will receive an email if an issue with the system is detected.

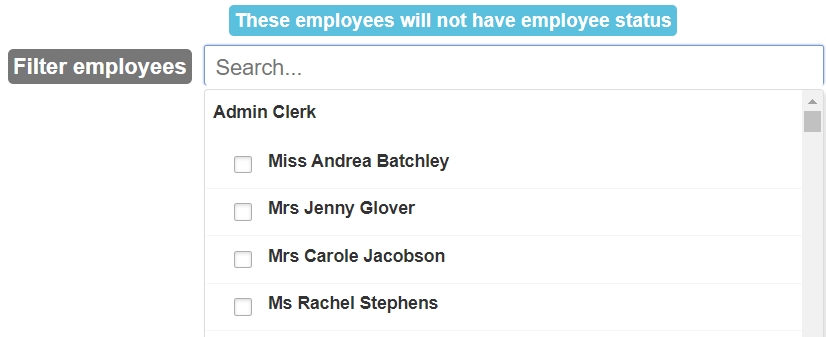
Filtering Employees
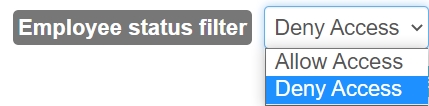
Employee status filter: Deny Access in the dropdown menu means any employees selected in the filter employees setting will not have employee access to the system (any new starters will automatically have access).
However, Allow Access means any employees selected in the filter settings will have employee access to the admin system.
Filter employees – The system gives all employees the same access rights by default. This can include non-teaching staff— such as catering and cleaning staff— where it may be unsuitable for them to have employee access. Depending on the “Employee status filter”, ticking employees in this setting will either give or remove the employee access rights.
Inserting Your School Logo
Your School logo is used in several locations in the system. By default, the logo is pulled from SIMS. If you do not want to use the logo within SIMS, you can specify a different logo to use in the box in the admin tab— just drag and drop the image file onto the upload area.
To save your changes, click the Save button at the bottom of the Admin tab.

MIS Compatibility