All employees can manage groups in Edulink One, but they can only manage their groups, not other employees’ groups.
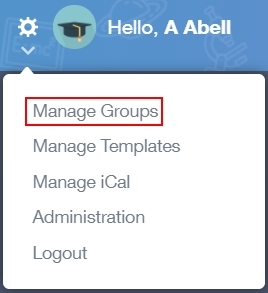
The employee must log in to the Edulink One app or website and click on the cog in the top left corner to manage groups.

Once the cog is open, a menu appears and you must select the Manage Groups menu item.
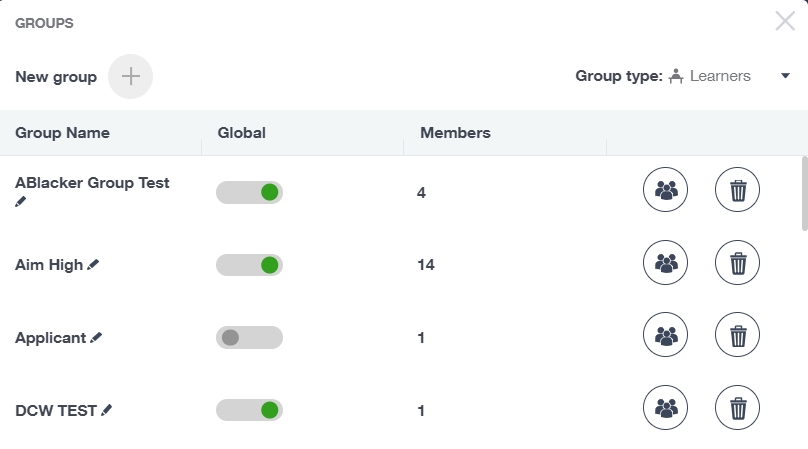
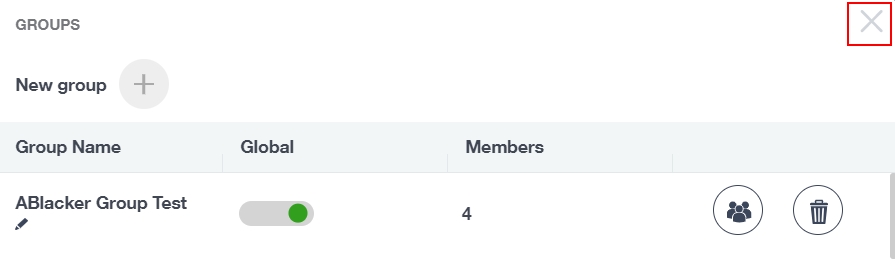
Next, the Groups window opens which contains a table of all of your groups.
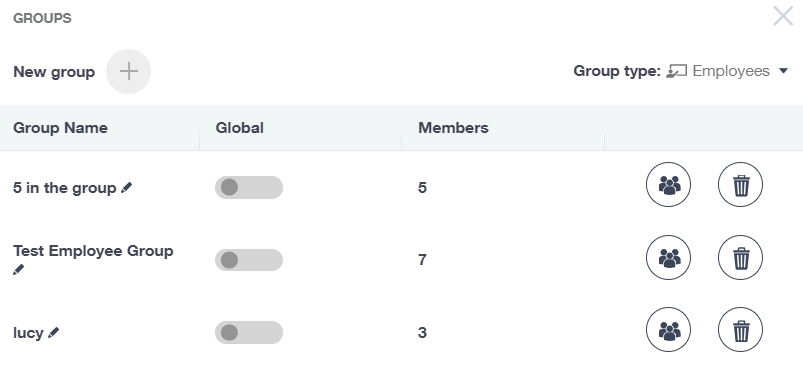
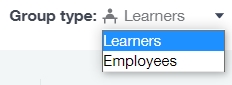
A feature of Groups is the ability to create and manage employee groups. To view the Employee Groups screen, you need to switch the Group type from Learner to Employee.

The screen will then change to display employee groups.
The Groups Screen
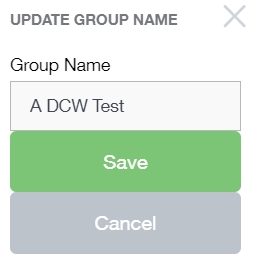
Group name: Next to the group name, there is a pen icon. If you click the pen icon, you can edit the name of the group.

An Update Group Name window opens, where you can type a new name and click Save to change the name. The new name will appear in the Groups list.
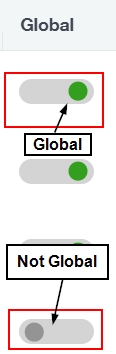
Global: Select whether you would like the group to be global, meaning all employees have access to this group, e.g. intervention group, or whether you would like the group to belong to you only. To make the group global, click the toggle that will turn green. Groups that are not global remain grey.
You cannot change or modify a global group belonging to someone else.
Members: This column tells you how many members are part of a group.

Edit Group Members
You can edit the members of a group by pressing the update group members button.

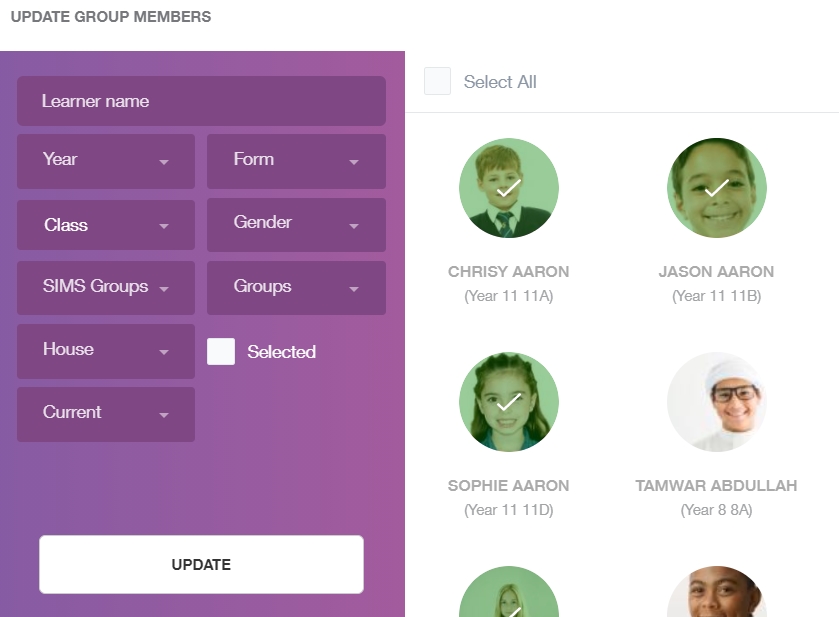
After you press the update group members button, a new window opens where you can see the existing group members in the right pane. You can add new members by using the filters in the left pane.
You can locate a new member by typing the learner name, or you can filter by Year, Form, Class, Gender, SIMS Groups, Groups (which is what you are currently in, but you can add pupils from another group to an existing one), House and whether they are a Current learner or an Applicant.
Next, click on the images of the learners you would like to add and tick the Selected box. Alternatively, if you would like to select an entire group, such as Year 8 Girls, you can use the filters and tick the Select All box at the top of the right pane.
Click the Update button to update your group members.
Delete a Group
To delete a group, click the bin icon at the far right of the screen. A confirmation message will appear asking you to confirm whether you would like to delete your group or not. Click ‘Yes’ to delete the group.

Create a New Group
Create a new group in the Manage Groups function by pressing the New Group + button.

You can now select a Group Type as well, so you can create both Learner groups and Employee groups— a new feature in Edulink One. Select the group type you would like to create and then press the New group + button.
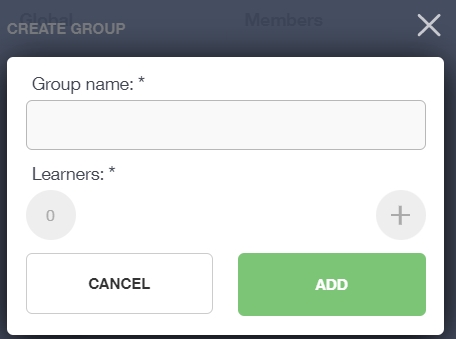
Then, a Create Group window opens where you must type the Group name (required field) and select the Learners (required field). Once you have given the group a name, press the + button under Learners to add group members.
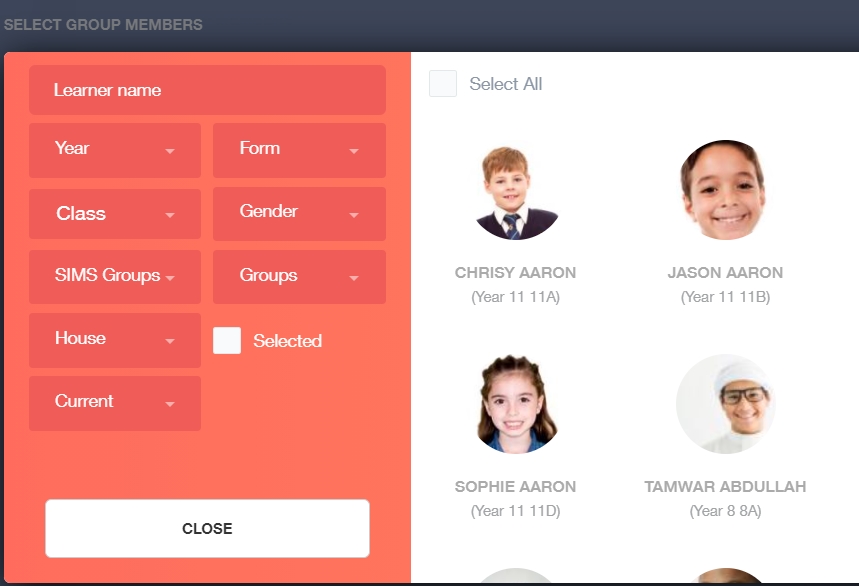
Next, a new window opens where you can Select Group Members. You can use the filters to find the learner names for your group. Search by the name, Year, Form, Class, Gender, SIMS Groups, Groups, House, and Current (or Applicant) learners.
After using the filters, select the images of your learners (this can be across year groups— Edulink One will remember which learners you have chosen), and tick the Selected box. If you select an entire Year, Gender, Class etc., you can tick the Select All box on top of the learner images.
Then, click Close to return to the Create Group window.

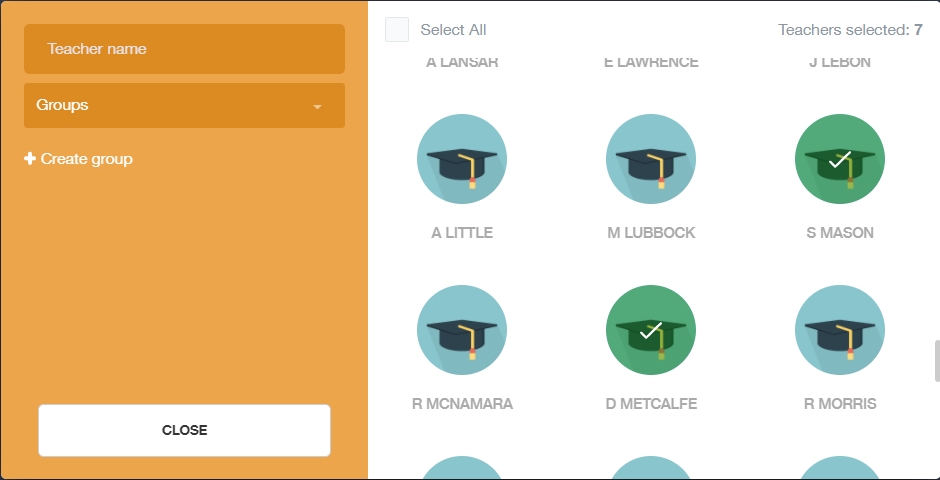
Similarly, if you are creating an employee group, simply select the images of the employees you would like to include in your group and click the Close button.
Finally, you will see the images of the group members and a number indicating the number of learners in the group.
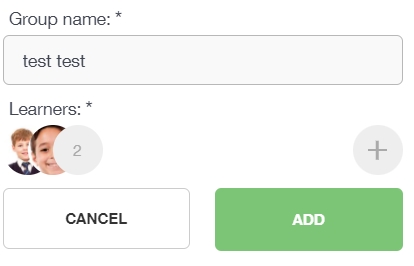
Press the Add button to add your learners and to create your group. This new group will be added to your Groups table in Manage Groups.

To exit Manage Groups, click the X in the top right corner to shut the window and return to the main Edulink One homepage.
‘How Do I Manage and Create Groups?’ Video
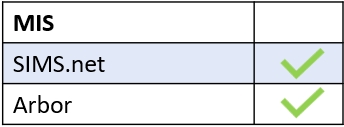
MIS Compatibility