Timetable allows staff, students and parents/carers to view their timetable (or their child’s timetable) for the week.
Configuring the Timetable (Admins)
The timetable is configured in the General tab in the administration settings. Go to Administration and then to General and click to view the settings.
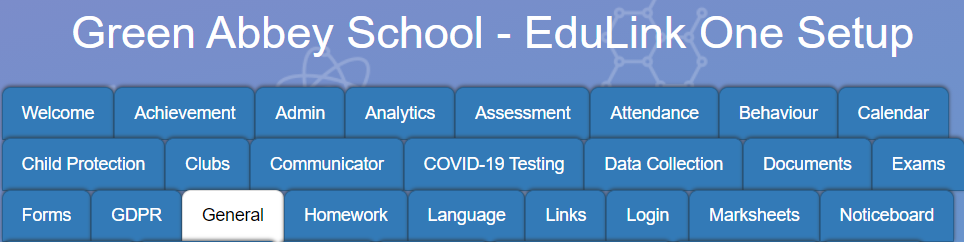
Scroll to find the Enable Timetable Screen for settings, and then select the user groups that need access to the timetable. Tick all the groups that apply.

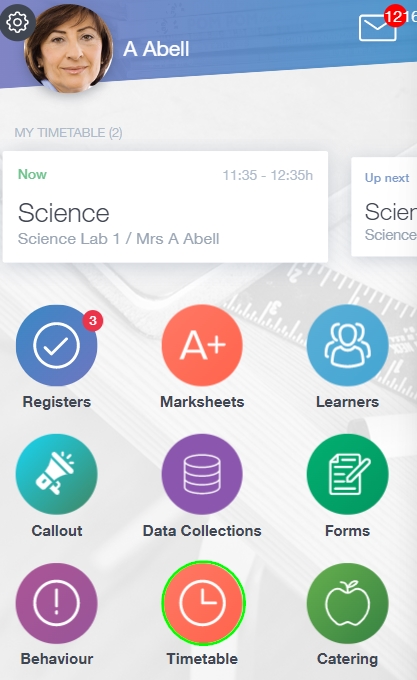
Once this part of General is configured, the Timetable icon will be visible on Edulink One’s main menu.
Viewing Your Timetable
To view your timetable, click on the Timetable icon.
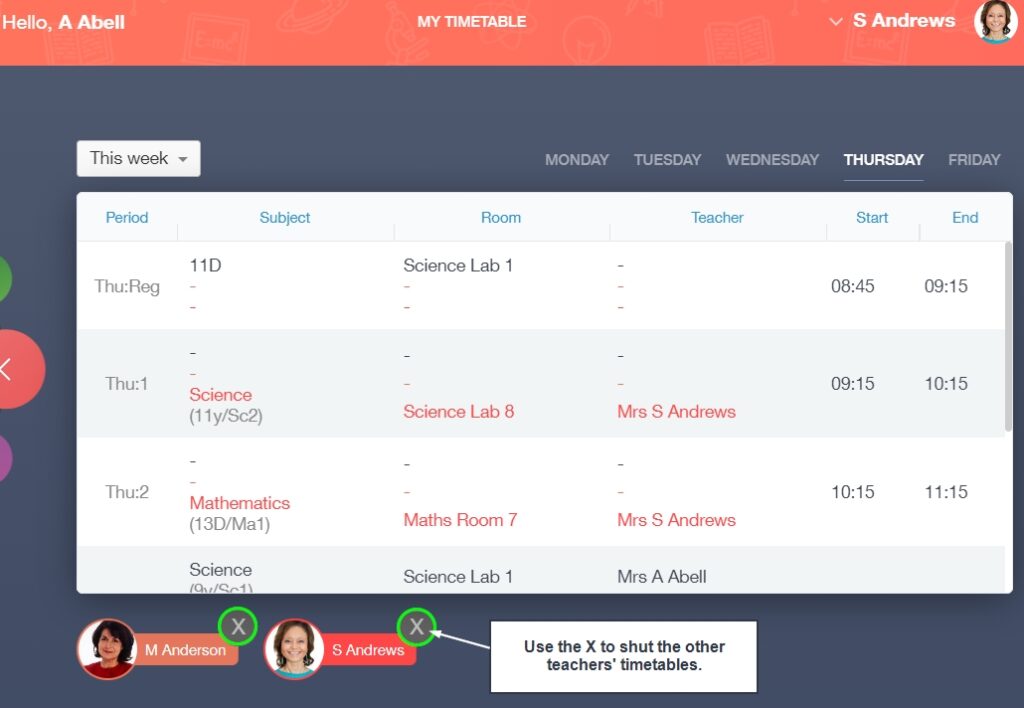
The timetable screen tells the user the Period, the Subject (including the code), the Room, the Teacher, and the Start and End times.
Moreover, at the top of the table, you can select the day of the week by clicking on the tabs. The timetable view corresponds to each specific day of the week.
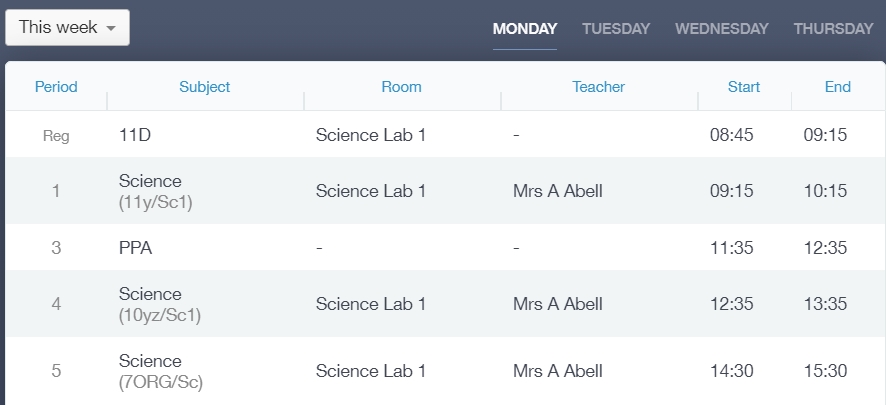
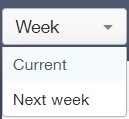
Additionally, users can select whether they would like to view next week’s timetable. To do this, click the down arrow and choose Next Week.
Teacher’s View of Timetable
Although teachers have the same view of the timetable as learners and parents, there is one main distinction between the accounts— teachers can switch teachers to see another teacher’s timetable.
This can be very useful in the event of cover or needing to locate a member of teaching staff.
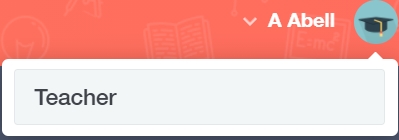
To view another teacher’s timetable, go to the top corner of the timetable screen and click on the down arrow to reveal a search bar labelled Teacher. Type in the name of the teacher you need and press Enter. If you have already viewed this teacher before, simply click on their name as it should appear in the search bar.
The view will switch to the other teacher’s timetable screen.
Once you switch to another teacher’s timetable, you can shut it by clicking on the X at the bottom of the timetable.
To return to the main menu, click the back arrow on the Timetable icon (this is the same if you are in another teacher’s timetable).
How Do I View Timetables? Video
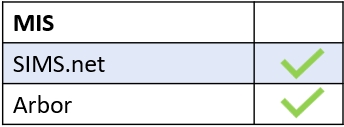
MIS Compatibility