Creating and managing clubs in Edulink One helps you to organise your clubs efficiently. Clubs has many interesting features, including the ability to take registers and manage membership.
To set up Clubs in your user interface, you must enable the Clubs tab in your administration settings.
To create a new club, or manage an existing one, log in to Edulink One and locate the Clubs icon. Click on the icon to enter the Clubs Window.
Within the clubs window, you can see your existing clubs under the My Clubs tab at the top, and next to it, you have access to All Clubs.

Create a Club
To create a new club, click on the Create button.
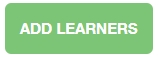
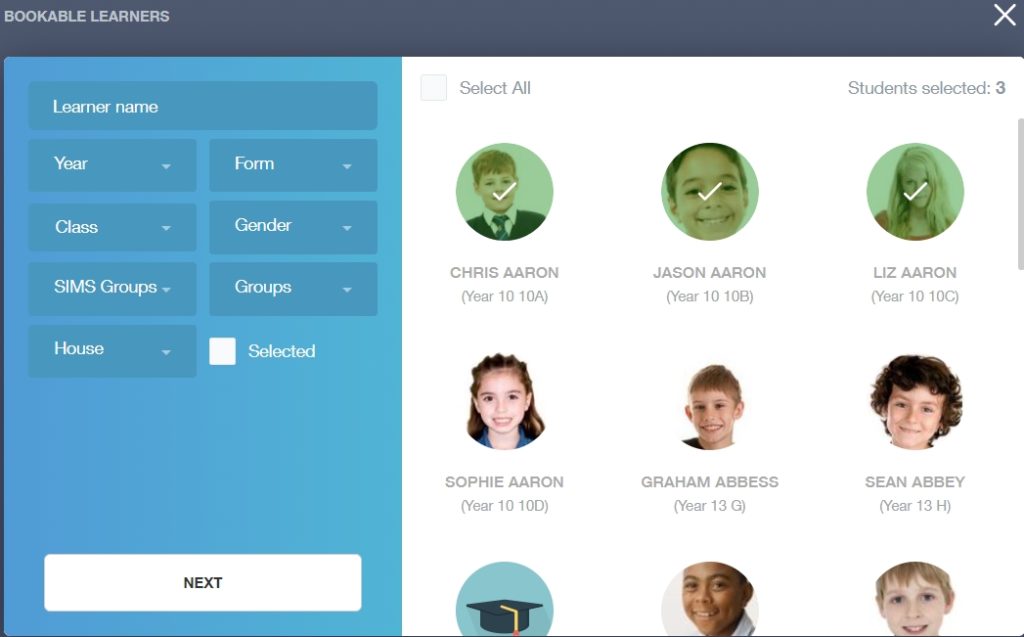
Bookable Learners
Then a window will open where you can book learners into your club. You can search by Learner name, Year, Form, Class, Gender, SIMS Groups, Groups and House.
Click on the image of the students who would like to join your club and then tick the Selected box.

Press Next to proceed.
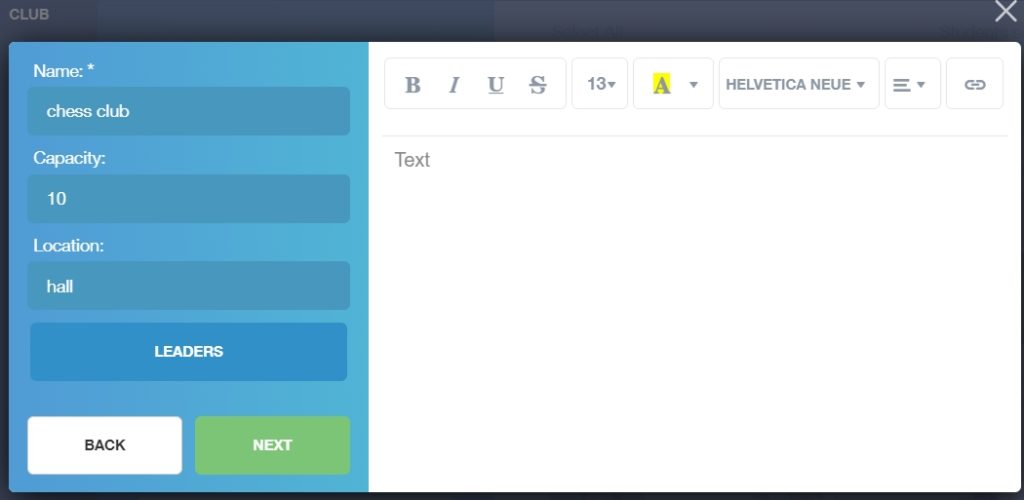
Club Description
Under the next window named Club, you need to provide information regarding the club. First, give your club a name, e.g. Chess Club, German Club, Football Team, Film Club etc… Next, select the Capacity of your club (number of members you plan to take). Then provide a location for your club and the leaders of the club (this could be you alone or you could include a co-leader).
The text box at the side is for you to include a description of your club. You can format it in different ways to appeal to your members, changing the font, and background colour, or adding a link to help illustrate what your club is about.
Press Next to continue to the next section.

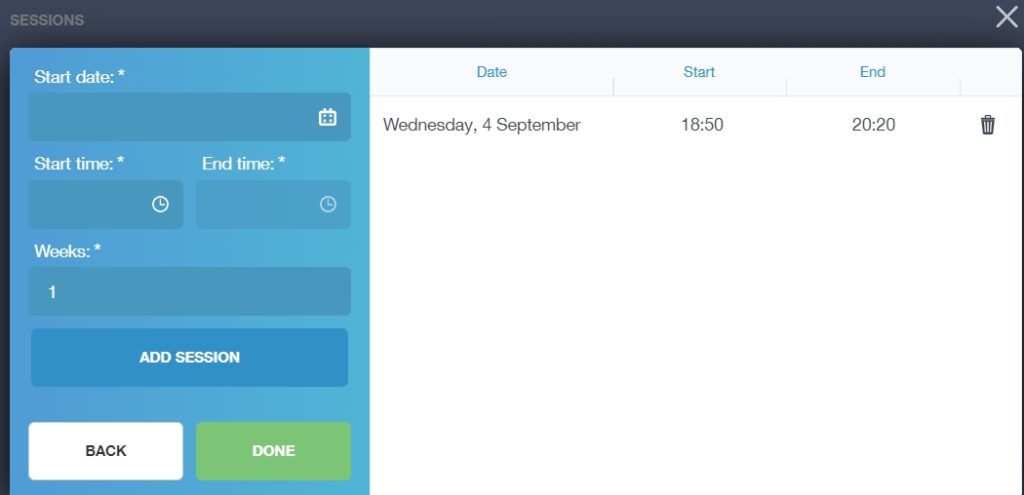
Adding Sessions
Add sessions for your club by including a Start Date for when you intend to begin the club.
Next, add a Start time and End time for your club. You can repeat this date and time on consecutive weeks by using the arrows in the Weeks box.
When you have concluded adding the session information, click the Add Session button. A list of the sessions will appear to the right adjacent to where the sessions are added.
Click Done when complete.

The club will now appear in your My Clubs tab and in the All Clubs tab.
Managing My Clubs
The My Clubs tab and the All Clubs tab are managed in the same way.
To manage a club, scroll through your list of clubs (if you have more than one) to find the correct one and click on it.
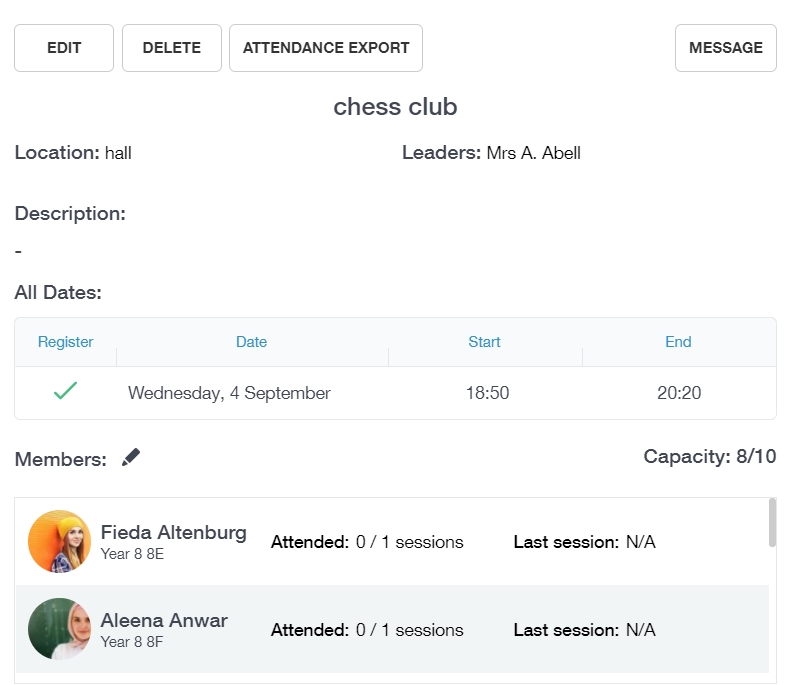
Once the club appears, all of the information that was inputted during creation is visible, such as the location, leaders, description, dates and members.
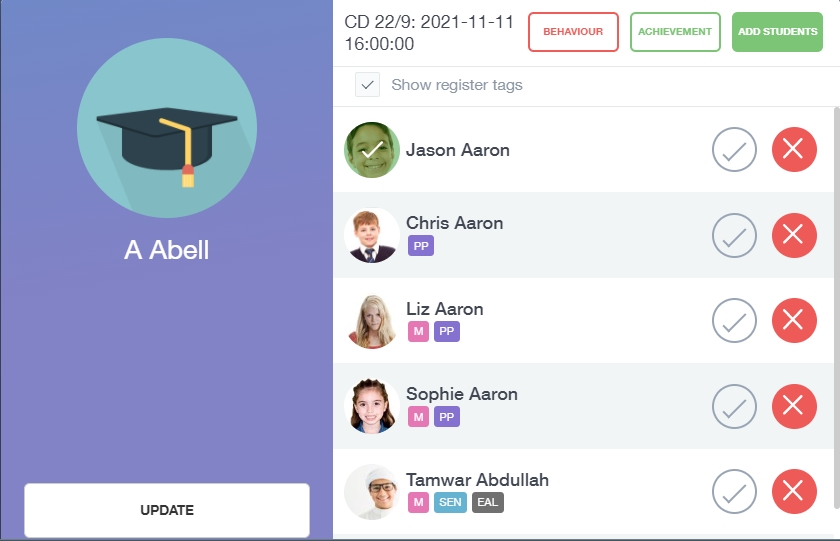
Taking Registers
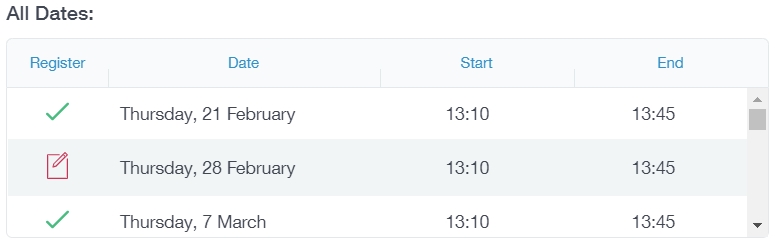
The All Dates section also holds the register for the club. To complete the register, click on the date. The green checks indicate completed registers and the red paper and pencil indicate registers that must be completed.
To take the register, click the check to register attendance and an X to register absence. Press Update once the register is complete.
Add a Learner to Your Register
You can also add learners to the register by clicking the Add Learners button.
Proceed in the same way as adding a learner to a normal register. Use the filters, click on the image of the student and then tick the selected box to add a student. Click the Change button to add a learner to your register.
The learner will appear in the register. Take your register and press the Update button.
Adding Behaviour and Achievement to Your Club Register
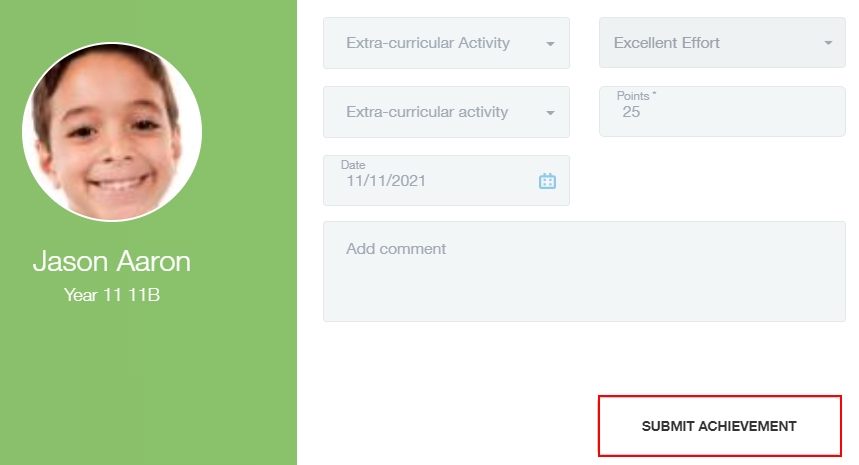
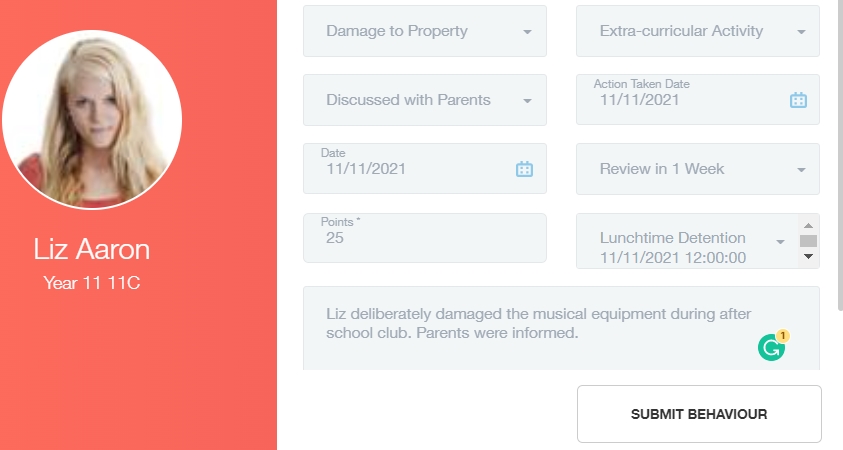
The latest feature in Clubs is the ability to add behaviour and achievement from the club register. To add behaviour or achievement, you must select a student’s image and then click on the Behaviour or Achievement button at the top of the register.
The screens will appear exactly like a class register. Simply add the behaviour or achievement and click the Submit button. If you are adding a detention to behaviour and it is full or the learner is attending one at the same time, a message will appear asking you to select another detention.
Exporting Your Register
You can export your register as a .csv file by selecting the Attendance Export button.
Pressing Attendance Export downloads the .csv file of your register. You can choose to open the file in Excel and amend or print details as necessary or you can save the file for later use.
Managing Club Members
To manage members, go to the bottom of your clubs screen once you have entered your club. There, you will find a Members section, with the names, images and the Year Group of the learner(s) as well as whether or not they have attended the session or previous sessions.
To edit the members of the club, click the pen icon.

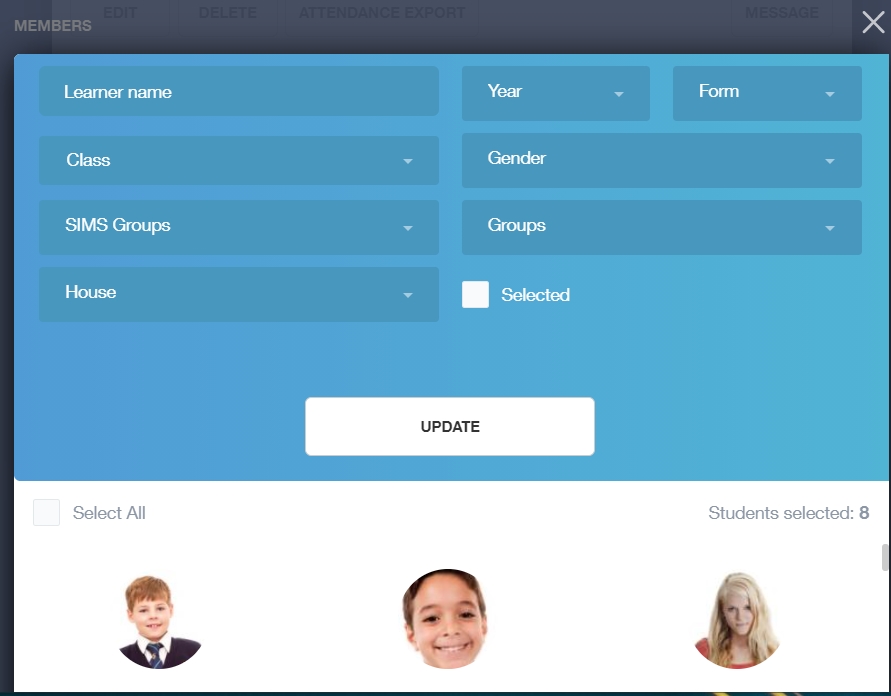
To add or update your club’s members, use the filters to select a student and click on their image to add them to your club. Tick the selected box and click Update.
This also applies to removing a student from a club. Simply untick a learner’s image and press Update.
Updates will appear in your club’s screen.
Editing Your Club
To edit your club, select the Edit button at the top of your club’s screen.

You can edit the bookable learners in the first window, ticking learners to add to your club and unticking members to remove them from your club. You can use the filters to help you select members. Click the Next button. If there are no changes to bookable learners, simply press the Next button and ignore adding learners.
After the bookable learners, you can edit your club details. You can add a new name, new capacity, new location or a new description of your club. At this point, you cannot add new leaders of the club. Once you have updated your club details click Next, or if you do not need to make any changes, simply disregard this section and click the Next button.
Finally, you can edit club sessions on the Sessions screen. You can add sessions to your club, e.g. after a half term break, or you can delete any sessions and add new ones if you need to cancel and rebook a session.
Click Done when finished editing.
Deleting a Club
If the occasion arises when you need to delete your club, simply click the Delete button at the top of your club’s screen.

A confirmation message will appear asking you to confirm deletion.
Select Yes to delete your club and No to return to your main club screen.

Send a Message to Your Club Members
Send a message to your club members using the Message button at the top of your club’s screen.
The message button will redirect you to Communicator automatically, so you can send your members a message in Edulink One, e.g. ‘Tonight’s Debate Team Session Cancelled’.
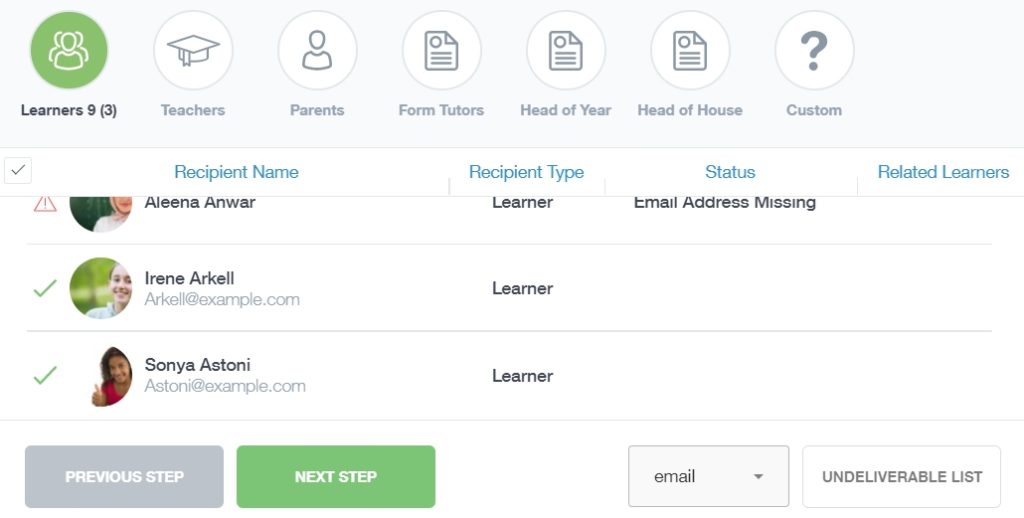
The members of the club appear automatically as the message recipient. Check to see if any learners are missing from the list (a red error message appears stating ‘Email Address Missing’), if Communicator cannot find your learner(s).
If you would like to include the parents of these learners, simply select the Parents icon in Recipients.
Select Next Step when you have finished checking this over.
To send a message to your club, give your message a Message Subject at the top of the window, then choose whether you would like the message to be recorded in SIMS. You can select a template if one exists or choose to create a template. For more information about sending or receiving messages, including creating templates, read the linked articles.
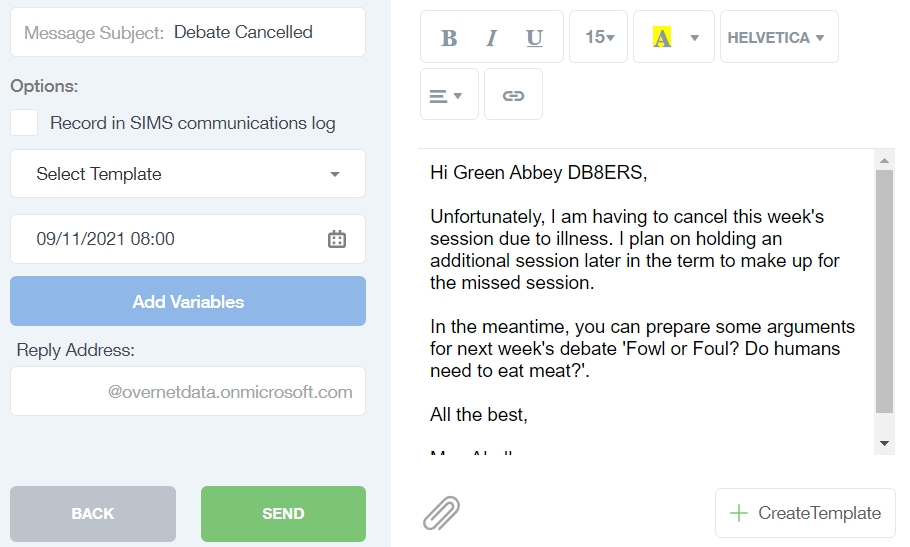
Once you have composed your message and attached any documents required, click the Send button. The members of your club will receive the messages in their Received tab in Messages/Communicator.

To exit Communicator, click the X in the top right corner.
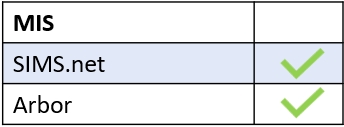
MIS Compatibility