You can configure the exams tab for your school by logging in to Edulink One and entering the administration settings, located at the top left of your screen.
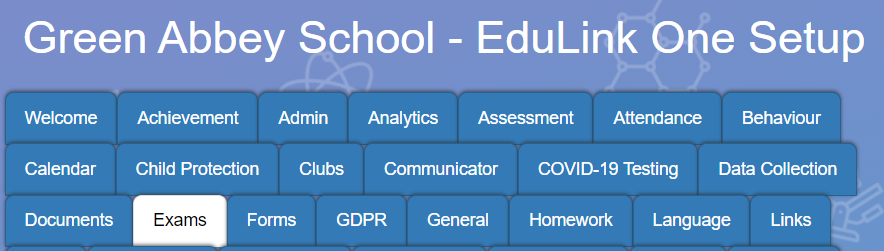
Find the Exams tab in the Edulink One Setup and click on it to begin.
Enable the exam screen for different user groups, including all employees, teaching staff, learners and parents. Alternatively, you can also choose to enable the exam screen for fixed user groups, which can be created in the User Groups tab.

Countdown
School administrators can set an exam countdown clock if they wish. In the ‘Show countdown to‘ setting, it allows you to select the groups of users you would like to show the countdown to. The groups of users include all employees, teaching staff, learners and parents. You can select one group by ticking it or more than one group by ticking multiple user groups.
Alternatively, you can choose to only provide a countdown for fixed user groups, such as Exams Officers, that you can configure in the User Groups tab.

Exams Timetable Settings
The timetable settings in the Exams tab control the users who can view the exam timetable.

Show timetable to: Select the user types that you would like to be able to view the exam timetable. You can choose all employees, teaching staff, learners and parents. On the other hand, you can choose from fixed user groups which you can create in the User Groups tab.

Filter Timetable: Controls the exams that are shown in the ‘Exams’ user interface based on the exam season. Tick the exam timetable you would like to filter and a new field will appear where you can choose to allow or deny access to the timetable.

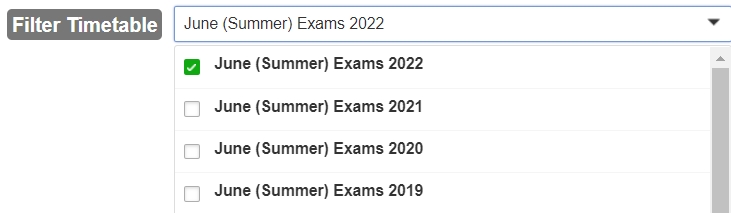
Timetable filter: You can show exam timetables in the user interface by selecting Allow Access. However, you can also hide exam timetables by selecting Deny Access.


Exam Entries Settings
Below the exam timetable settings, the exam entry settings can be configured.

Show entries to: Controls which user types can view exam entries— these include all employees, teaching staff, learners and parents. However, schools have the option to choose a fixed group as well. To create a fixed user group, use the User Groups tab.

Filter entries: Controls the exam entries shown based on the exam season. Select the entry you would like to filter by ticking the box. A new field will appear where you can allow or deny access to view the entries.

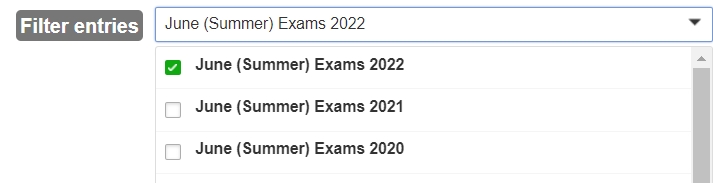
Entries filter: You can show entries in the user interface by selecting Allow Access. However, you can also hide exams by selecting Deny Access.


View Exam Results
Next, select the user types that can view exam results in the show exam results filter.
Show results to: This controls the user types that can view exam results.

Hide Results Older than: This allows you to set the number of years you would like exam results to be visible, e.g. 3 Years.

Exam Embargo Options
Edulink One’s Exams tab allows administrators to select how they would like to embargo exam results dates. The exam embargo also applies to document messaging a statement of results. You will not be able to perform this action until an embargo has been lifted.

Results embargo (days) (manual): Not recommended, however, if you choose to use this setting, this function hides the exam results until they are a certain number of days old.

Finally, save your settings by pressing the save button.

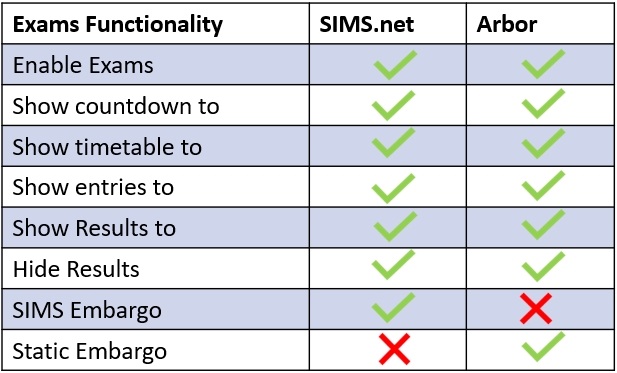
MIS Compatibility