To add a student to your register for a lesson, log in to Edulink One and click on the Registers icon.

Select the register you will complete or the register you want to add the learner to.
Adding a Learner to the Register
To add a learner, click the Add Students button at the top of the Registers window.
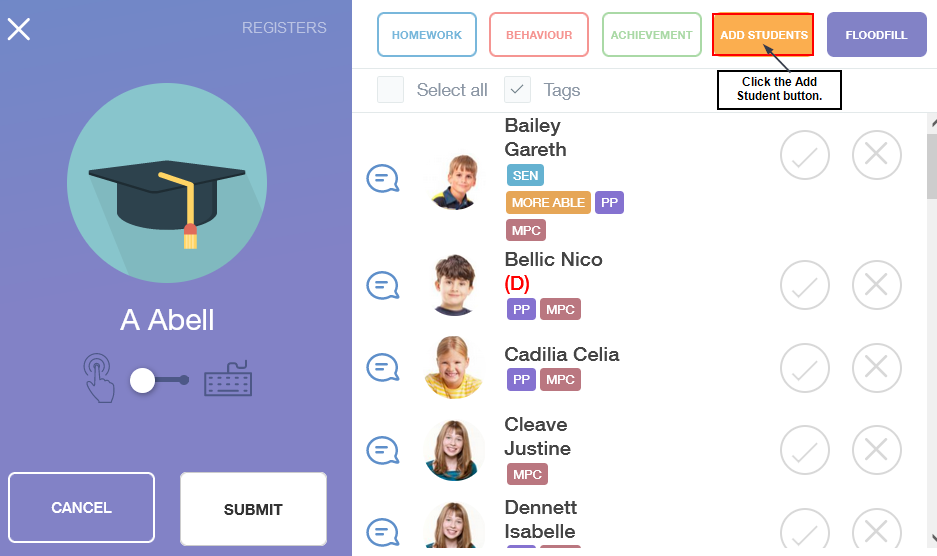
Next, click on the learner you wish to add from the images to the right or filter the learners using the filters on the left. You can add a learner by Name, Year, Form, Class, Gender, SIMS Groups, Groups or House.
Moreover, if you are adding several pupils, tick the Selected box.
You can Select All to add all learners from a group, though this instance would be rare and may be used in the event of combining classes for a particular reason.
Click Add to add the learner to the register. The page will revert to the Registers window and the added learner will be located at the bottom of the register.

Complete the register as normal and click Submit. A confirmation message will prompt you to review your register before submission.
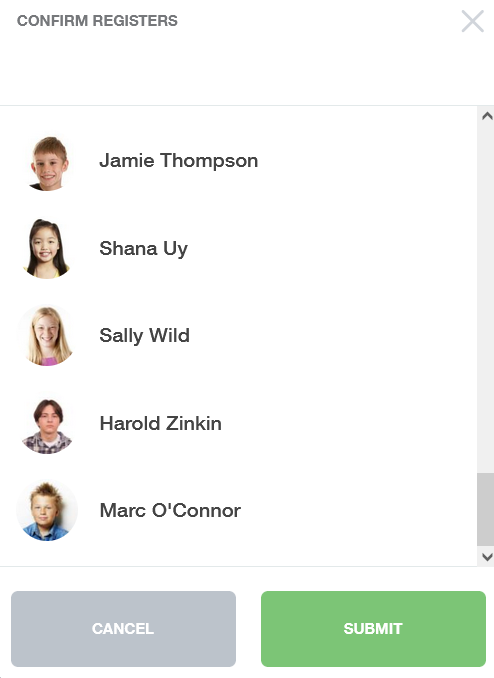
Finally, a message will appear in green stating ‘Register successfully submitted’.