To complete registers, log in to Edulink One using your credentials and select the Registers icon.

The teacher’s registers will appear for their classes.
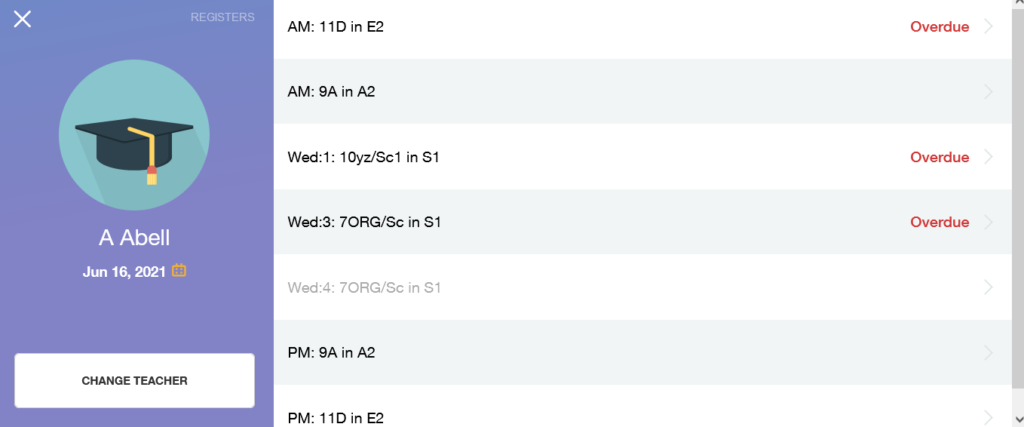
The teacher and the date appear in the left pane of the registers window. The ability to ‘Change Teacher‘ is also there if a teacher is covering.
In the right pane, there is a table with all of the teacher’s lessons. To take a register, click on a class.
If the register is overdue, the word Overdue appears in red at the end of the table. Any lessons in grey indicate a double period, Edulink One will automatically generate the correct marks for the second lesson.
Taking Registers
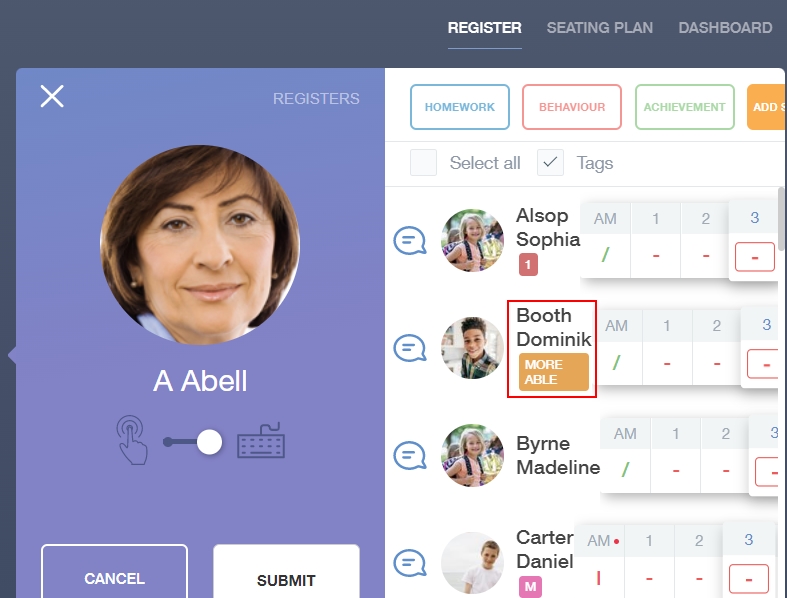
After a class has been selected from the registers, a window opens to allow the teacher to complete the register for that class.
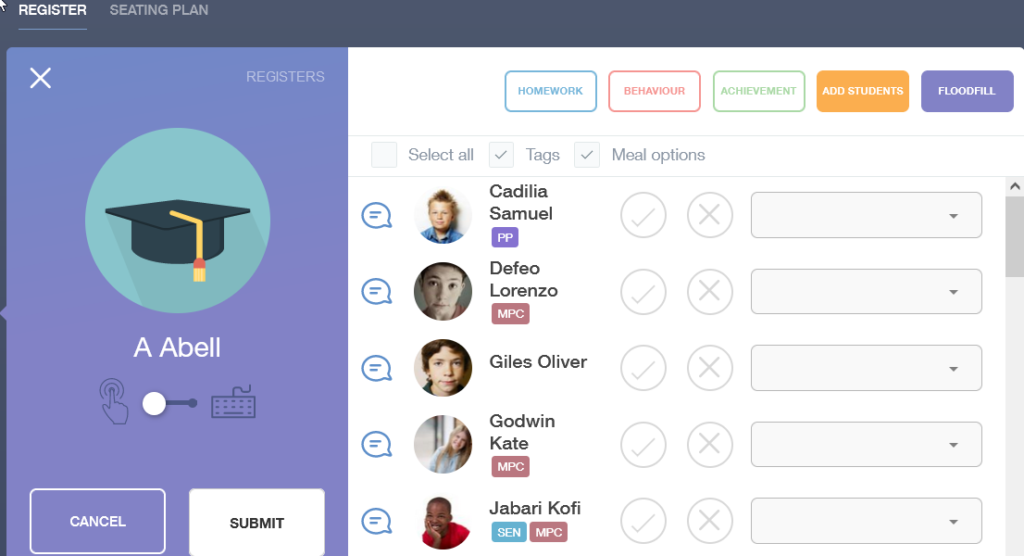
The left pane contains the teacher and the option to switch between touch and keyboard to fill in mark codes. To select your preference, click on the image of the method you would like to use to complete registers.

Additionally, you can submit your completed registers or cancel them in the left pane.
Take A Register
To take a register, select whether you would like to fill in the register using a mouse or a keyboard (not all information about various mark codes is available in the keyboard option). The learners are listed on the left and the attendance marks are on the right.
To mark a learner Present, select the checkmark which will turn green. To record an Absence, select the cross.
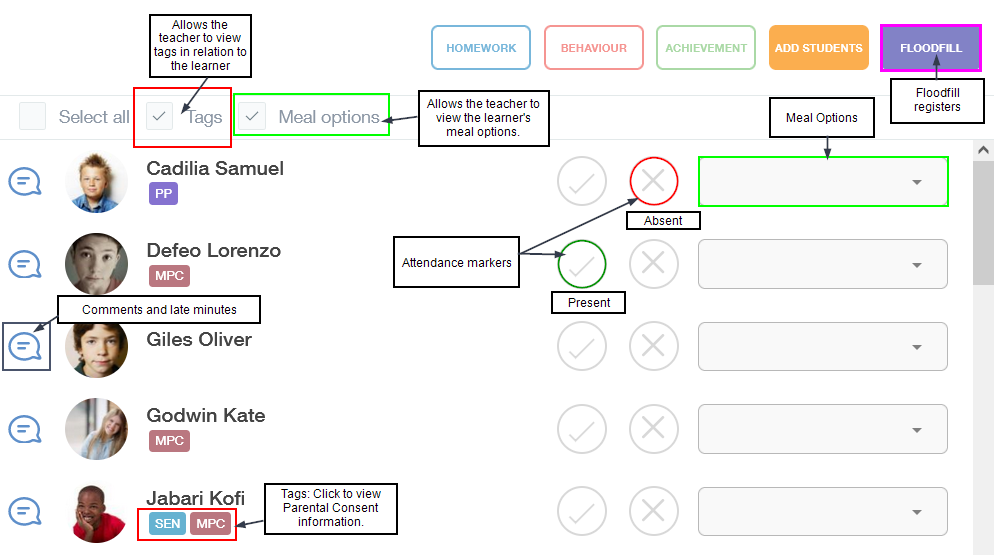
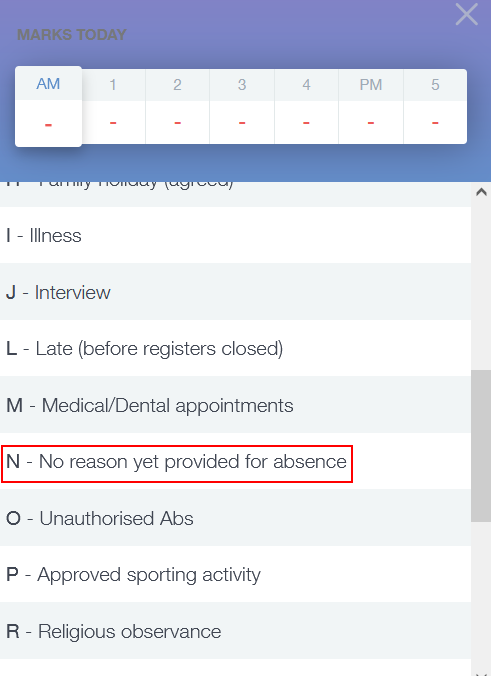
Select the appropriate mark code for the learner’s absence and click it. The mark code will be recorded in red indicating the reason for the absence.
Tags and Meal Options
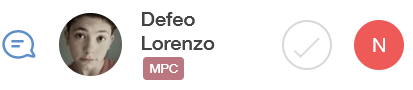
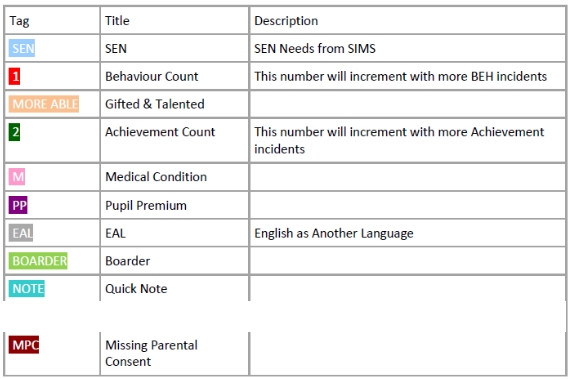
Tags: Learner tags, including SEN, PP, Medical, Gifted and Talented, etc., will be visible to the teacher when the Tags box is ticked— this includes information regarding Parental Consent. To view the parental consents, click on the learner.
Meal Options: Tick the Meal Options box to fill in what meal the learner is ordering/has for that day. Teachers can select which meal option each student has from the dropdown menu beside the AM or PM marks.
Teachers can select from Cash Cafeteria, Home, Other School (in the event the learner attends more than one school), Packed Lunch and School Meal. Furthermore, if a learner is absent, teachers can select ‘Absent‘ from the dropdown menu options.

Adding Late Minutes
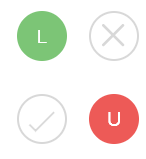
Lateness: To add late marks to your register, click on the Absence X icon. Select Late (L) before registers close to record a late pupil that arrives before registration. This will appear as a green L in the Present checkmark column. However, if a learner arrives late after registration is complete, select Late (U) after registers close which will appear as a red U in the absence column.
Late Minutes: To add late minutes to a learner, select the Comment bubble beside the learner’s image. You can include comments regarding the learner here and submit late minutes.
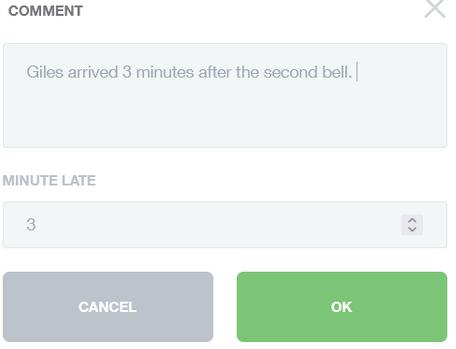
A red dot appears to indicate that there is a comment or late minutes attached to the learner. This is visible for the day.

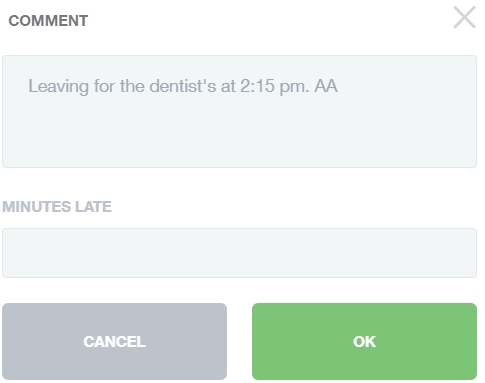
Using Comments for Recording Appointments
You can use the speech bubble next to a learner’s name to record other comments unrelated to late minutes. For example, a learner has an appointment and you would like to communicate to staff the time and nature of the appointment. This comment will remain with the learner for the day and the learner’s teachers will be able to read it.
Floodfill
Floodfill: In the event you would like to floodfill a register, select the Floodfill button in the top right-hand corner. Then, select which mark code you would like to input and click it.
The register will be filled in with the chosen mark code.
Filling in Report Cards
Teachers and other employees can fill in report cards for learners placed on report. The learner on report appears with a red (R) next to their name.
To update a report card, you need to click on the book icon to fill it in.

Then, you will be taken to the report card screen where you can tick whether or not the learner has achieved their target, write a comment and fill in your initials if they are not there automatically.
When you have finished completing the report, click Save.

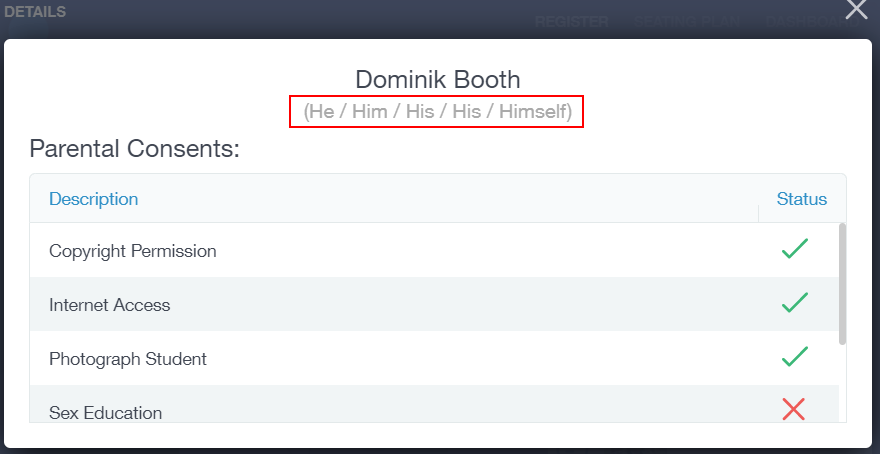
Viewing Student Details, Pronouns and Parental Consent
Teachers can view a learner’s details, including behaviour and achievement, SEN and Medical information, parental consent information and pronouns by clicking on a learner’s name.
Once the teacher clicks the name, the ‘Details window opens and the teacher can see all of the relevant information, including pronouns and consent for various activities.
Submit Register
Once you have completed your register, click Submit. A confirmation message will appear, allowing the teacher or employee to verify the information is correct before submission.
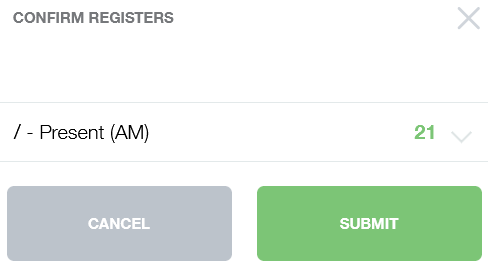
Lastly, the teacher clicks the Submit button to submit their register, which writes back live to SIMS.
Once you have completed your register, click Submit. A confirmation message will appear, allowing the teacher or employee to verify the information is correct before submission.
Completing Registers Video
MIS Compatibility