Resource Managers can manage resource bookings within the Resource Booking icon. If your school has not set up Resource Booking, your administrator must configure the Resource Tab.
First, log in to the Edulink One app or website and locate the Resource Booking icon. Depending on your level of access, this might be located under the More icon.

At the top of the Resource Booking window, there are three tabs. Edulink One automatically opens to the Bookings tab, but you can view changes to bookings in the Changes tab and a report of all bookings in the Report tab.
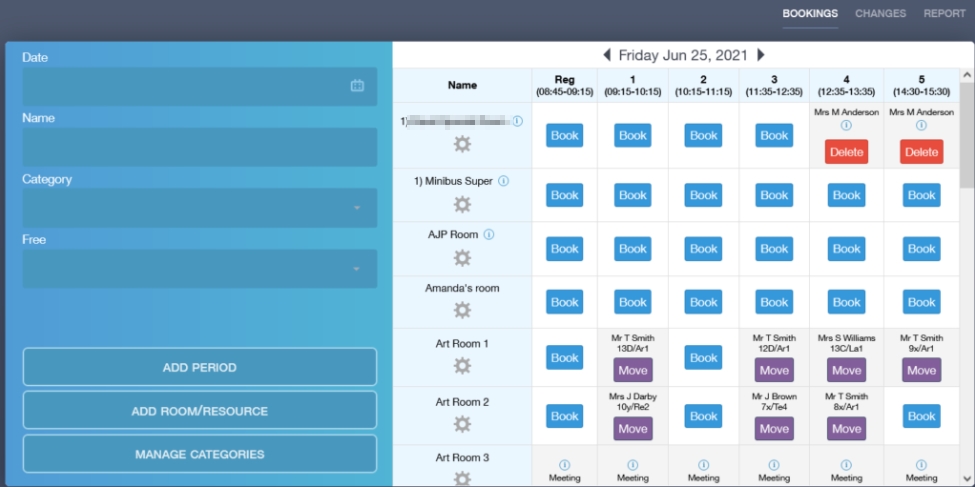
Edulink One automatically pulls through the timetable from your MIS to populate the booking table. Timetabled rooms appear in purple— managers can only move these classes, they cannot delete them. For example, a manager might move a class from a room for exams, such as speaking and listening exams in MFL. Teachers can move their own classes using the ‘move’ button.
Rooms available to book appear in blue and booked rooms appear in red.
Booking a Room
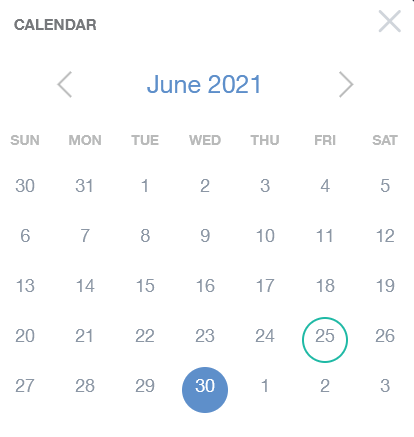
To book a room, you can use the Date field in the left pane, a calendar opens and you can select the date, or you can use the arrow keys at the top of the booking table to select a date.
Name: The name of the person booking the room.
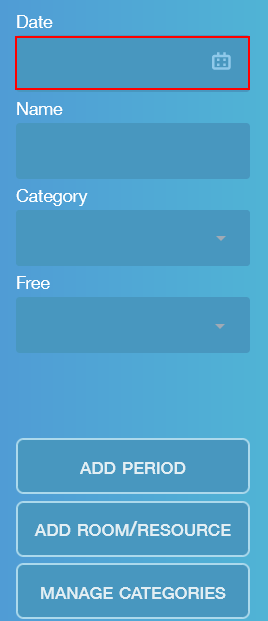
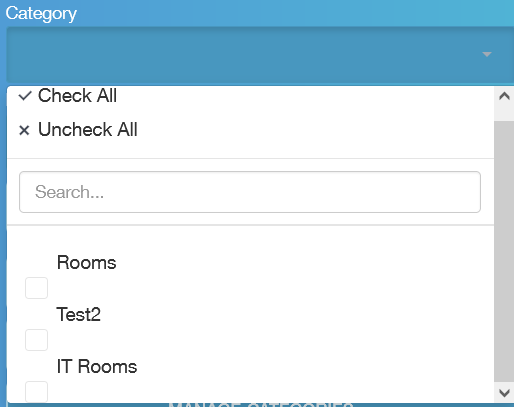
Category: Use the filter to select the type of room you want to book, whether it is a regular room, an IT suite or something else particular to your school.
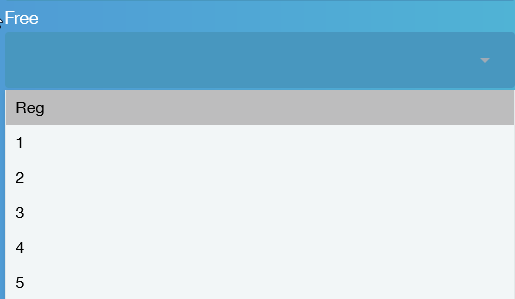
Free: Use the filter to select the period you need the room, for example, lesson one.
Booking
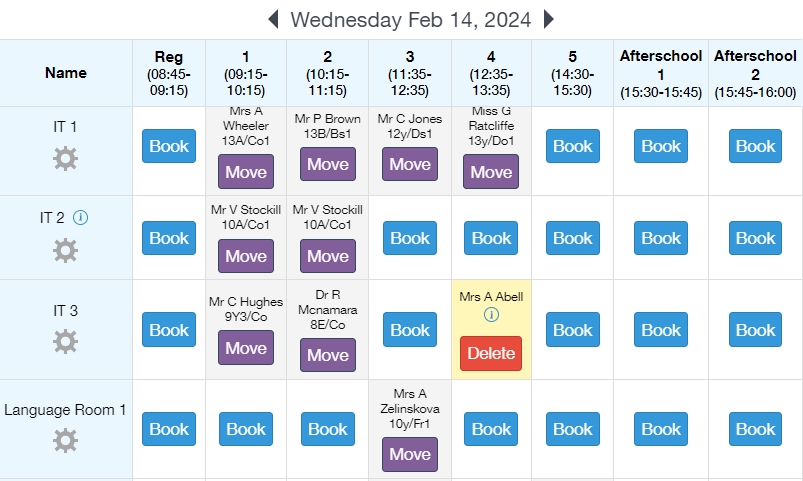
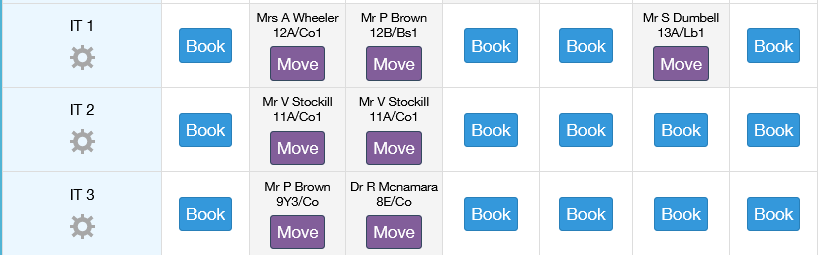
To book a room, find the room you would like to book by scrolling up or down in the right pane of the Resource Booking window.
The rooms are then divided by period; any period that does not have an employee timetabled in the room will appear in blue, labelled Book. However, rooms that have a timetabled lesson appear in purple.
Click on the Book button to book a room.

A new window will open prompting you to provide more information about the booking. Include the teacher booking the room and the dates/weeks they would like to book.
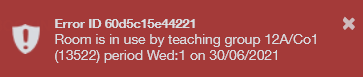
Book until (consecutive): If a teacher would like to book a room out for consecutive days for a certain period, you can select the dates and times from the calendar. An error message will appear in red if a room is used for one of the dates. You can amend the booking or move the class depending on the circumstances.
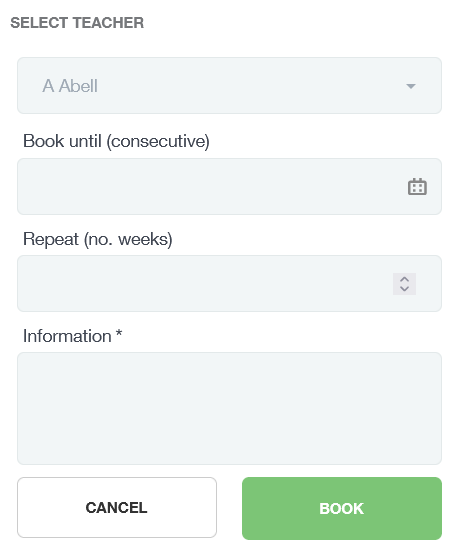
If successful, a message will appear in green stating the period was successfully booked.
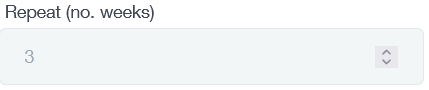
Repeat (no. weeks): The number of weeks you would like a room booking to repeat for the same period.
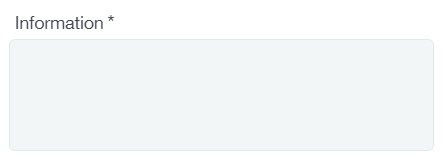
Lastly, you will be asked to provide information for your booking in the Information box. This is a required field and must be filled in to proceed.
Click Book to complete your booking. If successful, a message will appear in green; however, if there is a problem, a red error box will appear stating the issue.

Moving a Class
Teachers can move their classes in Resource Booking and managers can move everyone’s timetabled classes and lessons to another room if necessary.
To move a lesson, select the purple Move button.
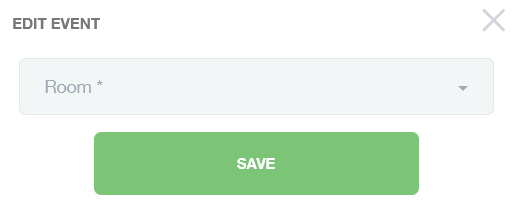
Next, an Edit Event window will appear.
Select the room you would like to move the timetabled class to from the list of available rooms in the dropdown menu.
Finally, select the Save button to save your changes.
Deleting a Booking
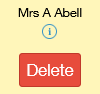
Managers can delete bookings by clicking on the red Delete button on a booking.
A confirmation of deleted bookings will appear stating ‘Period successfully unbooked’.
Add a Period
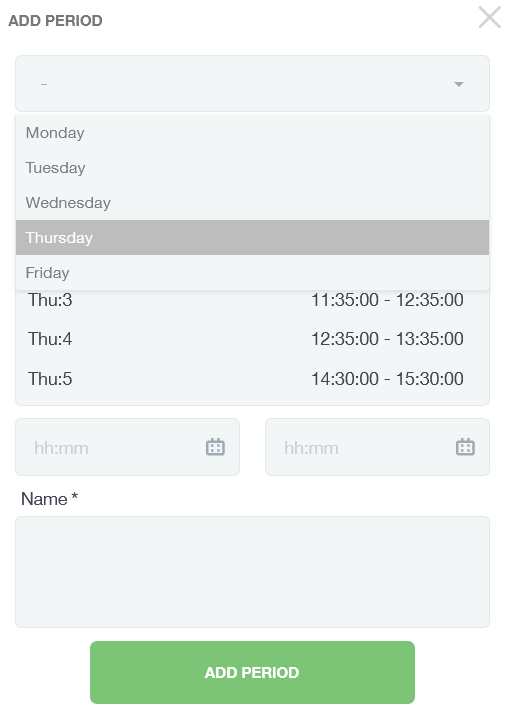
Managers can add a booking period outside timetabled hours. Click on the Add Period button to create a new period.

Next, select the day you would like to add a period to. The timetabled periods appear below, along with their times.
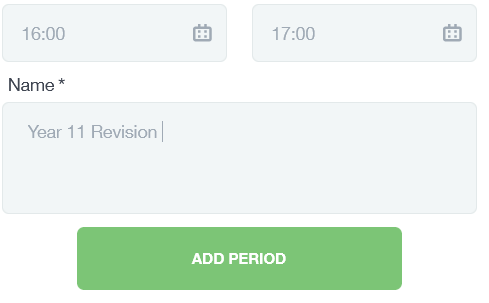
Then, select the time you would like a new period to appear, e.g. 16:00-17:00 for Year 11 revision on a Thursday.
Lastly, select a name for the period to give employees further information on how the room bookings should be used, and press the Add Period button.
The new period will appear on the booking table.
Adding Non-Timetabled Days
Resource booking managers can create bookable slots (periods) for non-timetable days, for example, weekends and holidays. To do this, click the Add Period button to begin.

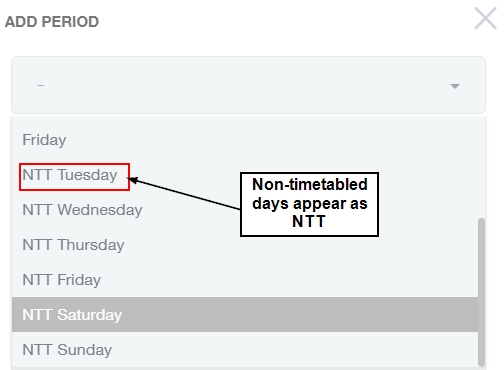
The Add Period window opens, as previously described. Choose the day you would like to create a non-timetabled day for, selecting NTT and the day, for example, NTT Saturday. This will allow you to create a resource booking timetable for Saturdays (or a day of the week that is traditionally non-timetabled), perhaps because you would like to be able to book community groups on the sports fields, in the music hall or the art studio. Selecting NTT Saturday (or the NTT day of your choosing) and adding the periods required will allow you to book out resources for periods on a non-timetabled day.
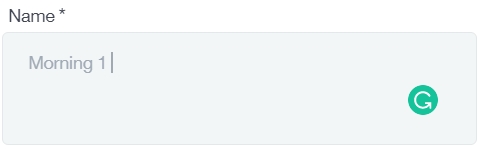
Name the period you want to create, for example, Morning 1.
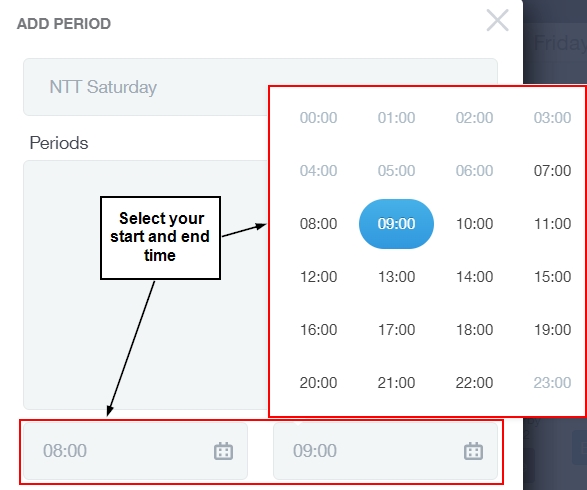
Then select a start and end time for the NTT period.
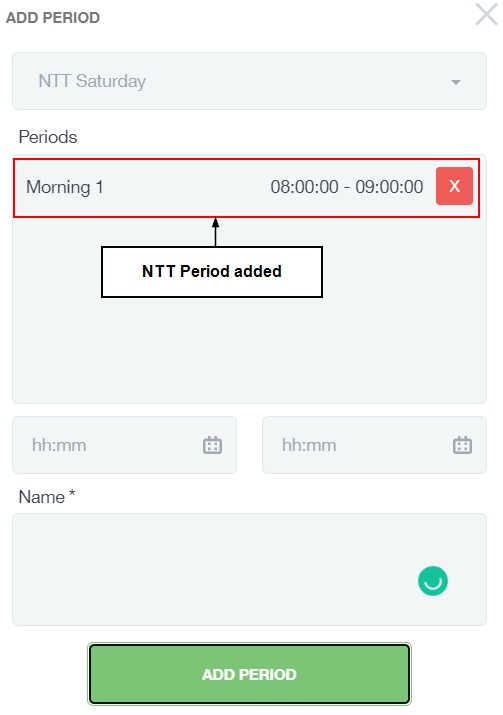
Click the green Add Period button to add your new period to the non-timetabled day.

A green message appears if you are successful and the NTT timetable for the day is populated.

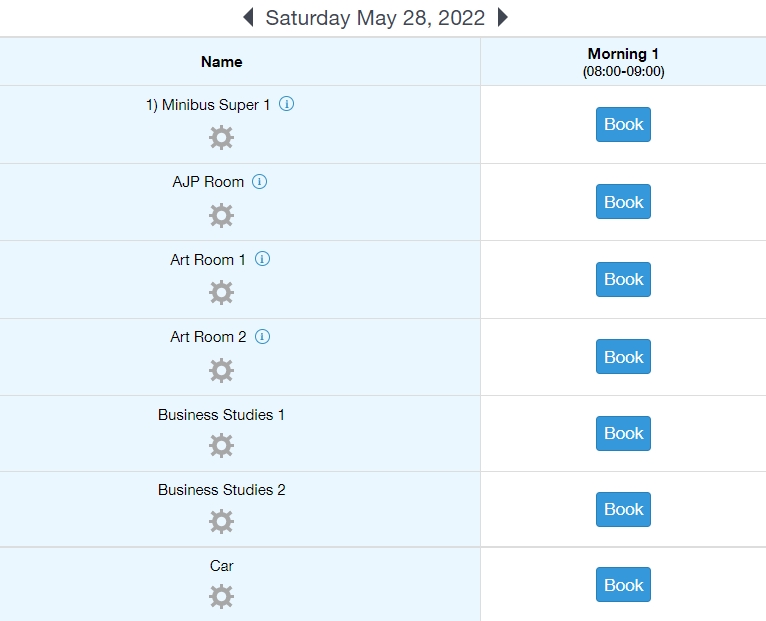
Below is a view of the NTT timetable on Resource Booking, available for employees to book at their convenience.
Adding A Room/Resource
To add a room or resource to the room/resource list, managers click the Add Room/Resource button in the left pane of Resource Booking.

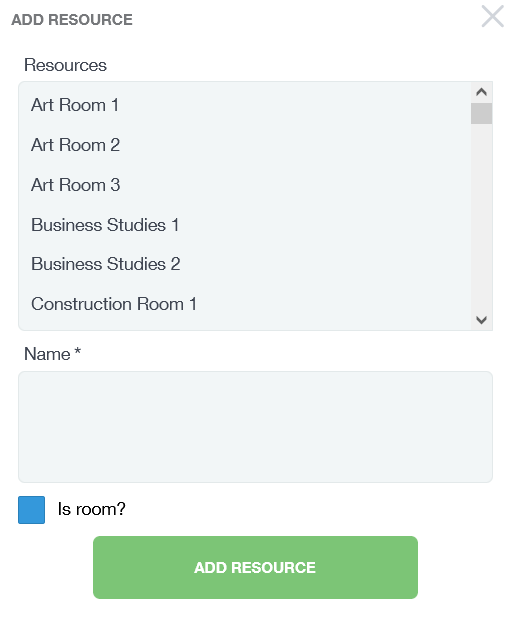
To add a room or resource to the rooms/resources available to book, create a name for the room or resource you would like to be available for booking, e.g. camera 1, and click the Add Resource button.
Furthermore, if the resource added is a room, tick the Is room? box and click Add Resource.
Deleting a Room
Similarly, you can delete any room or resource by clicking the Add Room/Resource button.

The ‘Add Resource‘ window opens and you can delete the room or resource here. To remove the resource, scroll until you find the room or resource and click the X in the red square.
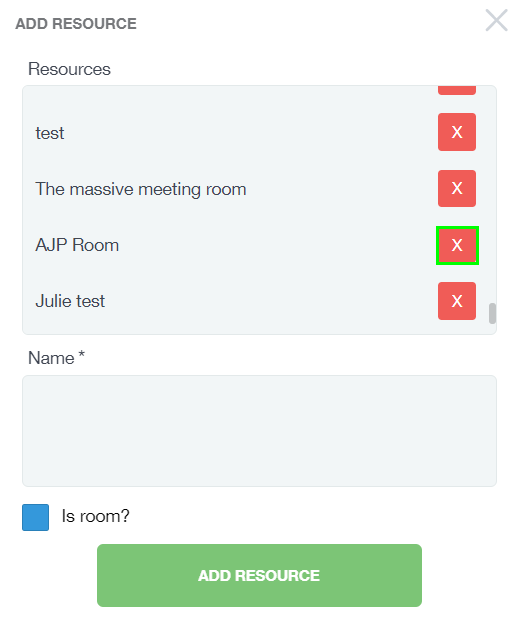
A success message appears in green, once the resource has been removed.

Manage Categories
To manage categories and approve resources added, select the Manage Categories button in the left pane of Resource Booking.

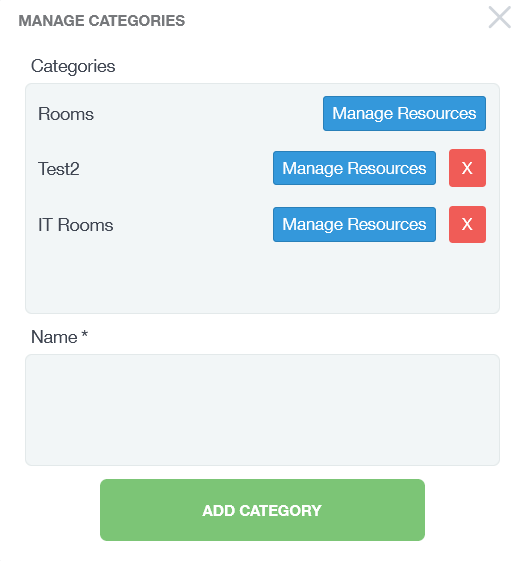
A window will appear with categories your school can personalise, e.g. rooms, IT suites, auditorium etc…
Type a title in the Name box and click Add Category.
Furthermore, you can manage resources regarding a specific category. Click the Manage Resources button next to a category to manage the resources linked to it.
Add a category to specific resources in the Manage Resources window, allocating specific resources to specific categories, e.g. Media Room is the category and School Video Camera is the linked resource because the camera resides in the Media Room.

To delete a category, click the red X. All resources linked to that category will also be deleted, but not from the main resource list.

Allocating Room/Resource Owners
You may wish to allocate specific rooms/ resources to an owner, depending on whether the employee is in that room/ looks after that resource all the time.
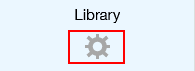
To allocate an owner to a room or resource, click the cog underneath the room or resource in the booking table.
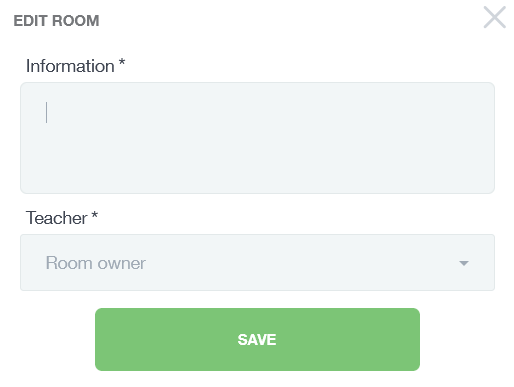
Edit Room: To edit a room or resource, provide further information about the room in the Information box. If you want to select a room owner, select from the Teacher dropdown menu, e.g. the librarian would ‘own’ the library.
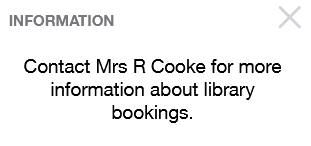
As a result, a blue information circle will appear next to a room with further information.

Configuring Notifications for Room Owners
If a room or resource is ‘owned’ by a particular employee, it is advisable to set up notifications to inform them that their room has been booked.
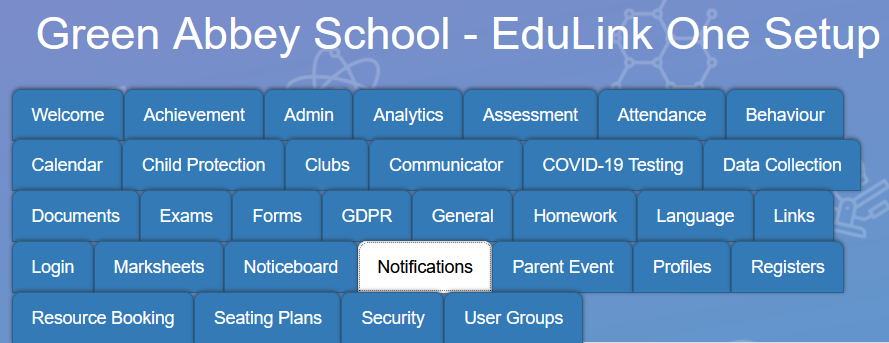
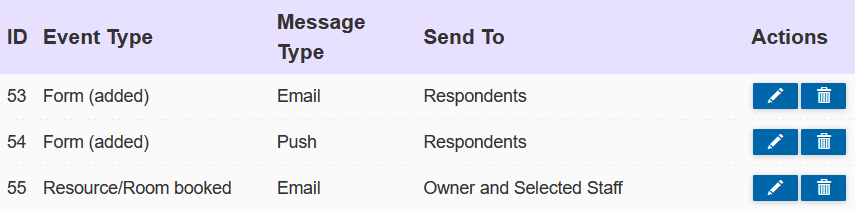
First, log in to Edulink One and click on the Notifications tab in the Administration Settings. All current notifications appear in a list with the Event Type (details of notification), Message Type (method of notification), Send To (the message recipient) and Actions (edit and delete notifications). To edit a notification rule, select the pen icon. To delete a notification rule, select the bin icon.
Next, create a new notification by clicking the + Create new notification rule button.

Select the Event Type from the list provided; several notification options are available, including room and resource booking.

Next, choose the resource you would like to enable a notification for.

Select the type of notification from a list that includes Push, SMS, Email and Push | SMS.
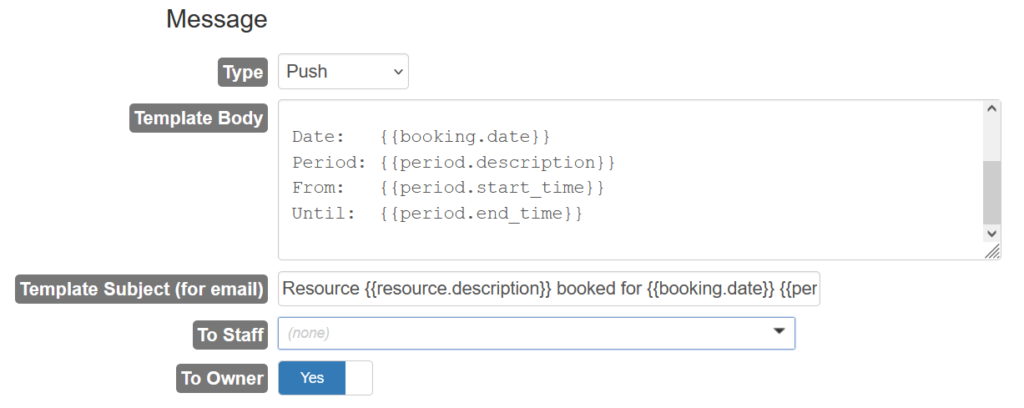
The template body of the message states the date, period, from and until details regarding the booking. Furthermore, the template subject provides variables for the resource booked.
These are the variables you can use below:
{{resource.description}}
{{employee.name}}
{{booking.information}}
{{booking.date}}
{{period.description}}
{{period.start_time}}
{{period.end_time}}
You can return the message to default by selecting the Default button, you will be asked to confirm this action by clicking Yes or No. The variables used for the template body are the same unless you have customised them further.
Additionally, you can tick the staff you would like to notify of a booking or turn ON ‘To Owner’. This setting informs the owner of the resource or room that it has been booked for a certain date and time.
To save your rule, click the Save Rule button and to cancel the rule, select the Cancel button.

Resource Changes
To view changes in Resource Bookings, select the Changes tab at the top of the booking Window.
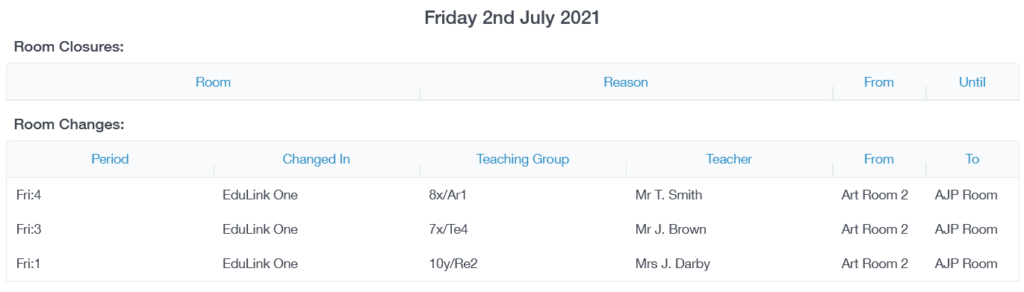
Employees can view details regarding room closures and room changes. In the event of a room closure, the managing employee must include the reason for the closure.
The period, teaching group, teacher and room changes (to and from) are visible as well as the method of the room change (Edulink One).
If desired, the managing employee can print the room changes by selecting Print at the bottom of the window.
Select the format for viewing the resource changes and then locate print to print your resource booking changes.

Viewing Resource Reports
Select the ‘Reports’ tab at the top of the booking window to view reports on rooms and resources.
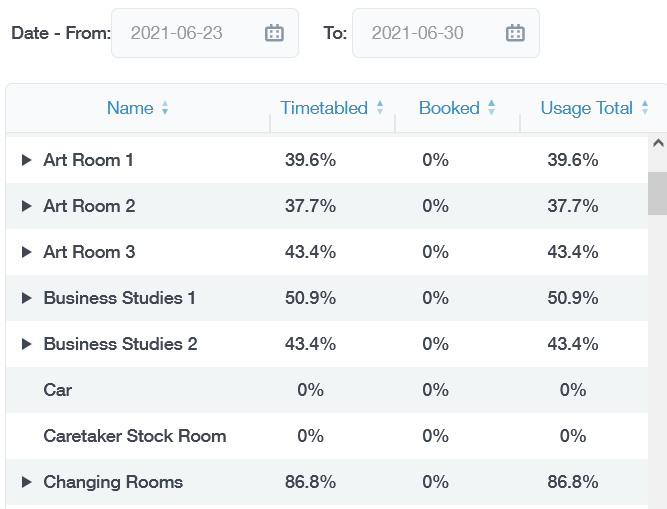
The report allows you to set the date you would like to see the resources ‘report from’ and the date you would like to see the resources ‘report to’.
Moreover, the report breaks down the statistics on each room and resource to view the usage. The name of the room/ resource appears on the left of the table, followed by the percentage timetabled, the percentage of time booked and the percentage of total usage for that room or resource.
Lastly, save the booking information and changes before you exit Resource Booking. Finally, to exit the Resource Booking icon select the back button on top of the icon on the left side of the screen.
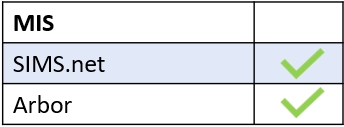
MIS Compatibility