Configure your school’s resource booking using the Resource Booking tab in Edulink One. The Resource Booking tab pulls data from your SIMS timetable to create a room/timetable structure and also to create bookings for resources.
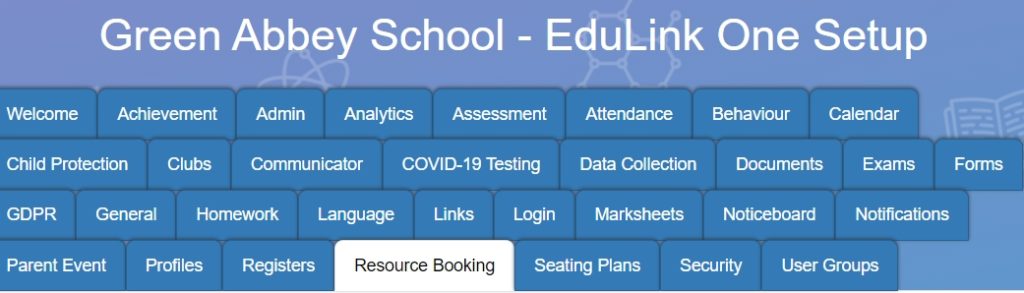
To set up resource booking log in to Edulink One and click Administration in the cog at the top of the homepage.
Then, click the Resource Booking tab in the administration settings.
Enable Resource Booking: Set to ON if you would like to be able to use Resource Booking on the user interface.
Managers: These employees can add/remove resources and rooms, add additional timeslots and manage all bookings, including bookings of other employees.
Hide Rooms: Include the rooms here that you do not want visible to employees and that you do not want to be booked.
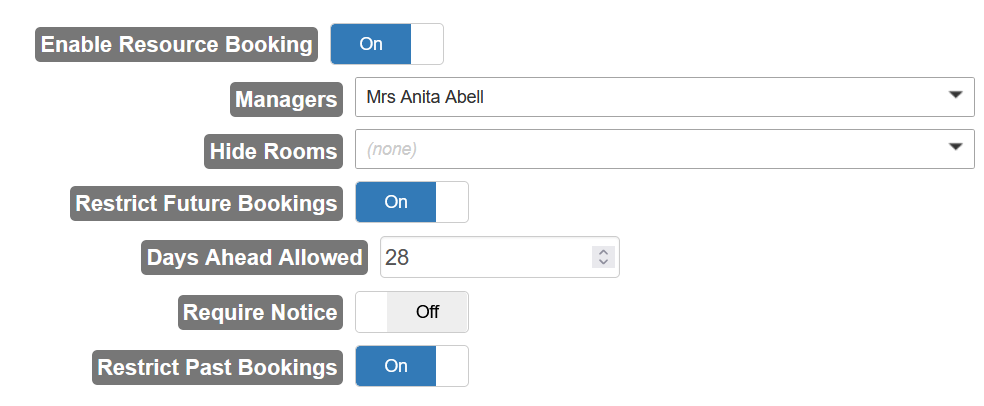
Restrict Future Bookings: Turn ON to limit the number of days into the future that resources can be booked.
Days Ahead Allowed: Sets the number of days ahead resources can be booked.

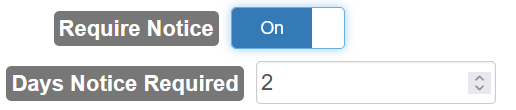
Require Notice: The number of days the employee must reserve the resource before use (this does not apply to managers).
Restrict Past Bookings: This should always be set to ON, as it restricts employees from making bookings in the past.

Finally, save your settings by pressing the Save button.

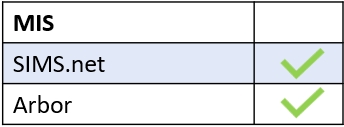
MIS Compatibility