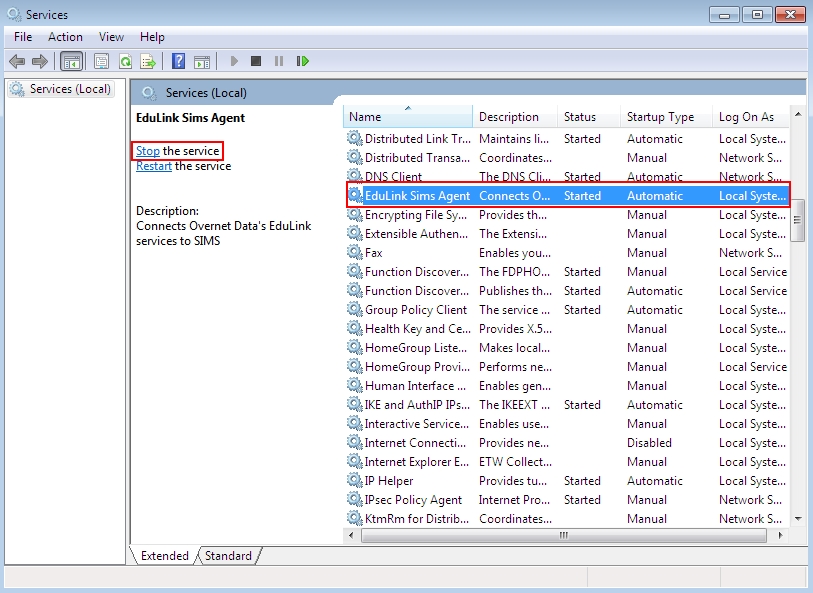
Moving your school’s Edulink Agent to a new server is straightforward. To do this, log in to your current server and stop and disable the Edulink SIMS Agent.
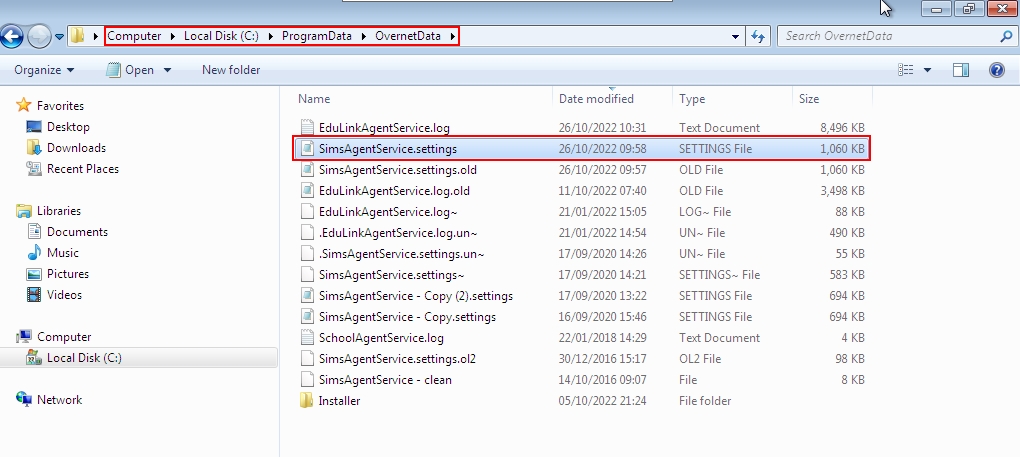
Then, copy the settings file located at C:\ProgramData\OvernetData\SimsAgentService.settings to the new server desktop.
Contact Overnet Data Support to get the link for your installation and download it to begin the installation of the Agent. Next, run the Agent Installer on the new server.
Stop the service (Edulink Agent) on the new server, paste the settings file (replace the file), and then start the service again.
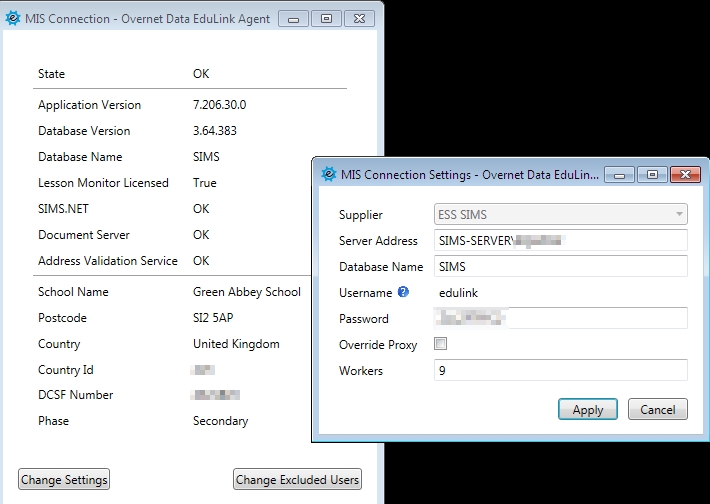
Moreover, if the server access settings have changed, please update the server address in your MIS Connection settings if required.
Moving Your School’s Edulink Agent for Arbor
If you need to move your Edulink Agent from one server to another and use Arbor, the process is the same as above.
You must stop the service, copy the Agent’s settings and install the Edulink Agent on your new server. Then stop the service briefly to paste the file into the settings and start the Agent again.
You do not need to update your MIS or code for Arbor.
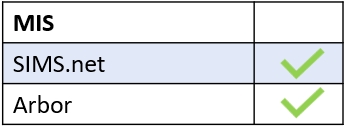
MIS Compatibility