Getting the Edulink Agent Security Code
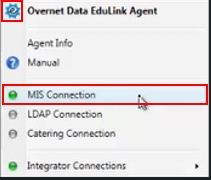
To connect Edulink One to your Arbor MIS you need to add a security code generated in the Edulink Agent. This is a security feature ensuring your school’s settings are unique. To add the security code to Arbor, right-click the white cog in the system tray at the bottom of your screen and select MIS Connection.
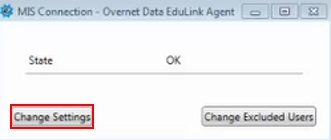
Click on Change Settings in the State window.
Below the Supplier and the Server FQDN, you will find the Edulink Code.
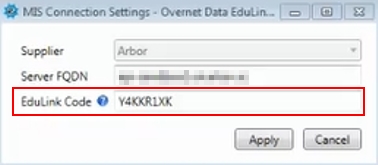
Copy this code and open Arbor.
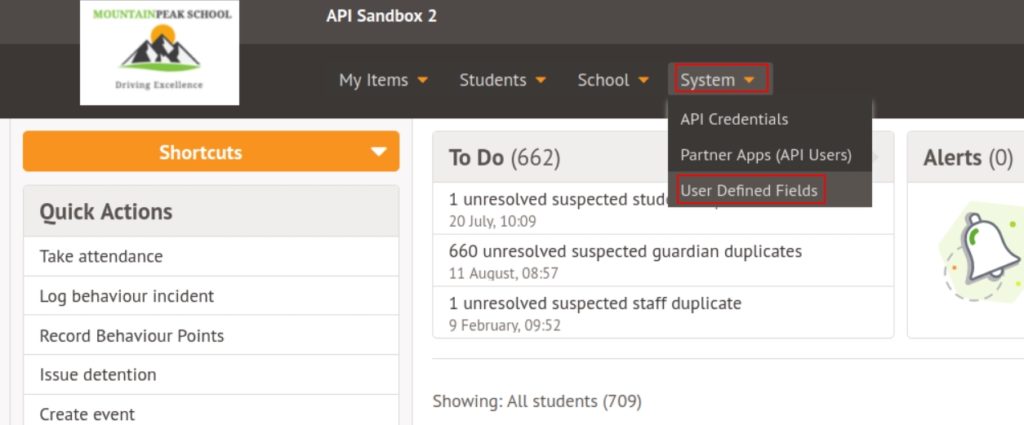
Log into Arbor
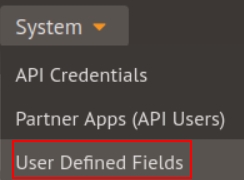
Log in to your Arbor MIS, click on ‘System’ in the dropdown menu and then on User Defined Fields.
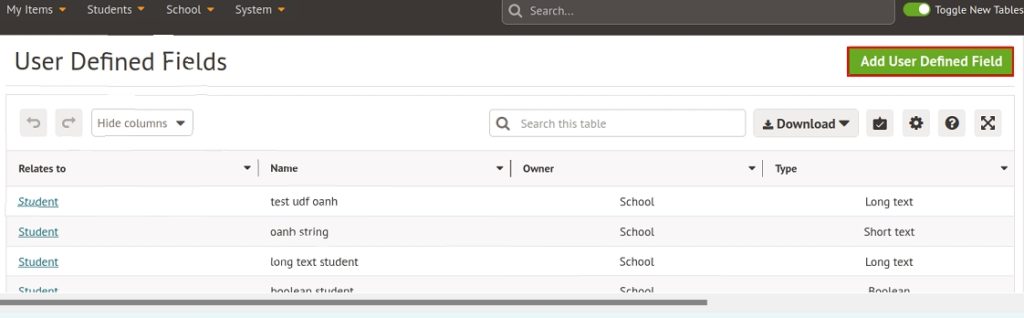
Once in the User Defined Fields screen, click the ‘Add User Defined Field‘ button.
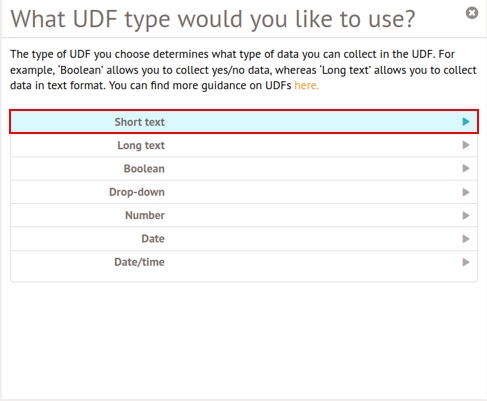
Select the ‘Short Text’ UDF format.
Next, you need to create the User Defined Field. Fill in the Related To field by selecting ‘Educational Institution’ and then enter ‘Edulink’ as the field name. Lastly, click Create UDF to add this UDF to your school details.

Once you have created your UDF, go to the School dropdown menu in Arbor and select ‘School Details’.
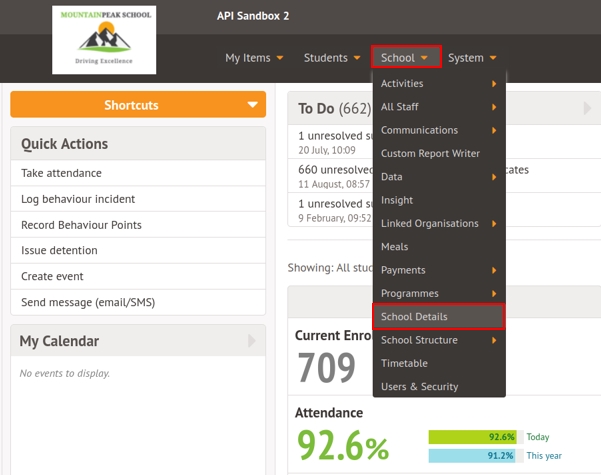
In the school details screen, locate the User Defined Fields section and click on the UDF called ‘Edulink’.

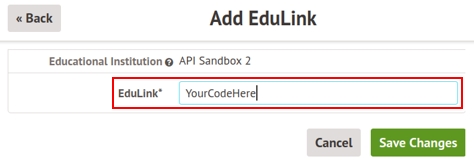
Input the code you copied from the Edulink Agent in the Edulink field and click Save Changes.
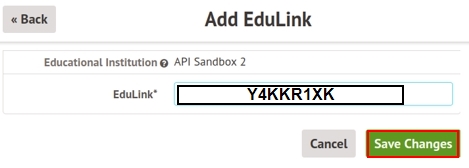
The Arbor MIS is now connected to Edulink One.
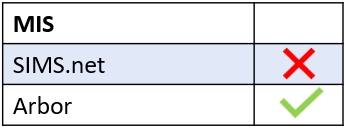
MIS Compatibility