Teachers can view learners’ assessments through the Learners icon in their Edulink One account.

First, you need to log in to Edulink One and select the Learners icon to begin.
Next, search for a specific learner to view. You can use the filters available to narrow down the scope of the search
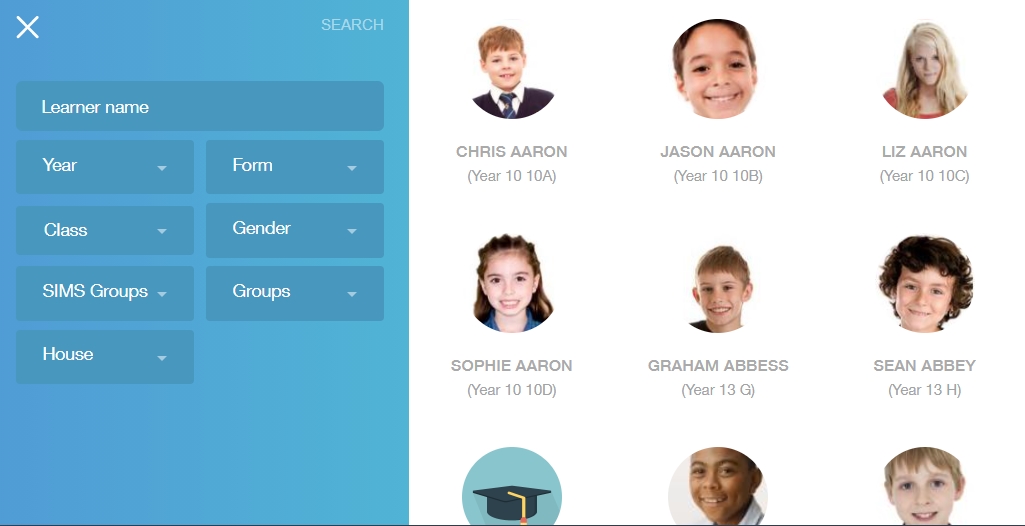
If you know the learner’s name, simply type the name into the search bar.
Alternatively, you can use the filters to aid in your search. You can search by Year, Form, Class, Gender, SIMS Groups, Groups and House.
Once the learner has been identified, click on the image of the learner to access their screen.

Find the Assessment icon on the learner’s screen and click it.
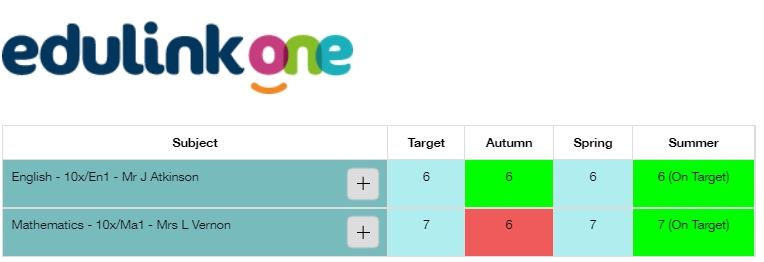
The highest priority assessment (Pos.) will open automatically by default. However, you can use the filter to select additional assessments.
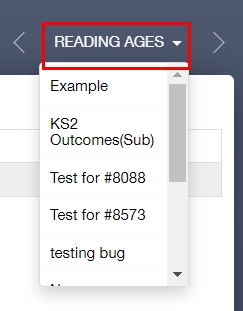
All assessments are also available to select in a dropdown menu at the right of the screen. Click on the arrow to select an assessment, or you can use the arrows on either side to move between assessments.

In the example below, the grades are available in each cell of a column. Sometimes, Administrators use conditional formulas to highlight information in a particular cell, e.g. using colours to highlight whether a learner is ‘on track’.

To view subgrids, a teacher needs to click on the + toggle to view the data.
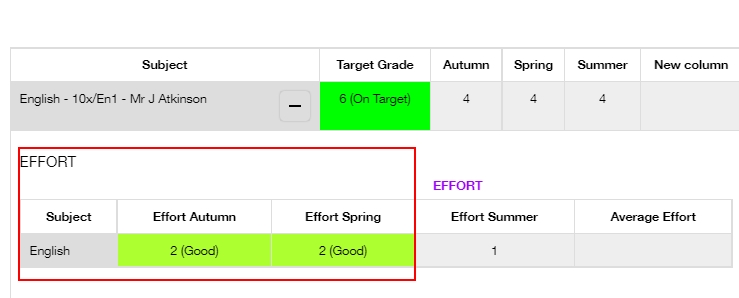
When the toggle opens, you can view the data and any conditional formatting that the Administrator has used. In this case, the effort grades also have a pale green background and text to highlight ‘good’ effort.

When you have finished viewing/ analysing the learner’s data, click the back arrow on the Assessment icon to return to the learner’s screen.

If you have finished viewing the learner’s screen, return to your homepage by selecting the Home icon.
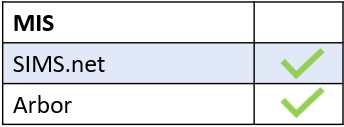
MIS Compatibility
