You can view and modify your own forms in Edulink One. Managers cannot modify forms at present; however, they can view the forms of other employees.
Firstly, log in to Edulink One, locate the Forms icon and click on it to access your forms.

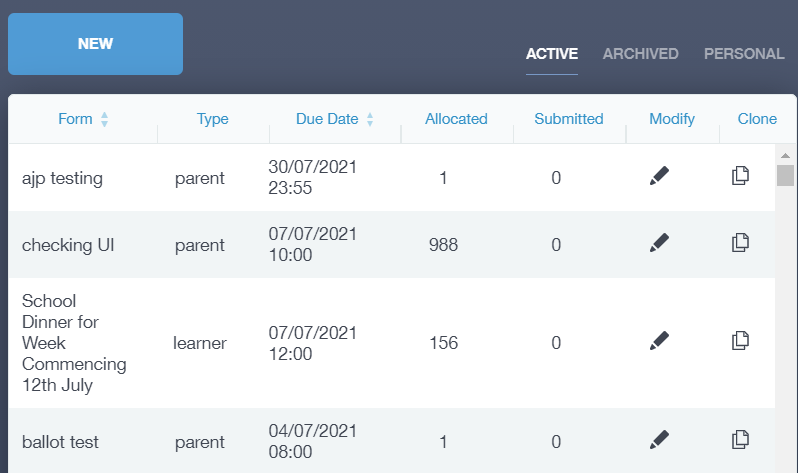
The forms window will open to the Active tab which displays all active forms from all employees. The other tabs in the table are the Archived tab and the Personal tab. Managers can archive all employee forms and employees can archive their forms.
Modify Forms
To view a form, you must click either view or modify (view only for managers).
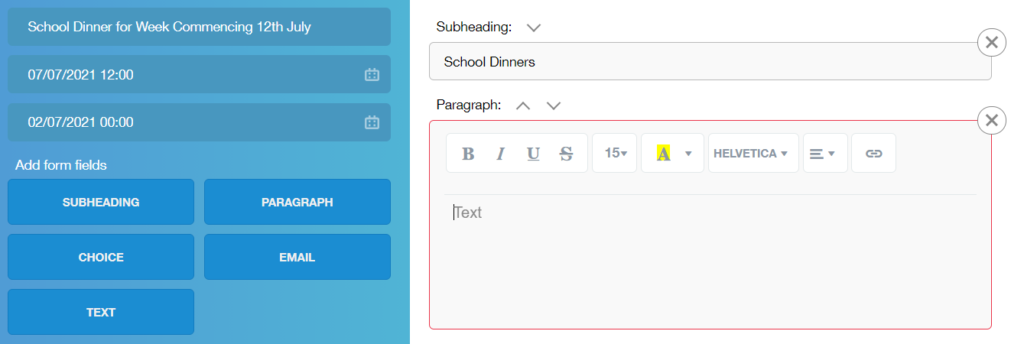
Clicking the Modify button allows you access to all aspects of a form, including subheading, paragraph, choice, email, text, respondents and so forth. To make modifications to your forms, make the changes in the fields and click update.
For managers, you would need to clone the forms designed by another member of staff to make the modifications.
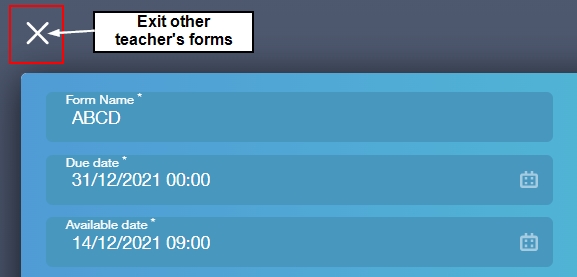
You can change the dates and times by clicking on the calendars above the form fields and the title.
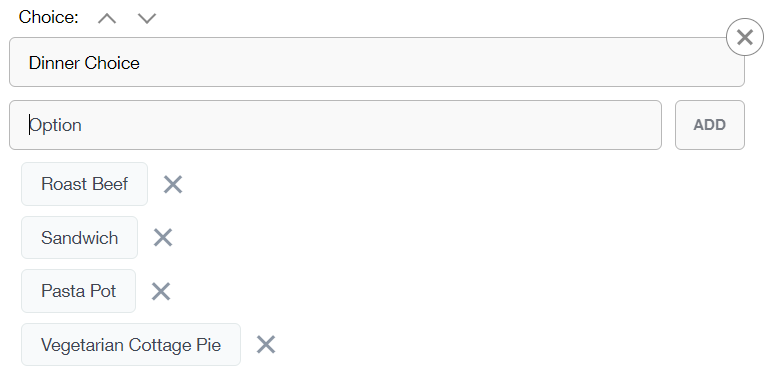
You can also review and change choices and options. For managers, modifications can be made to these fields if you clone the form.
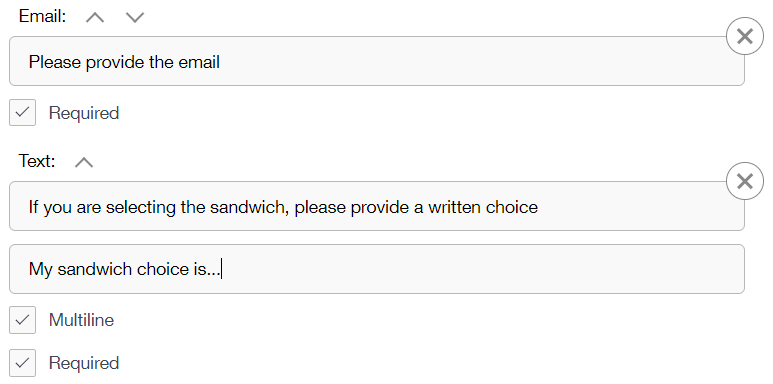
Likewise, can view and change email and text fields in your forms and make them multiline or required.
Viewing Respondents
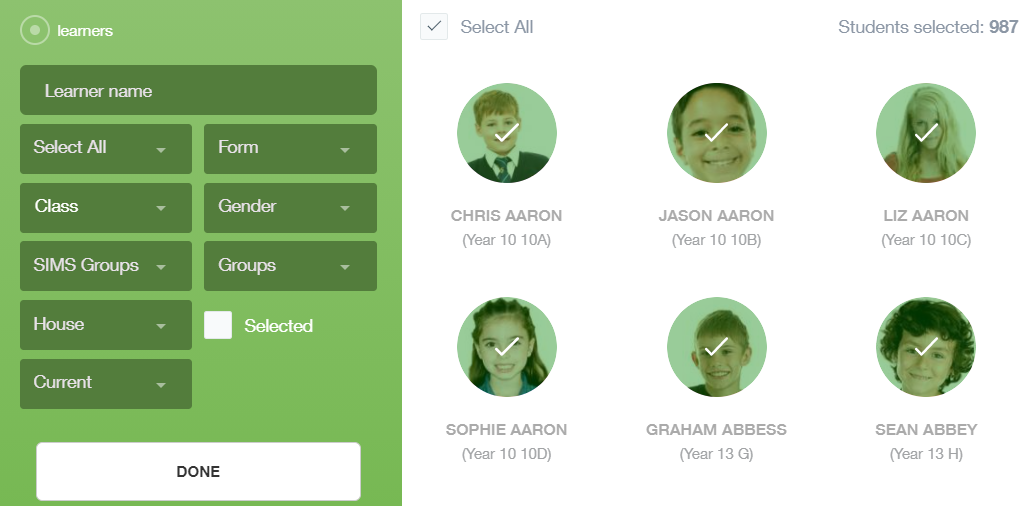
To view respondents, you should click the Respondents button.
The Respondents window will open and you can view and modify the fields of the original recipient type. For managers, to modify a form respondent you would need to clone a form and then modify the respondent there.
All respondent fields are visible including Year, Form, Class, Gender, SIMS Groups, House, Groups and Current or Applicant learners and you can modify these as you wish as the original form creator. However, if a manager would like to send a form to an individual learner or modify a form in any way they must clone it and then they can type the learner’s name in the Learner Name field.
.
Once you have finished viewing the form, you should click the Done button and you will return to the main Respondents window.

Next, if you are a manager click the X to exit the form.
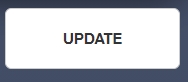
Otherwise, form creators can save updates by clicking the Update button.
Viewing Submitted Forms
To view submitted forms, managers (or form creators) must log in to Edulink One and click on the Forms icon.
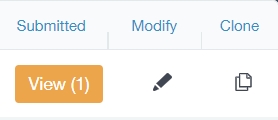
The forms appear in the table. To indicate that there is a submitted form, an orange box with View is located under the submitted column in the table.
Managers or form creators must click on the View button to see the submission.

You can choose to delete the form, close the form to keep it visible, email non-responders and export the form. The form will be exported as a . CSV file.
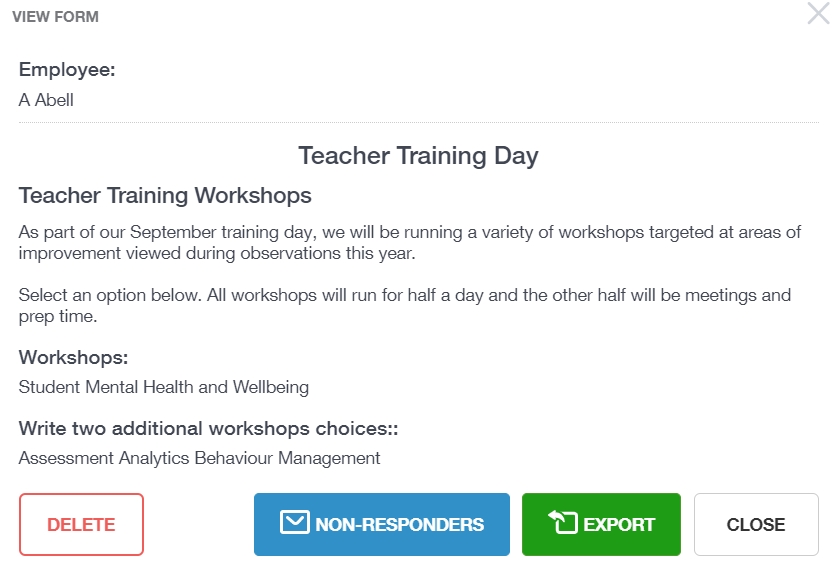
All completed forms appear at the top of the table and forms without responses appear below them. As the form is exported as a . CSV file, it is easily customisable and can be printed and saved if required.

Emailing Non-Responders
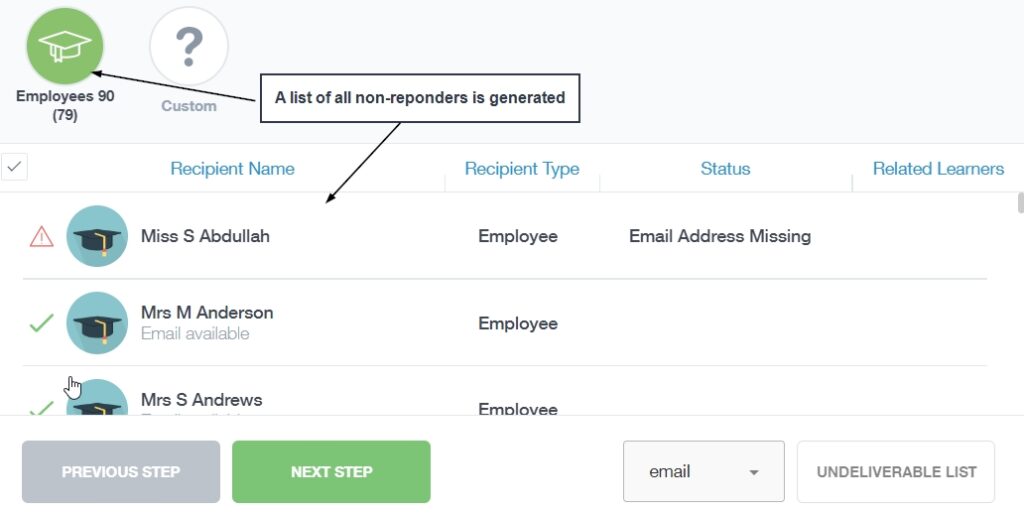
To send a message to all non-responders to your form, click the ‘View‘ button in the Active tab. Click the Non-Responders button and this will open your Communicator.

A list of non-responders is generated in Communicator. You can click ‘Next Step‘ to compose your message.
Compose your message to the non-responders and click the ‘Send‘ button when you have finished. You can send any attachments required or customise your message using the toolbar.

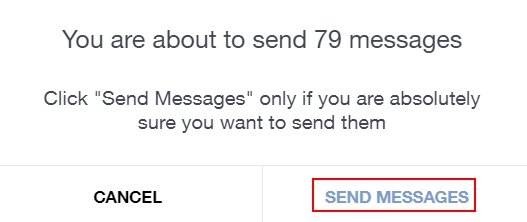
A confirmation message will appear. If you are satisfied with your message, click ‘Send Messages‘ to send them to all non-responders to the form.
A green confirmation message will appear if you have successfully sent the messages.

Click on the X at the top of the Communicator screen to return to your main screen.
If you need to exit forms at any point, press the back arrow on the Forms icon.

Viewing, Modifying, Cloning and Completing Forms Video
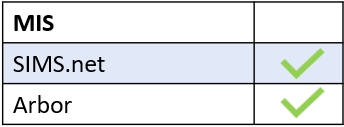
MIS Compatibility