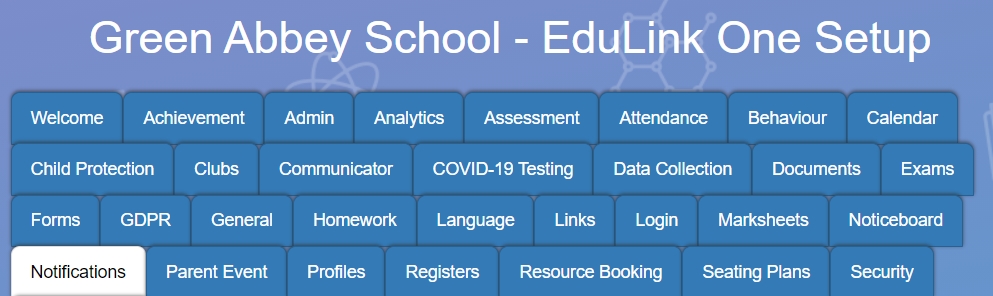
To create a new notification, you need to log in to Edulink One and go to the Notifications tab in the administration settings. Click on the Notifications tab to begin.
If a Detention notification has not been set up in the notifications table, you will need to scroll to the bottom and press the + Create New Notification Rule button. However, if the notification for a detention exists, you can edit the message by clicking the pen icon in the Actions column.
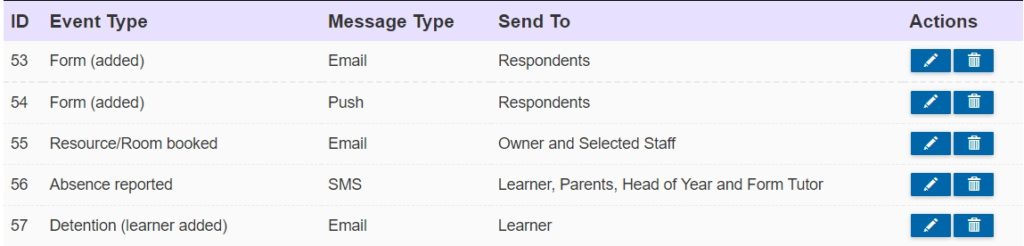

Select the Event Type from the dropdown list, in this instance, Detention (learner added).
You can also add a rule name, which is a name or short description (100-character limit), if you create multiple notifications for the same event type. Each name must be unique.

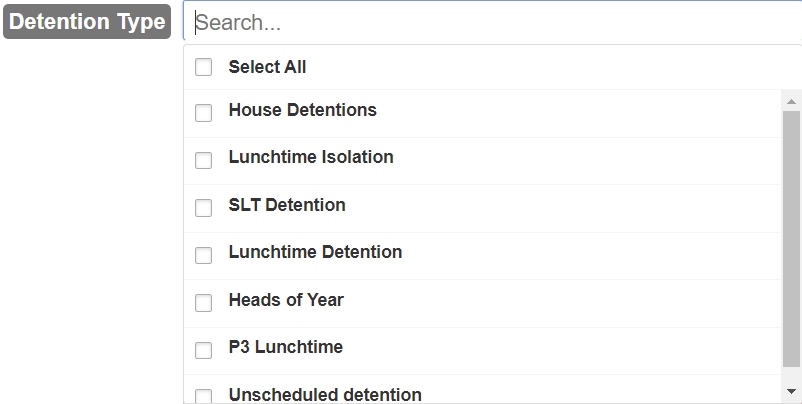
Once you select ‘detention (learner added)’, the page expands to reveal different fields for the detention notification.
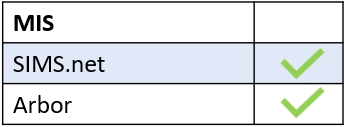
You can choose from a list of detentions your school has in SIMS, e.g. House Detentions, as well as Unscheduled Detention.
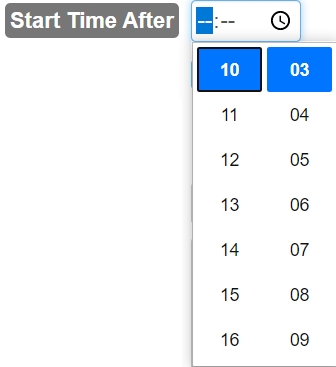
Start Time After: This field sets the time for sending detention notifications if the detention begins after this time. If the detention is set before the time set here, a notification will not be sent.
Message
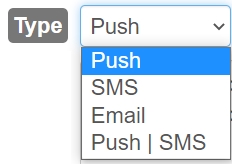
Firstly, select the message type. You can choose between Push, SMS (text), Email or Push | SMS.
The Template Body for your message can be customised for your school and you can select a limited range of variables when composing your message.

| {{learner.forename}} {{learner.surname}} {{learner.form_group.name}} {employee.name}} | {{detention.date}} {{detention.start_time}} {{detention.end_time}} {{employee.comments}} {{detention.location}} |
For a list of more variables, please see our article on the List of Edulink One Variables.
If you decide to make the message type an Email, you can customise the Template Subject in the field below the body message.

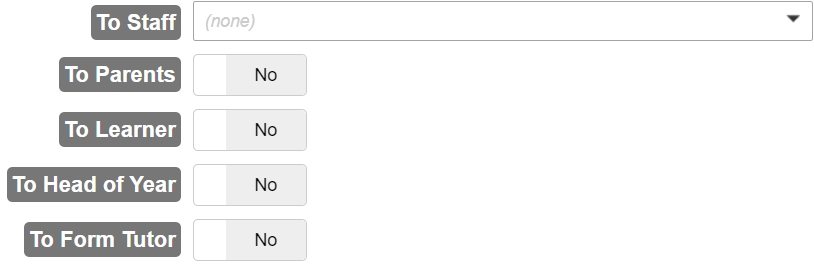
Next, select the recipients of the notification. You can choose the relevant staff from the dropdown list, and you can turn ON the notifications for parents, learners, Heads of Year and Form Tutors. This will also use ‘supervisors’ if this is enabled in your pastoral structure and Communicator.
Lastly, to save your notification, click the Save Rule button at the bottom of the screen.

You will return to the main notifications table where you need to scroll to the bottom and press Save before exiting.

If you would like to learn more about notifications, see our video tutorial.
MIS Compatibility