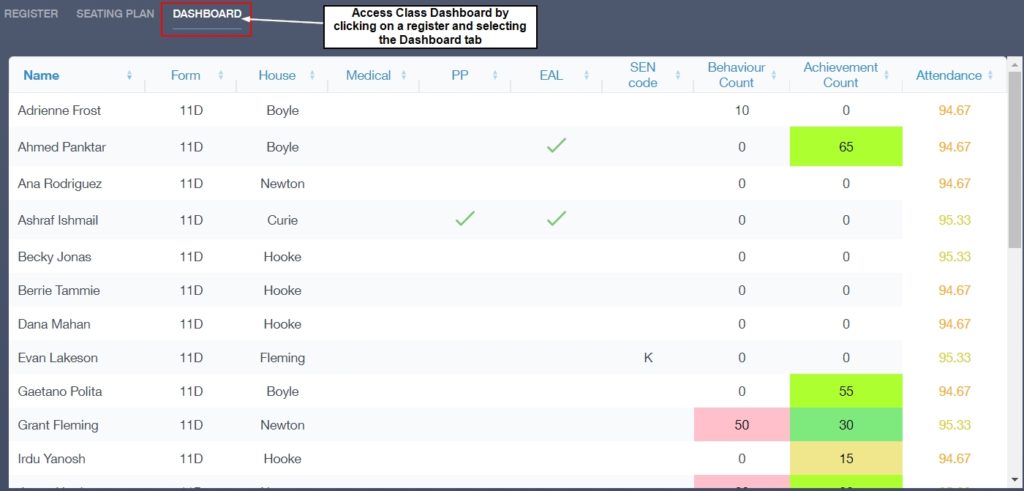
Class Dashboard is one of the new features of Edulink One available to configure— it is located in the Registers icon on the user interface. The functionality allows employees to view information, such as behaviour, achievement, attendance, SEN codes, PP information and more. Moreover, you can add up to three assessment areas in the table, such as Target Grade, Attainment Level and On Target.
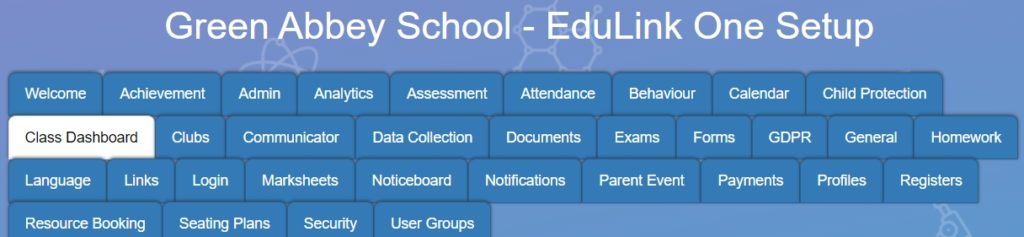
Administrators can configure the Class Dashboard when they log in to their Edulink One account and go to the Administration settings. Once in the administration area, to set up the class dashboard locate the Class Dashboard tab and click on it to begin.
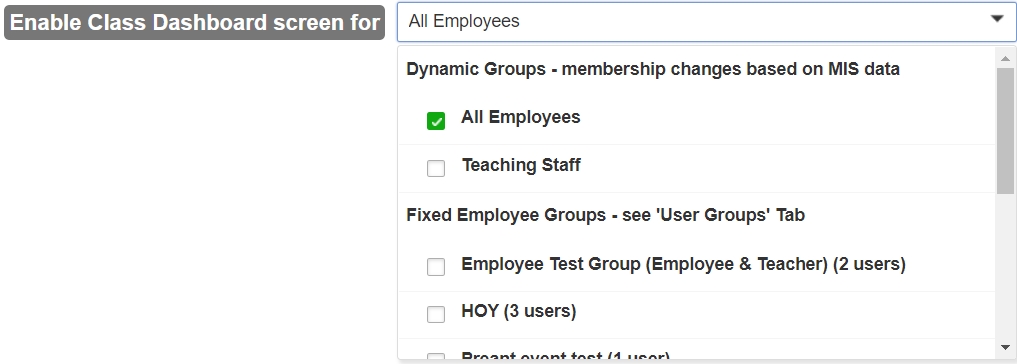
If you would like to enable the class dashboard, select the group you want to have access to it and click on the dropdown arrow in the Enable Class Dashboard screen for field. You have the option to select either All Employees or Teaching Staff (only employees have access to class dashboard, not parents or learners).
Alternatively, you can create fixed user groups to give access to, SLT for instance.
Display Columns for Class Dashboard
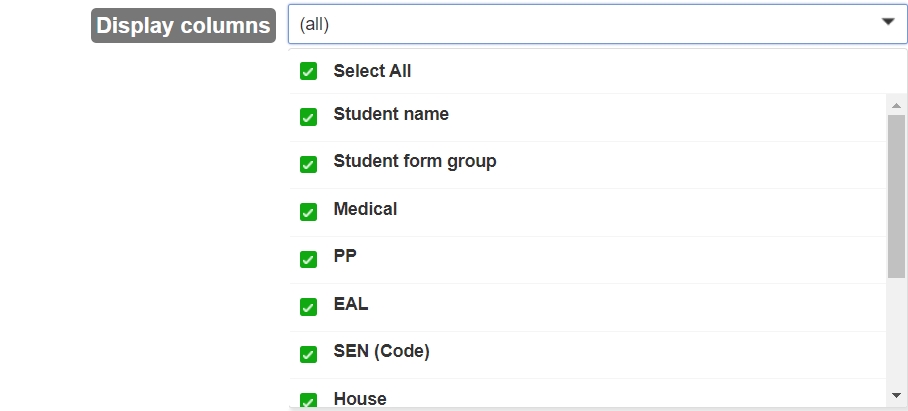
Next, you have the option to select the data you wish to display in the class dashboard by clicking the dropdown arrow in the Display columns field.
Currently, the display column default is Select All; however, you can exclude certain data groups by unticking the boxes, for example, untick House if your school doesn’t have a House system. The following data is available to exclude from your dashboard: Student Name, Student Form Group, Medical, Pupil Premium (PP), EAL, SEN, House, Assessment Areas, Behaviour Points, Achievement Points and Attendance % for AC Year.
Conditional Formula Colouring
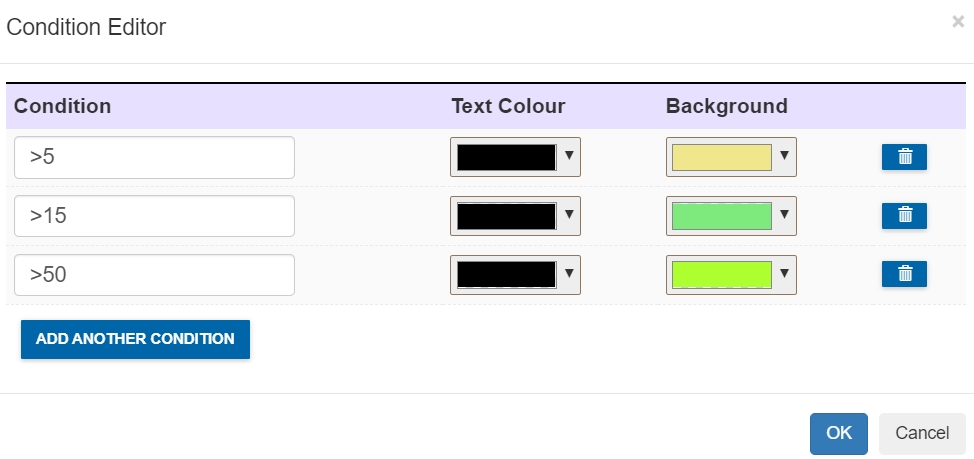
You have the option to set the conditions for your Achievement, Behaviour and Attendance columns if you decide to display these figures. For example, you are able to colour code values based on certain conditions, like turning attendance red if the learner’s attendance is less than 90%.


To do this, click on the conditions button next to Achievement Colouring, Behaviour Colouring or Attendance Colouring, depending on which column you are configuring, and type the formula in the table under Condition. Here, you can add formulas using operators and comparison values.
Operators:
= Equal to
< Less than
>Greater than
<= Less than or equal to
>= Greater than or equal to
You also have the ability to select the text colour and background colour. To delete any conditional formatting, click the bin icon. Additionally, you can add further conditions by clicking the Add Another Condition button, though it is important you check the order of the formulas after adding a new condition.
Assessment Data Formatting for Class Dashboard
If you scroll down past the colouring for achievement, behaviour and attendance, you have the option to include assessment aspects to your class dashboard and format them. It is recommended that you include your SIMS Data Manager when you select assessment aspects as they will likely know which aspects to use.
If you decide to include assessment aspects on your dashboard, you can only select three. This is because of restrictions on the user interface.
The aspects appear in a table by year group and you can perform two actions on them.
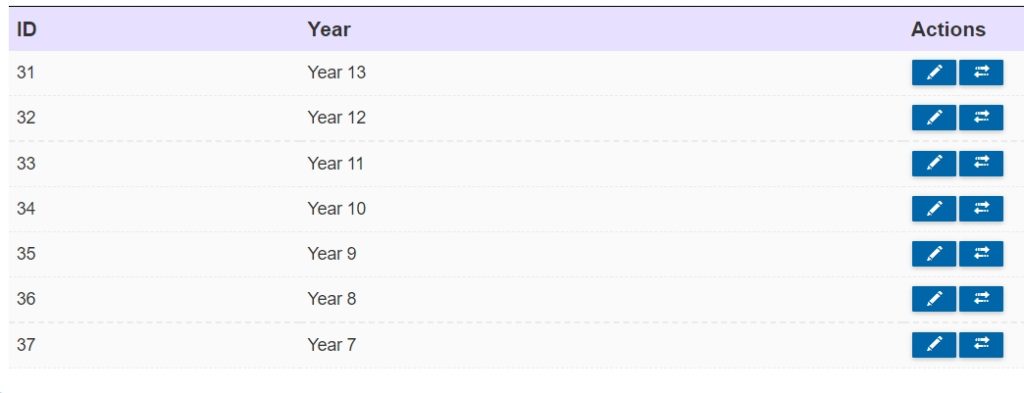
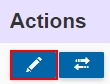
First, choose the Year Group and then you can click the pen icon to configure and select your assessment aspects for the dashboard.
Alternatively, you can click on the double arrows if you have already configured your data for seating plans. This allows you to copy the data from there if you don’t want to reconfigure a whole new data set.

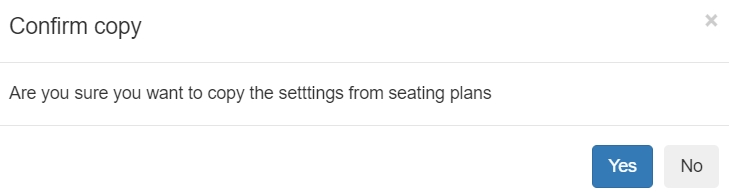
Once you click this button, a confirmation message appears asking you if you are sure you would like to copy the settings from seating plans. If this is what you would like to do, click Yes and if it is not click No. Your assessment aspects table for the dashboard will open so you can check it over to make sure you are happy.
Editing Assessment Aspects for Class Dashboard
If you would like to set and edit the assessment aspects that you would like to display for the class dashboard, click on the pen icon under Actions to begin.
A new screen will open with a table labelled Congifure Year __ (the year group you are configuring here) Assessment Aspects.
Select the assessment aspect for each column, for example, Target, Autumn and On Target. This can be typed in for each column and can be edited at any point.
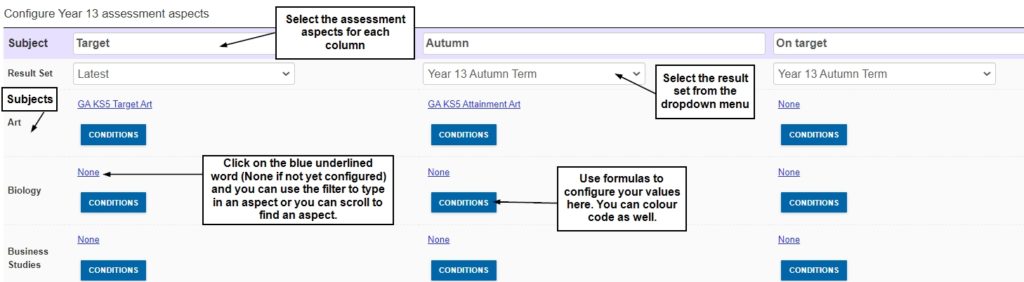
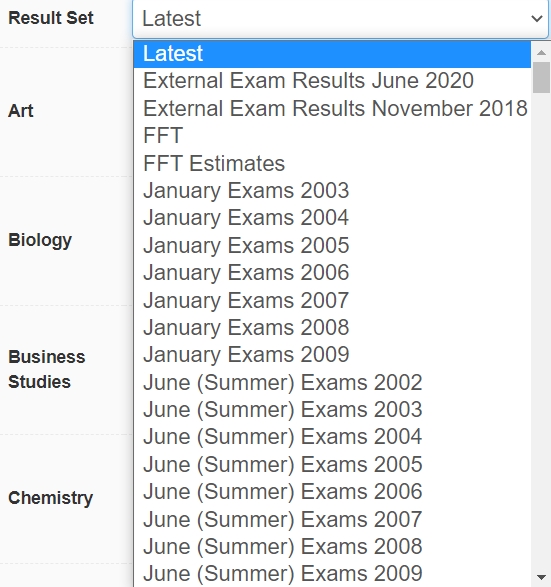
Once you have selected the specific aspect of the assessment data, you need to select the Result Set that corresponds to those aspects. It is beneficial to involve your SIMS Data Manager if you are not sure which result set to choose. Select the appropriate result set from the dropdown menu for each column.
Once you have the correct result set input, then you must select the correct aspect per subject. Click on the blue underlined word, e.g. None, and select the corresponding aspect for each result set for every subject on your school’s list by typing in the filter or by scrolling and clicking the aspect. For example, if the subject column was ‘Autumn’, you might select ‘Year 13 Autumn Term’ as the result set and if the subject was Art, you might select GA KS5 Attainment Art as the aspect as you are looking at Year 13 Autumn attainment.

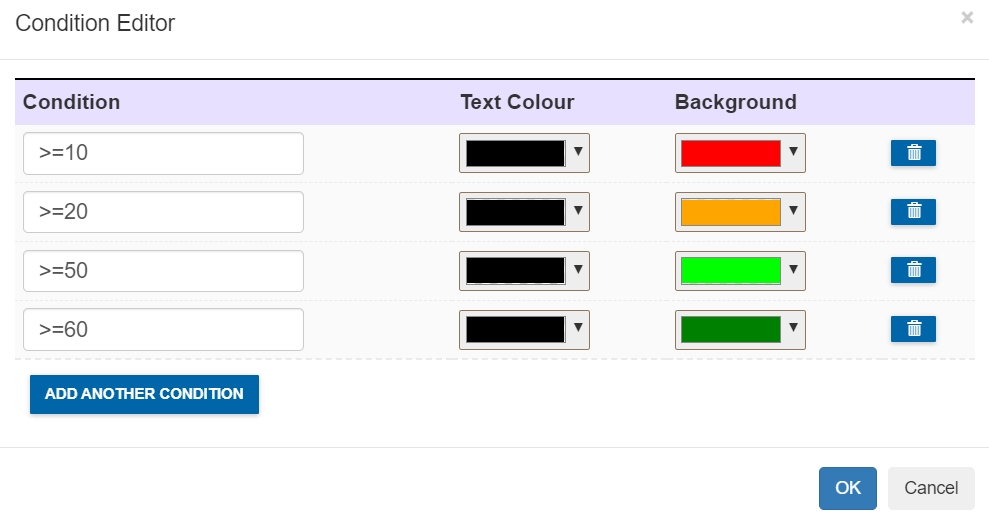
After selecting your assessment aspects, you have the option to add conditional formatting to the cells to colour code them. Input the formula you want in the cell under the Condition column, for example, if you are formatting the target grade for KS5 Chemistry a >=10 would result in a red background.
You can change the conditions, delete them by clicking the bin icon or you can add another condition by clicking the button at the bottom of the table. Please ensure your conditions are ordered correctly, as Edulink One looks for the last condition that matches.
When you have added your formatting, click the OK button at the bottom of the table.
To return to the main Class Dashboard tab, click the back button at the bottom of the table. Your changes are automatically saved in this section.

Lastly, when you are finished configuring your class dashboard, click the Save button to save your changes. Your configured class dashboard will now appear in the Registers function of your Edulink One user interface.

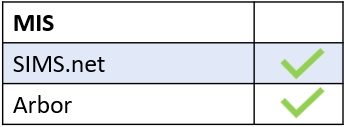
MIS Compatibility
Hi
How do I add another aspect under the headings for science? We have separate aspects for biology, chemistry, physics and combined trilogy but they are all split from science in SIMS.