How Do I Configure Seating Plan Data?

Configure seating plan data to track your learners’ progress and keep consistency across your school.

You can allow all employees to view seating plans for all learners at your school. This applies to every class the learners have. The seating plans for each learner are located in the Learner icon. The employee needs to click on the image of the learner and locate the new seating plans icon on the learner’s Edulink One page— this could be located in the More section depending on the number of features you are using.

Once they have clicked on the icon, teachers can view which classes have seating plans by clicking on the eye icon to view the plan, including additional data.

To enable this feature for your staff, select whether you would like All Employees or Teaching Staff to have access to the learners’ seating plans.

You can also allow fixed user groups access by ticking the box beside the fixed user group. If you would like to create a new user group, go to the User Groups tab.

View all plans for a learner

Seating Plans are visible under the Registers icon in the main Edulink One user interface. However, you can configure the data visible on the seating plans in the Seating Plans tab in the administration settings.

It is advisable to consult your data manager to help configure this tab; schools use specific terminology related to assessment data and it could be unfamiliar.

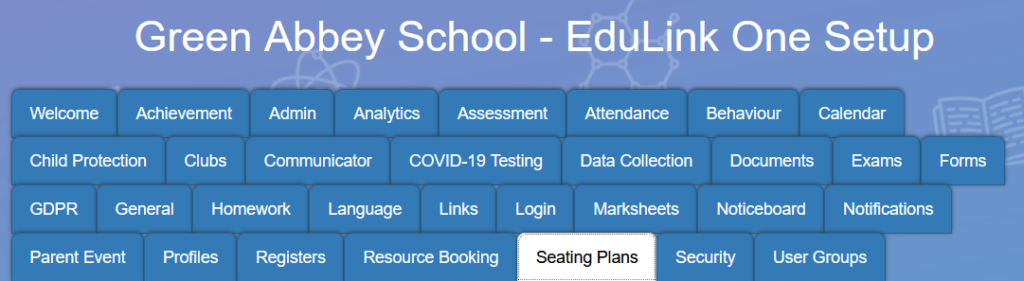
First, log in to Edulink One and locate your Administration setting in the cog at the top of the homepage. Select the Seating Plans tab to configure the data SLT would like to see on the seating plans.

Seating Plans tab
Seating Plans Tab

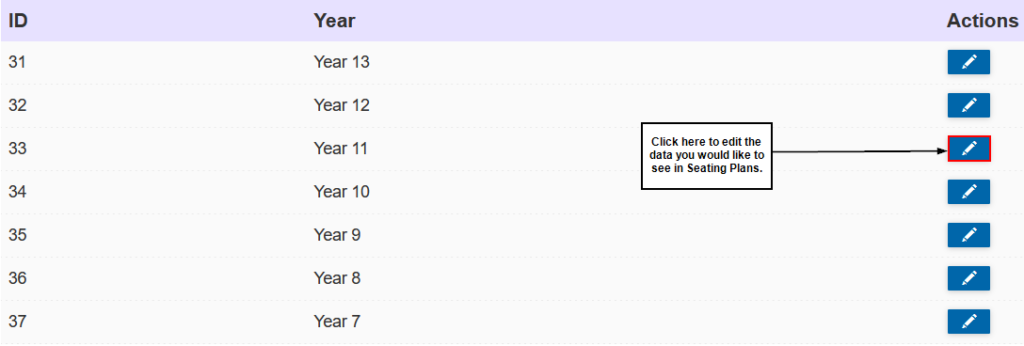
Choose which SIMS assessment data you would like to use to display on seating plans by selecting the pen icon under Actions.

Edit data under Actions.
Seating Plans Tab: Edit

Edulink One limits you to choosing three data areas to display on a seating plan, due to limitations on space in the user interface. For example, below you can see values for Latest, Autumn and Spring (grades).

Assessment Aspects (Data)

You can name the data aspects whatever you wish for each Year Group, e.g. you may want to use KS2 data, Current Grade and Effort Grade for Year 7, but for Year 11, you may want to use Current Grade, Target Grade and Predicted Grade. These can be adapted at any point if you want to change them.

After selecting the data you would like on the seating plans, and writing the names in the white boxes provided, select the Result Set you would like on your seating plans.

Many schools select ‘latest’ on their result set to pull through the latest assessment data; however, you can select other data aspects as well, such as exams.

Result Set

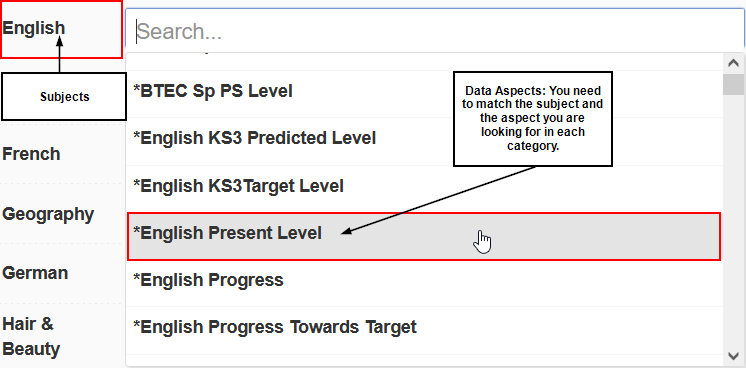
Next, you will need to match data aspects for each subject. For example, if you use Latest as your aspect heading, you need to match the subject (e.g. English) to the data aspect of the subject (e.g. English Present Level). All of the assessment data specifying where learners are currently (e.g. 4c in English) will be populated under the heading Latest.

This must be done for every subject.
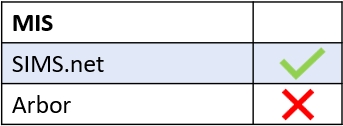
Class subjects and data aspects
Subjects and Subject Aspects

It is recommended you involve the SIMS data manager in matching the subjects and aspects as they are likely to know which aspects should be used.

NOTE: Changes are automatically saved in this tab.

MIS Compatibility

MIS Compatibility
Updated on 14 February 2024

Was this article helpful?

Related Articles

Need Support?
Can't find the answer you're looking for?
Contact Support