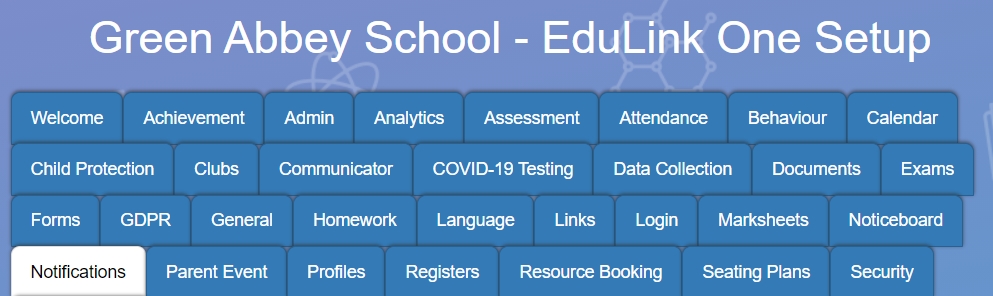
You can create resource booked notifications in Edulink One’s Notifications tab. This is located in the administration settings. Log in to Edulink One and click on the cog in the top left corner to access Administration.
Click on the + Create New Notification Rule button to create a new notification. If resource/ room booked notifications already exist but you need to edit them, click on the pen icon under the Actions column.

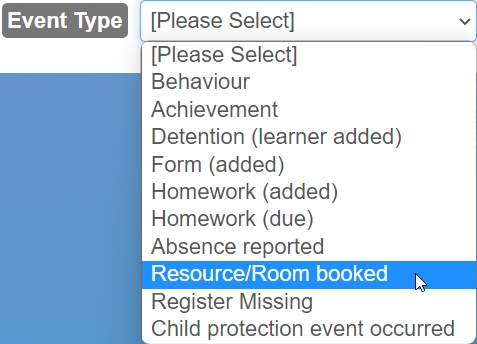
Select the resource/room booked event type from the dropdown menu.
You can add a rule name, which is a name or short description (100-character limit) if you create multiple notifications for the same event type. Each name must be unique.

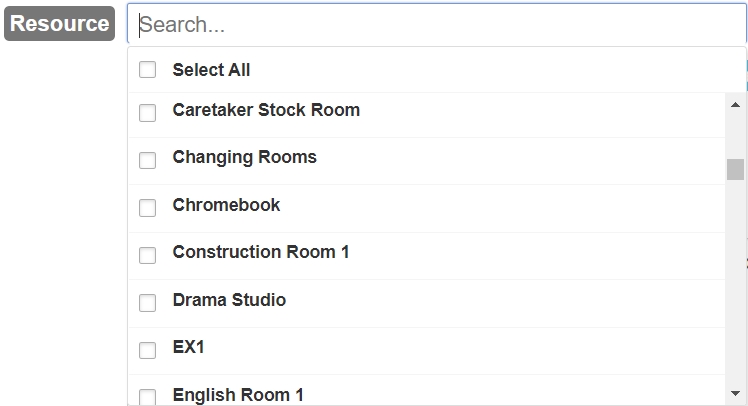
Next, select the resource you would like to create a notification for. If you leave this field blank, then the notification will apply to all of the resources and rooms listed.
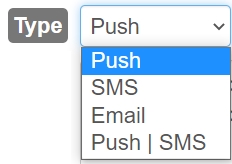
Select the type of notification from the dropdown menu.
Then compose the message for the body template if you need to make changes to the template to suit your school’s requirements.

If you need to reset this at any point, then click the ‘Set Default’ button.
Then, write the subject template if you are sending an email notification.

Select the users the notification applies to. This includes the owner of the resource; for example, the librarian would own the library and would be notified of all bookings.

Save the notification by click the ‘Save Rule’ button at the bottom of the screen.

Your notifications table updates with the new notification. Lastly, save the notification by clicking the ‘Save’ button.

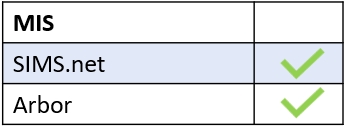
MIS Compatibility